THANKS TO ALISON PACK FOR SENDING ME THIS RECIPE -- I would love to put up any recipe that you want to send me that uses garden produce -- send to me at susan_wheatley@comcast.net:
"This delicious
soup is packed with ingredients shown in clinical studies to relieve joint
pain, prevent cancer and heart disease, reduce blood sugar, and prevent memory
loss."
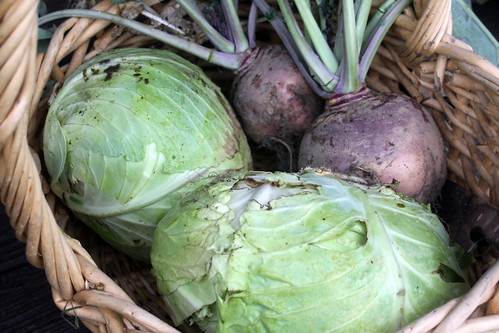
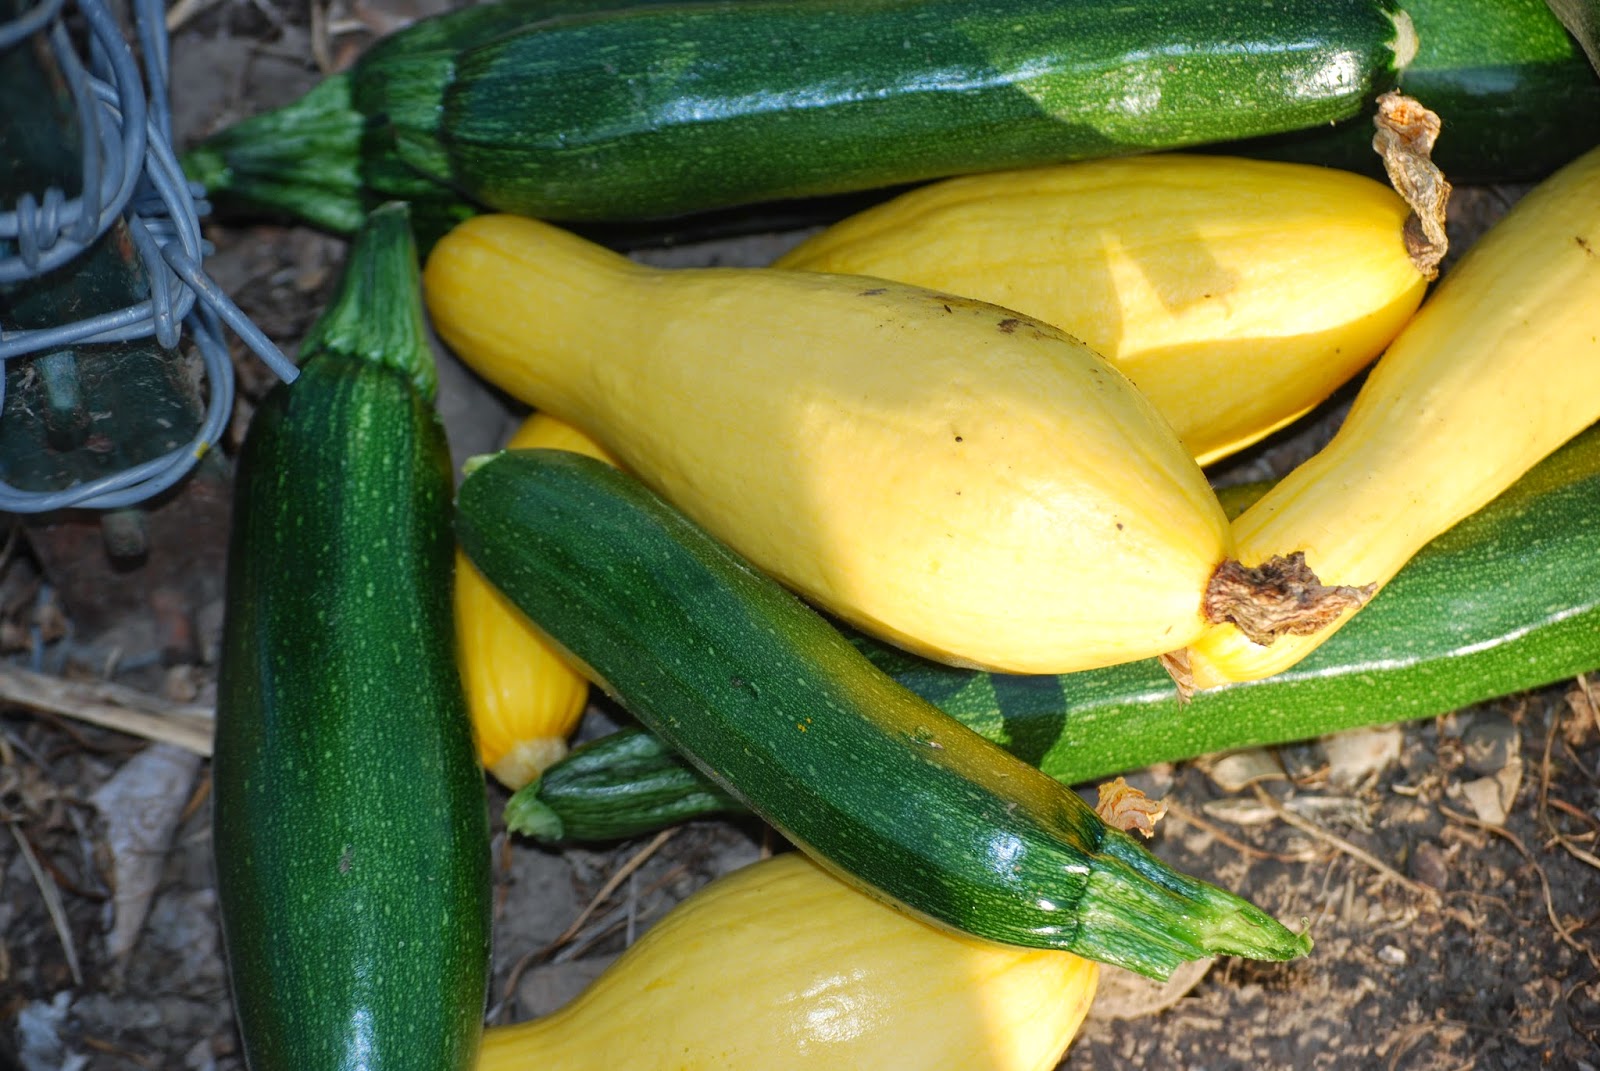
1. Dice 1 onion, 2
carrots, 2 celery sticks, 3 medium-sized potatoes, 4 medium-sized tomatoes [I
used instead a can of diced, added at the end], and a few green beans,
yellow or green squash if you have them.
2. Measure 5 or 6
cups stock or broth. Pour 1 1/2 cups of it into a large saucepan, add 1
diced onion and simmer a few minutes.
3. Meanwhile, in a small
bowl, mix well 1 t. ground cinnamon, 1 1/2 t. ground turmeric, 1 T. grated
ginger-root [or 1/2 t. ground ginger], 1/8 t. cayenne pepper, 1/2 t.
curry powder and 2 T of the stock. Add to the onion mixture. Add rest of
the stock as well and let soup return to a boil. Stir, then cover and heat 5
minutes.
4. Add rest of the diced
vegetables and simmer, covered, for 20-30 minutes or till carrots and celery
are tender. Pour in a 14 oz can of garbanzo beans, salt and pepper to taste,
and 1 T. fresh lemon juice and heat thoroughly before serving. [I added
some chopped kale with the beans--tiny broccoli pieces would be great too--to
make a wonderful color contrast].
Also, add a cup of corn kernels.
I can tell you that,
with a little creamy grated cheese sprinkled on top, this soup was fabulous!