Saturday, August 31, 2013

Canning question and answer...check it out...

Why am I losing liquid while canning?

losing liquid while canningLosing liquid while canning is something that happens with both metal and tattler lids.  It is more common with pressure canning.
Tomatoes and green beans are the worst in my experience.
There can be a variety of reasons for losing liquid in your jars.
  • Incorrect headspace can cause your food to boil over during processing.
  • Trying to cool the canner quickly will cause problems.  Do NOT pour water over your pressure canner to cool it down and reduce pressure.
  • Irregular heat during processing can cause issues as well.  Be sure and maintain a steady pressure or steady boil in the waterbath.
The most common reason for losing liquid while canning is taking the jars out of the canner too quickly after processing. I suggest that you let the jars rest in the canner after the canner has come to zero pressure.
When the canner pressure has reduced to zero, wait about 5 minutes.  Then open the lid to release steam.  Be sure to open the canner carefully, it will be very hot!  Tilt the lid so the steam does not hit you in the face.
Set the lid back on the canner (not latched) then wait 5 more minutes.
This allows the pressure in the jars to reduce.  Sometimes the jars are still pressurized.  If the jar still has pressure it will naturally boil over, this causes liquid to be pushed out.
turkey soup in the pressure canner
Pint jars of turkey soup resting in the pressure canner.
After 5 minutes take a look and visually check the lids.  Make sure they are not domed up. If they are domed up set the lid back down and wait another 3-5 minutes and check again.  If all looks well then remove the jars to the counter and tighten the bands down.
They will still be very hot!  Some bubbling inside the jar is normal. But if it is bubbling out of the jar it needs to rest some more.
Using this resting process has helped me to have better luck avoiding losing liquid while canning.  Especially with pressure canning!
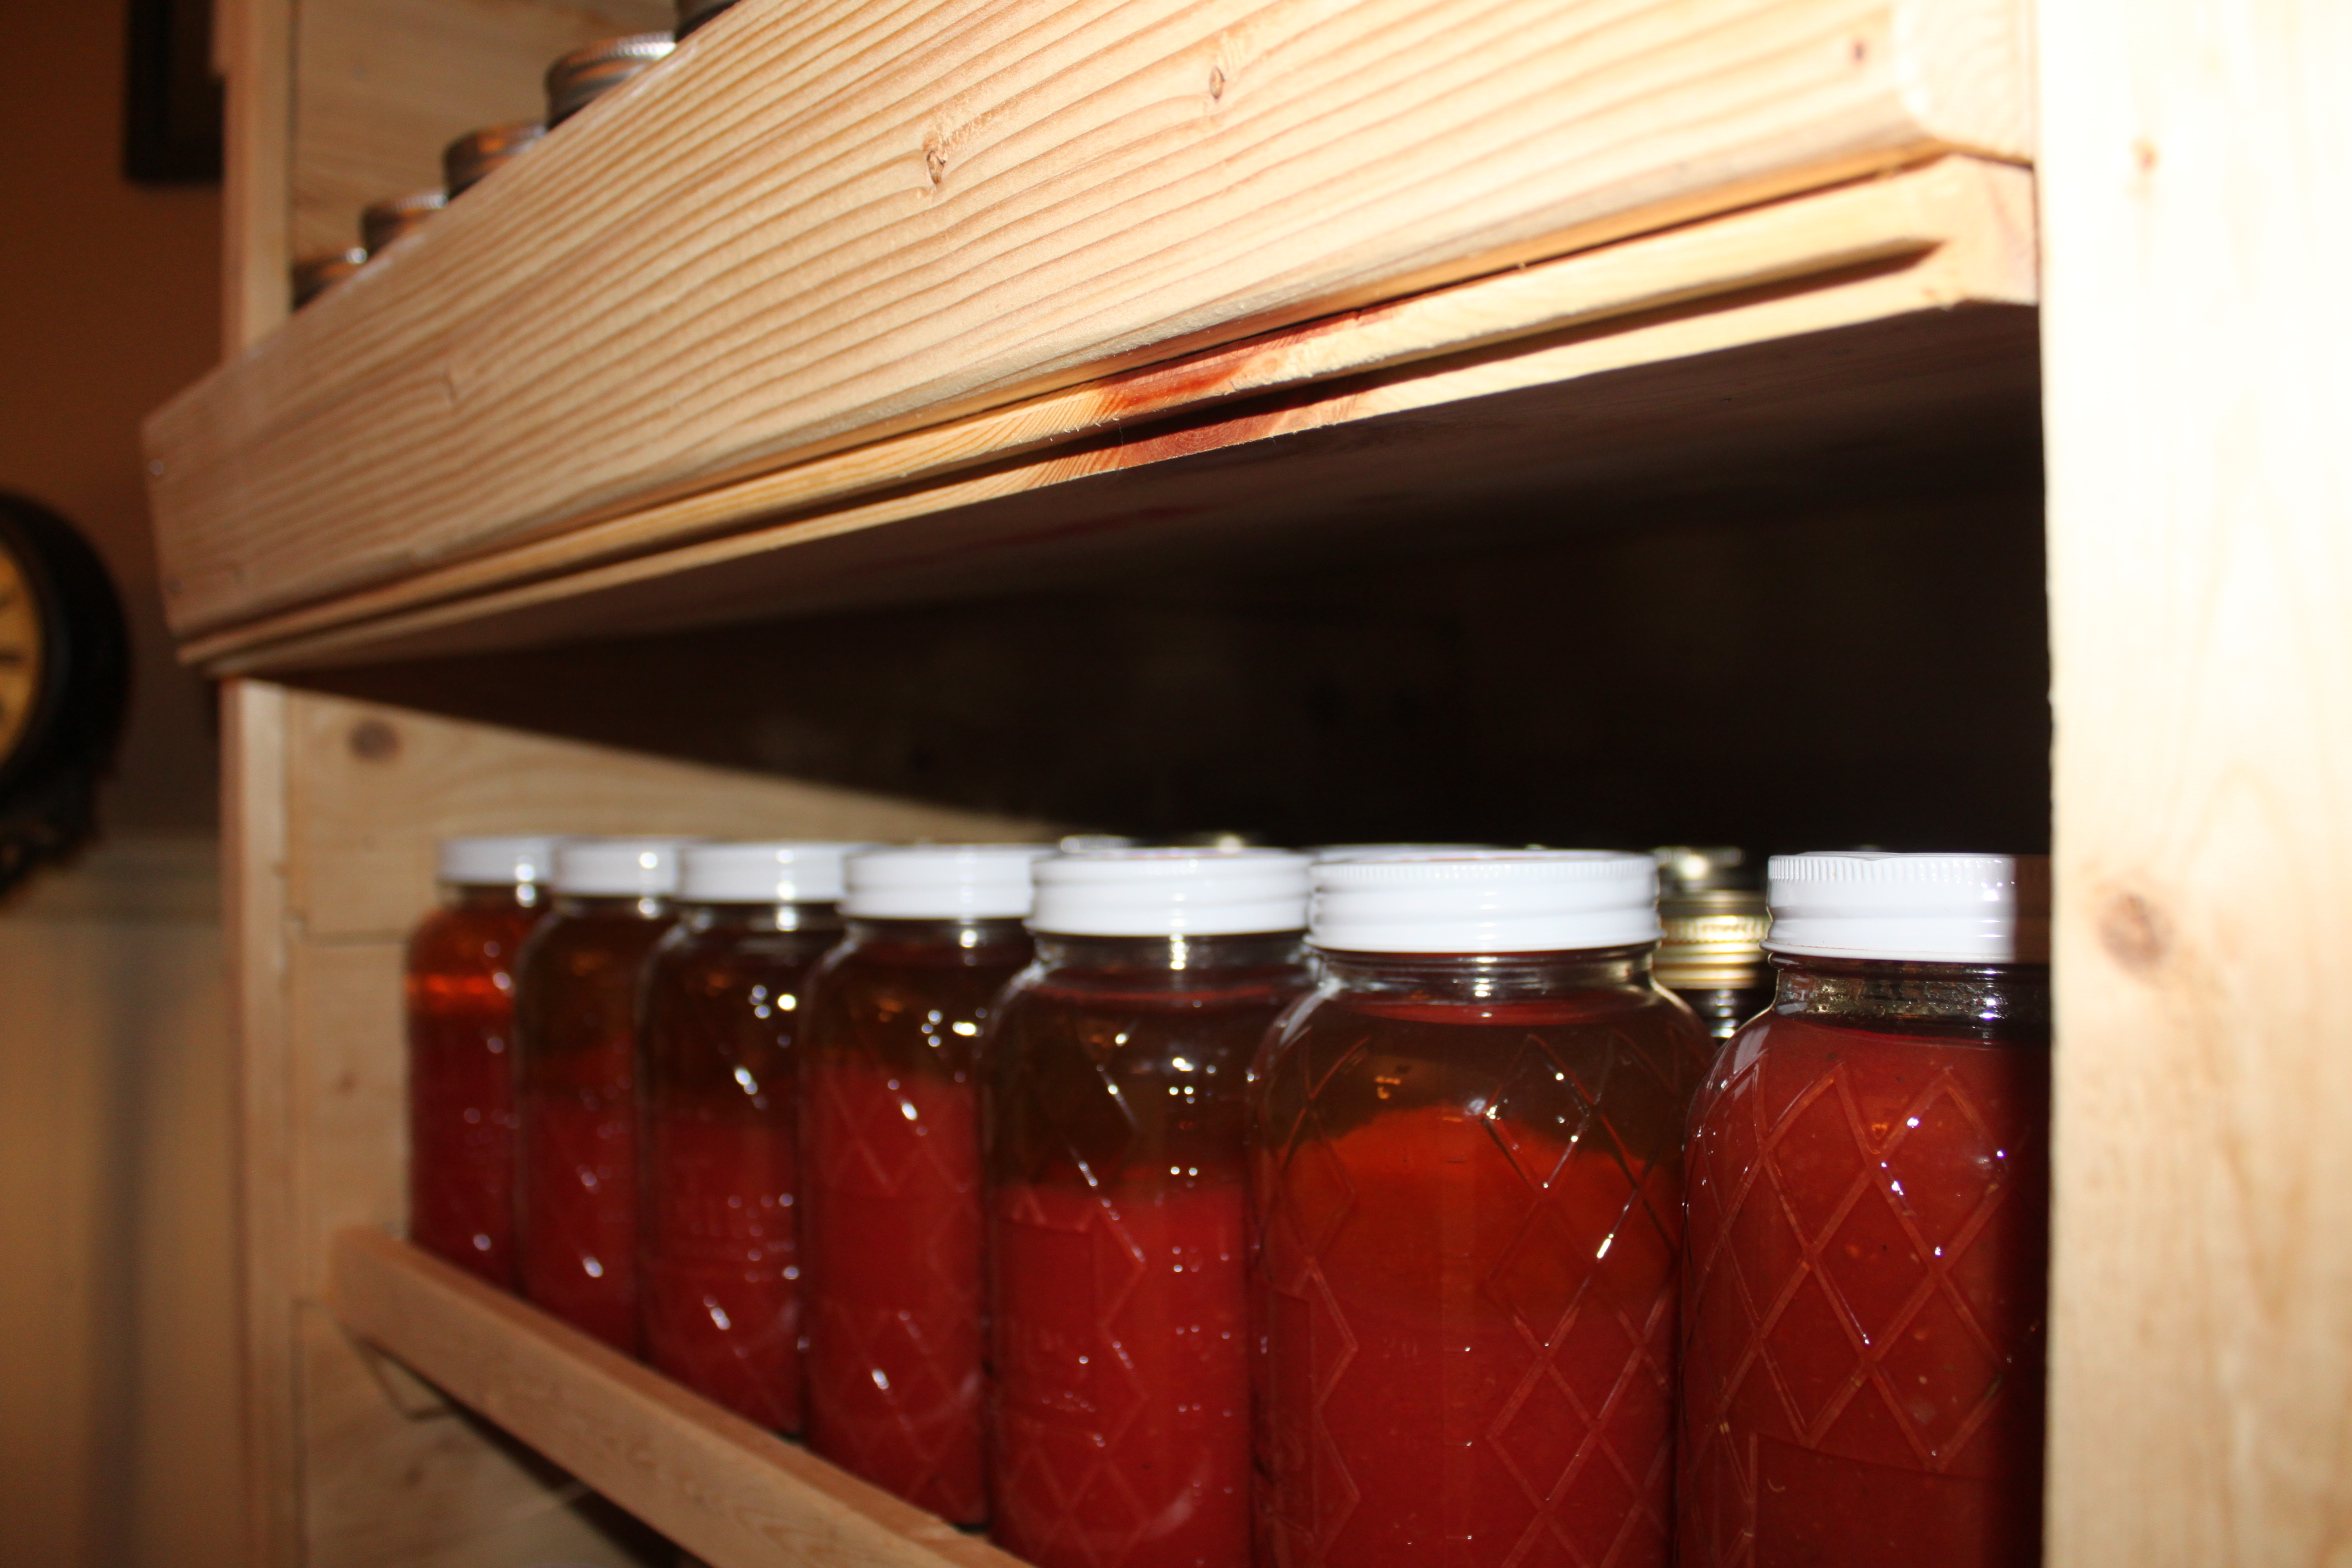
I should add, as long as you have processed the food correctly, if they have some liquid loss the food is still safe.  Depending on the food type, some foods that are above the liquid may discolor.  I always put any jars that have excessive liquid loss to the front of the cupboard to be used up first.
- See more at: http://blog.reusablecanninglids.com/why-am-i-losing-liquid-while-canning/#sthash.VmObUFd8.VirGqmkA.dpuf

Monday, August 26, 2013

Another Really Good thing to do with Zucchini!!


Grilled Stuffed Zucchini
recipe by Our Best Bites
2 medium zucchini (about 10″)
4 oz Italian turkey sausage (that’s 1 link of the kind pictured here)
1/4 C diced red onion
2 cloves garlic, minced
1 medium tomato (about 1/2 C diced)
1 1/2 T chopped fresh basil (or abt a teaspoon of dried)
2/3 C Italian cheese blend (the kind pre-bagged with parm/mozz/asiago/etc)
1 T Italian style bread crumbs
kosher salt
black pepper
extra virgin olive oil
Slice zucchini in half length wise, leaving the tops on.

Scoop out the centers, saving them in a bowl. Leave at least 1/4 inch around the edges and bottoms. Take the good parts of the zucchini guts you just scooped out and dice up 1/2 C. This will go in your filling.

Drizzle the zucchini shells with a little olive oil and use your hands to rub it on all sides. Sprinkle with some kosher salt and black pepper and set aside.

Preheat your grill outside and then start your filling in a skillet on the stovetop. Start by browning the sausage. When you no longer see pink, add the onions, garlic, and diced zucchini. Cook for 2-3 minutes until onion is tender. Add tomato and basil, 1/4 t kosher salt and a few cracks of black pepper. Remove pan from heat and set aside.

You’re gonna add that cheese in just a second! First take your zucchini to the grill and put them hollow-side down.

Grill for about 5 minutes on medium heat. They should have nice charred marks and look tender on the inside.

Take them back inside. Add cheese and bread crumbs to filling mixture. Stir to combine and then divide the filling between the zucchini. Top each zucchini with about 1T cheese and sprinkle with 1/4-1/2 t bread crumbs. Lastly, give them a little drizzle of extra virgin olive oil.

Place them back on the grill (filling side up- please!) Close grill lid, and cook for another 5-7 minutes. Larger/thicker zucchini will obviously take longer to cook.

If you’re doing this inside, it will take a little longer seeing as you can’t close the lid to keep in the heat. You also might want to broil them in the oven when they’re finished to help the cheese on top get nice and bubbly.
That’s it folks. Quick and easy!


You can serve them as a main dish and pair it with a green salad and some crusty bread. Or cut them into thirds for a side dish or appetizer. Either way, you’ll be lovin’ the zucchini!

Tuesday, August 20, 2013

Chickens and a Garden

Why A Great Garden And Raising Chickens Go Hand In Hand

Chickens are a vital part of our garden's success.
Chickens are a vital part of our garden’s success.
Anyone who visits the farm usually figures out pretty quickly the close relationship between our chickens and the success of our vegetable garden.
It’s a little bit of a twist on the which came first argument – the chicken or the egg? Except in this case. it becomes, what’s more important – the garden to the chickens? – or the chickens to the garden?
Raising chickens and great gardens go hand in hand.  The two are one of the finest examples of sustainability and permaculture you can find.  In fact, when asked what is the single best thing you can do for a great garden – Mary and I quickly respond with “get a few chickens!”
Here’s why:

The Garden’s Benefits From The Chickens:

Insect and Bug Control: In the early spring and again in the late summer and fall – we turn our little flock of chickens loose in the garden to scratch, claw and roam about.
Chickens are a great way to keep bug and pest populations to a minimum.
The benefits are endless!  First, they devour countless insects, ranging from tiny aphids to enormous tomato and cabbage worms – keeping our insect population to a minimum. Second – many insect lay their larvae just below the surface of the soil – waiting to hatch the following year and take a toll on our crops.  By letting the chickens roam and scratch about – they eat and destroy many of these.
The straw and chicken manure from the coop are key ingredients to our compost pile
Fertilizer:  The chicken manure and straw that we clean from their coop is a main ingredient in our compost.  The high nitrogen level of their manure helps to heat up our piles quickly and provide tons of nutrients to our plants in the garden and landscape.  We also use the manure and compost to make our compost tea – an all natural and organic fertilizer that helps our plants grow strong and increase production – and keeps us from using commercial fertilizers.
Weed Control:  Chickens are one of the best natural weed suppressors around.  As they scratch and claw about – they are also taking in and eating hundreds, if not thousands of weed seeds that have blown into the soil.  Gobbling them up keeps the following year’s weeds in check – and the garden nice and tidy.

The Chicken’s Benefits From The Garden:

As much good as the garden gets from our little feathered girls – the girls get back from the garden.  The bugs, worms and seeds they devour complement their diet and help them to produce beautiful eggs – as well as keeping our feeding costs down.
The chickens and their by-products make for healthy plants in the garden
Chickens love to scratch around and will consume small bits of rock and grit that aid in their digestion.  They also need to “dust” themselves with dirt on a regular basis – which is a form of a dry bath that keeps them clean and free of mites.  The garden soil provides them an endless supply of both grit and dust – making them happy residents!
Speaking of their diet – the chickens are also the recipients of garden left-overs throughout the spring, summer and fall months. As we clean out our rows of spring lettuce or snap peas – we will toss them to the chickens, who gladly devour them in seconds.

OUR BENEFITS:

And then of course – there are the benefits to us.
Fresh eggs from the coop - the taste can't be beat!
Fresh eggs from the coop – the taste can’t be beat!
Beyond the great fertilizer, pest control and weed control our little feathered friends help us with – and beyond the fantastic garden results their fertilizer helps us to attain – they supply us beautiful fresh eggs every day.
If you have never had a “farm fresh” free range egg – do yourself a favor and try one.  The taste is amazing (yes, there is a BIG difference), and it’s a great feeling knowing that the eggs on your plate, or in the cake you baked are from happy chickens. Chickens that get to roam about in the fresh air – and see the sun come up and go down every day.  And that may be the best benefit of all!
Not to mention – they really do have their own personalities, and are a blast to have around.
If you would like to receive our DIY & Gardening  Tips every Tuesday – be sure to sign up to follow the blog via email in the right hand column, “like” us on Facebook, or follow us on Twitter.
Happy Gardening – Jim and Mary!

Another yummy way to use your fresh green beans

Roasted Green Beans with Mushrooms, Balsamic, and Parmesan

(Makes 4-6 servings, recipe created by Kalyn)

8 oz. mushrooms, sliced in 1/2 inch slices (I used brown crimini mushrooms, but any mushrooms will work)
1 lb. fresh green beans, preferably thin French style beans
1 1/2 T olive oil
1 T balsamic vinegar
salt and fresh ground black pepper to taste
2 T finely grated parmesan cheese

Preheat oven to 450F/230C. Wash mushrooms and let drain (or spin dry in salad spinner, which is what I did.) While mushrooms are drying, trim ends of beans and cut beans in half so you have bite-sized pieces. (An easy way to trim them is to gather a small handful of beans, stand them up on cutting board, holding loosely so they will fall down and have ends ends aligned, then trim. Repeat with other end.) Cut mushrooms into slices 1/2 inch thick.

Put cut beans and mushrooms into a Ziploc bag or plastic bowl. Whisk together olive oil and balsamic vinegar and pour over, then squeeze bag or stir so all the beans and mushrooms are lightly coated with the mixture. Arrange on large cookie sheet, spreading them out well so beans and mushrooms are not crowded. Roast 20-30 minutes, starting to check for doneness after 20 minutes. Cook until beans are tender-crisp, mushrooms are cooked, and all liquid on the pan from mushrooms has evaporated. Season beans to taste with salt and fresh ground pepper, then sprinkle with finely grated parmesan. Serve hot.


This printable recipe from KalynsKitchen.com.

Friday, August 16, 2013

Grilled Kale Salad...looks yummy!


grilled kale with grilled veggies For my grilled kale salad I used vegetables that I had previously grilled, eggplant, zucchini, yellow squash, corn, yellow and red peppers. In addition to that I added fresh cherry tomatoes and goat cheese to the salad with an extra drizzle of my vinaigrette over the top. Summertime freshness that is so good for you!
Grilled Kale Salad
Ingredients
  • Adapted from Chef Seamus Mullen's
  • 1 cup olive oil
  • 2 cloves garlic, finely minced
  • 2 tablespoons, balsamic vinegar
  • 2 bunches of kale, washed and spin dried, any variety with big leaves will do
  • zest and juice of 1 lemon
  • salt and pepper to taste
Instructions
  1. Pre-heat grill.
  2. In a large mixing bowl combine olive oil, garlic, vinegar, juice, zest and kale. Toss until well coated.
  3. Lay kale side by side in a single layer on top of the grill until crispy, 1 - 2 minutes per side.
  4. Pile the kale in a big stack on a large platter or break up and place into a salad.
  5. For salad add grilled assorted veggies, goat cheese and sliced cherry tomatoes.
  6. VINAIGRETTE RECIPE to drizzle on top.
  7. 3 parts good olive oil to 1 part wine vinegar, a splash of balsamic, 1 smashed garlic clove, a dollop of Dijon mustard, 1 teaspoon of oregano, 1 teaspoon of kosher salt, ground pepper to taste. Whisk everything together.

Making Fresh Tomato Juice – A Simple Canning Recipe


The shelves of the pantry stocked with tomato juice from the garden
One quick search around the internet and blog world – and its pretty easy to see that gardening and canning are coming back in style!  People are more eager than ever to grow their own food – and are looking for ways to preserve that fresh and wholesome taste for use throughout the year.
There is no better and easier way to ease into canning than making some simple tomato juice from freshly picked garden tomatoes.  Whether they are from your own home-grown stock – or picked up at a local farmers market or roadside stand – the taste is out of this world – and its so easy to make!
Freshly chopped tomatoes  beginning to cook down on the stove
Freshly chopped tomatoes beginning to cook down on the stove
Tomato juice is a staple in our canning cabinet every year. We can close to 70 quarts each season.  It’s enough to keep us in garden fresh tomato juice year round – with enough left over to use as a base in our vegetable and chili soups.  Oh, and yes, the occasional base for an incredible bloody mary :)
We have included our simple canning recipe below.  With so many to do – we do use a tomato press to speed our juicing along – but you can just as easily use a simple food mill to make a few batches to make and preserve your own.
Instructions:
We run our tomatoes through a tomato press - but you can just as easily use a simple food mill to remove skins and seeds
We run our tomatoes through a tomato press – but you can just as easily use a simple food mill to remove skins and seeds
Select ripe, firm and fresh tomatoes for your juice.  You can mix any variety for juice – another benefit to making your own.  Roma tomatoes will give you a thicker juice, while varieties like big boy, celebrity and early girl will have more juice.
Wash and clean your tomatoes, be sure to remove any bad spots and discard any tomatoes that are overly ripe or show signs of decay or rot.
The juice heating on the stove top.  Heat to a low rolling boil for 10 minutes before canning
The juice heating on the stove top. Heat to a low rolling boil for 10 minutes before canning
Dice up tomatoes into smaller 1/2″ to 3/4″ chunks – enough to fill a 6 or 8 quart stock pot
Place stock pot on medium low heat and let the tomatoes start to cook down slowly – making sure to stir every 5 minutes or so to prevent burning on the bottom of the pan.
As the tomatoes cook down – we like to add a few more fresh-cut tomatoes to keep the stock pot full.
Using a ladle to fill up the jars.
Continue to cook down tomatoes until they become soft and fall apart at the touch
At this point – we run our tomatoes through our food mill to remove the skins and seeds and squeeze out the juice.  We use the tomato press because of the quantity  - but for small batches – the food mill will work great.
Once all the tomatoes have been run through – return the liquid into a stock pot and begin to heat through on medium to medium high heat.  You want to get the tomato juice to a slow rolling boil.
Wipe the top of your jars and place on the lids
Let boil for 10 minutes and you are ready to can.
Sterilize your pint or quart jars by running through your dishwasher – and then heat the jars and warm the lids in a separate stock pot.
Add your juice to heated jars, along with a teaspoon of lemon juice.  The lemon juice will not change the flavor – it is only included to help increase the acid level.  Although almost all tomatoes will already be high enough in acidity for canning – it is a simple extra step to insure safety. As an optional ingredient – you can also add a half teaspoon of salt per quart jar for taste.
Water bath for 10 minutes
Wipe the rim, and seal with a warm ring and lid.  Process in a hot water bath for 10 minutes.
Remove jars and place on a towel and let cool for 24 hours before storing, Check to make sure all jars are sealed by pushing on the lid - if the lid is down and won’t move it is sealed appropriately. If not – immediately place in your refrigerator and use within 2 weeks.
As a general rule of thumb – one 8 qt. stock pot full of tomato juice will yield enough to can about 7 quart jars
Store sealed jars on cool dark shelf for up to 12 months.
Enjoy!
Mary and Jim

Wednesday, August 14, 2013

Our Old World Garden Pizza Sauce Recipe


Our Old World Garden Pizza Sauce

Here is one of our favorites  -  our own Old World Pizza Sauce recipe.  It’s great on home-made pizza, pizza on the grill, or to use a  bread stick dip.   You can make it fresh – or freeze to use throughout the year. Either way – it’s a great way to use all those vegetables that will be ripening soon in the garden!  You can also check out one of our earlier posts on a recipe for a great pizza dough to make it on the grill.  http://oldworldgardenfarms.wordpress.com/2012/04/20/grilled-pizza-dough-recipe-a-summer-must/
Mary and Jim
THE RECIPE:
1/2 bushel tomatoes (wash, core, dice)
3 clove of garlic
4 hot peppers
2 stalks of celery
1 onion
Chop in blender until mixed well
Add 1 pint of olive oil, pour into stockpot, bring to a boil and simmer for 30 minutes.
Add:
1 1/2 cups of sugar
3 TBSP salt
4 12 oz. tomato paste
oregano/basil to taste

Tuesday, August 13, 2013

Fall already?

3 “Must-Take” Steps For Your Fall Garden Clean Up

As the fall skies roll in - its time to start getting that garden cleaned up for the winter.
As the fall skies roll in – its time to start getting that garden cleaned up for the winter.
As we near the end of summer and head into the early fall – most of us will begin to see our summer crop of vegetables begin to slowly die off as winter approaches.  The excitement of spring planting and summer harvesting usually begins to fade as those first fall leaves drop  - as does the amount of time we spend in the garden.  But before you pack it in for the year – make sure you give one last bit of attention to the garden for a fall clean-up.  Not only does it make for a tidy appearance – it will pay huge dividends when it comes to the success of next year’s crops.
Here are 3 must take steps for your garden this year…
Remove Your Old Vegetable Plants:
When those tomatoes and peppers are finished for the year - its time to get them out of the garden.
When those tomatoes and peppers are finished for the year – its time to get them out of the garden.
This simple step can help to alleviate many of the recurring problems that gardeners face each growing season.  Vegetable plants left in the garden to over-winter become a haven for insects and disease to take root.
Many garden pests can find a home in the decaying stems, leaves and root systems of left over veggie plants.  Given the chance – many will lay their larvae in the roots and soil around the plants – waiting to “spring” to life next season to create problems for your new plantings.  In addition – those damaged or withered left over vegetable plants can harbor mold, fungus and disease that can also be transferred to next years plants.  Your best bet – get them out of the garden each fall to prevent the transfer of those diseases.
Don’t Compost Your Tomato And Pepper Plants:
We keep our spent tomato and pepper plants out of our compost bins.
You would be hard pressed to find two people that  recycle and compost more than Mary and I – but one thing we will not compost is our tomato and pepper plants.  By the end of each season – pepper and tomato plants tend to become more prone to disease and can carry that on to next year if given the chance. We actually throw our spent plants into our outdoor fire pit and burn them.
Why?  There is just too much chance for plant diseases to get passed on through in the compost for next year. Even in a steaming hot compost pile. To us it just not worth the risk.  In addition – the old or damaged fruit that is usually still hanging from the plants can carry thousands of seeds into the pile that can then become a problem the following year.
Don’t Let Your Soil Be Naked For The Winter:
 We use annual rye as a cover crop to add back nutrients and keep the soil protected through the winter
We use annual rye as a cover crop to add back nutrients and keep the soil protected through the winter
After you have spent all that time removing your old plants – do your garden a huge favor and cover it back up with a cover crops or a thick layer of shredded leaves, compost or straw.  Even better – do both!  (See-How To Plant Cover Crops)
Leaving your soil bare is an open invitation for all type of weed seeds to find a home until next spring – where they will sprout into action. In addition – barren soil that will be pelted by the fall and winter rains, wind and snow can whip away the top layer of your soil (usually the most fertile), and leave you with less top soil to grow your plants in next year.
Cover crops like annual rye are the single best thing you can do to rejuvenate your soil at the end of the season.  They provide great organic matter to your soil – keep the area covered to keep out blowing weed seeds, and stop erosion in its tracks.
If you can’t use cover crops – at the least cover your open soil with a thick layer of shredded leaves, straw or compost to keep the soil in its place.
Even better – you can do both!  We like to plant our annual rye cover crop and then put down a light layer of shredded leaves and compost to build nutrients into the soil. The cover crop comes up through the layer of organic matter – and then they are all incorporated into the soil the following spring to bring life to the garden!
If you would like to receive our DIY & Gardening  Tips every Tuesday – be sure to sign up to follow the blog via email in the right hand column, “like” us on Facebook, or follow us on Twitter.
Happy Gardening – Jim and Mary!