Monday, March 17, 2014

Why not try to grow your own lettuce this year? Easy Peasy and nothing tastes better than homegrown!

Growing Lettuce – Experience Real Flavor!

Concept - a Summer Crisp lettuce is a great choice to sow in late spring because it can tolerate more heat than most lettuce types 
Concept – a Summer Crisp lettuce is a great choice to sow in late spring because it can tolerate more heat than most lettuce types
Lettuce is one of the fastest and easiest to grow crops around.  It can be grown in the garden, in containers and raised beds, or almost anywhere you can clear out a little space.
There are hundreds upon hundreds of varieties available – in a myriad of colors, textures, all with their own unique taste.   In fact, for most that begin to grow their own lettuce – they are shocked to realize the amazing difference in taste from the generic varieties available in most super markets and grocery stores.  Most “supermarket” lettuce, (like the familiar Iceburg head lettuce) are grown specifically for their ability to handle shipping and store well – not for taste.  When you begin to grow your own – you might just find out that with all that flavor – salad dressing isn’t even needed!
The first of the lettuce is through and almost ready for the first picking - this is Summer Crisp 
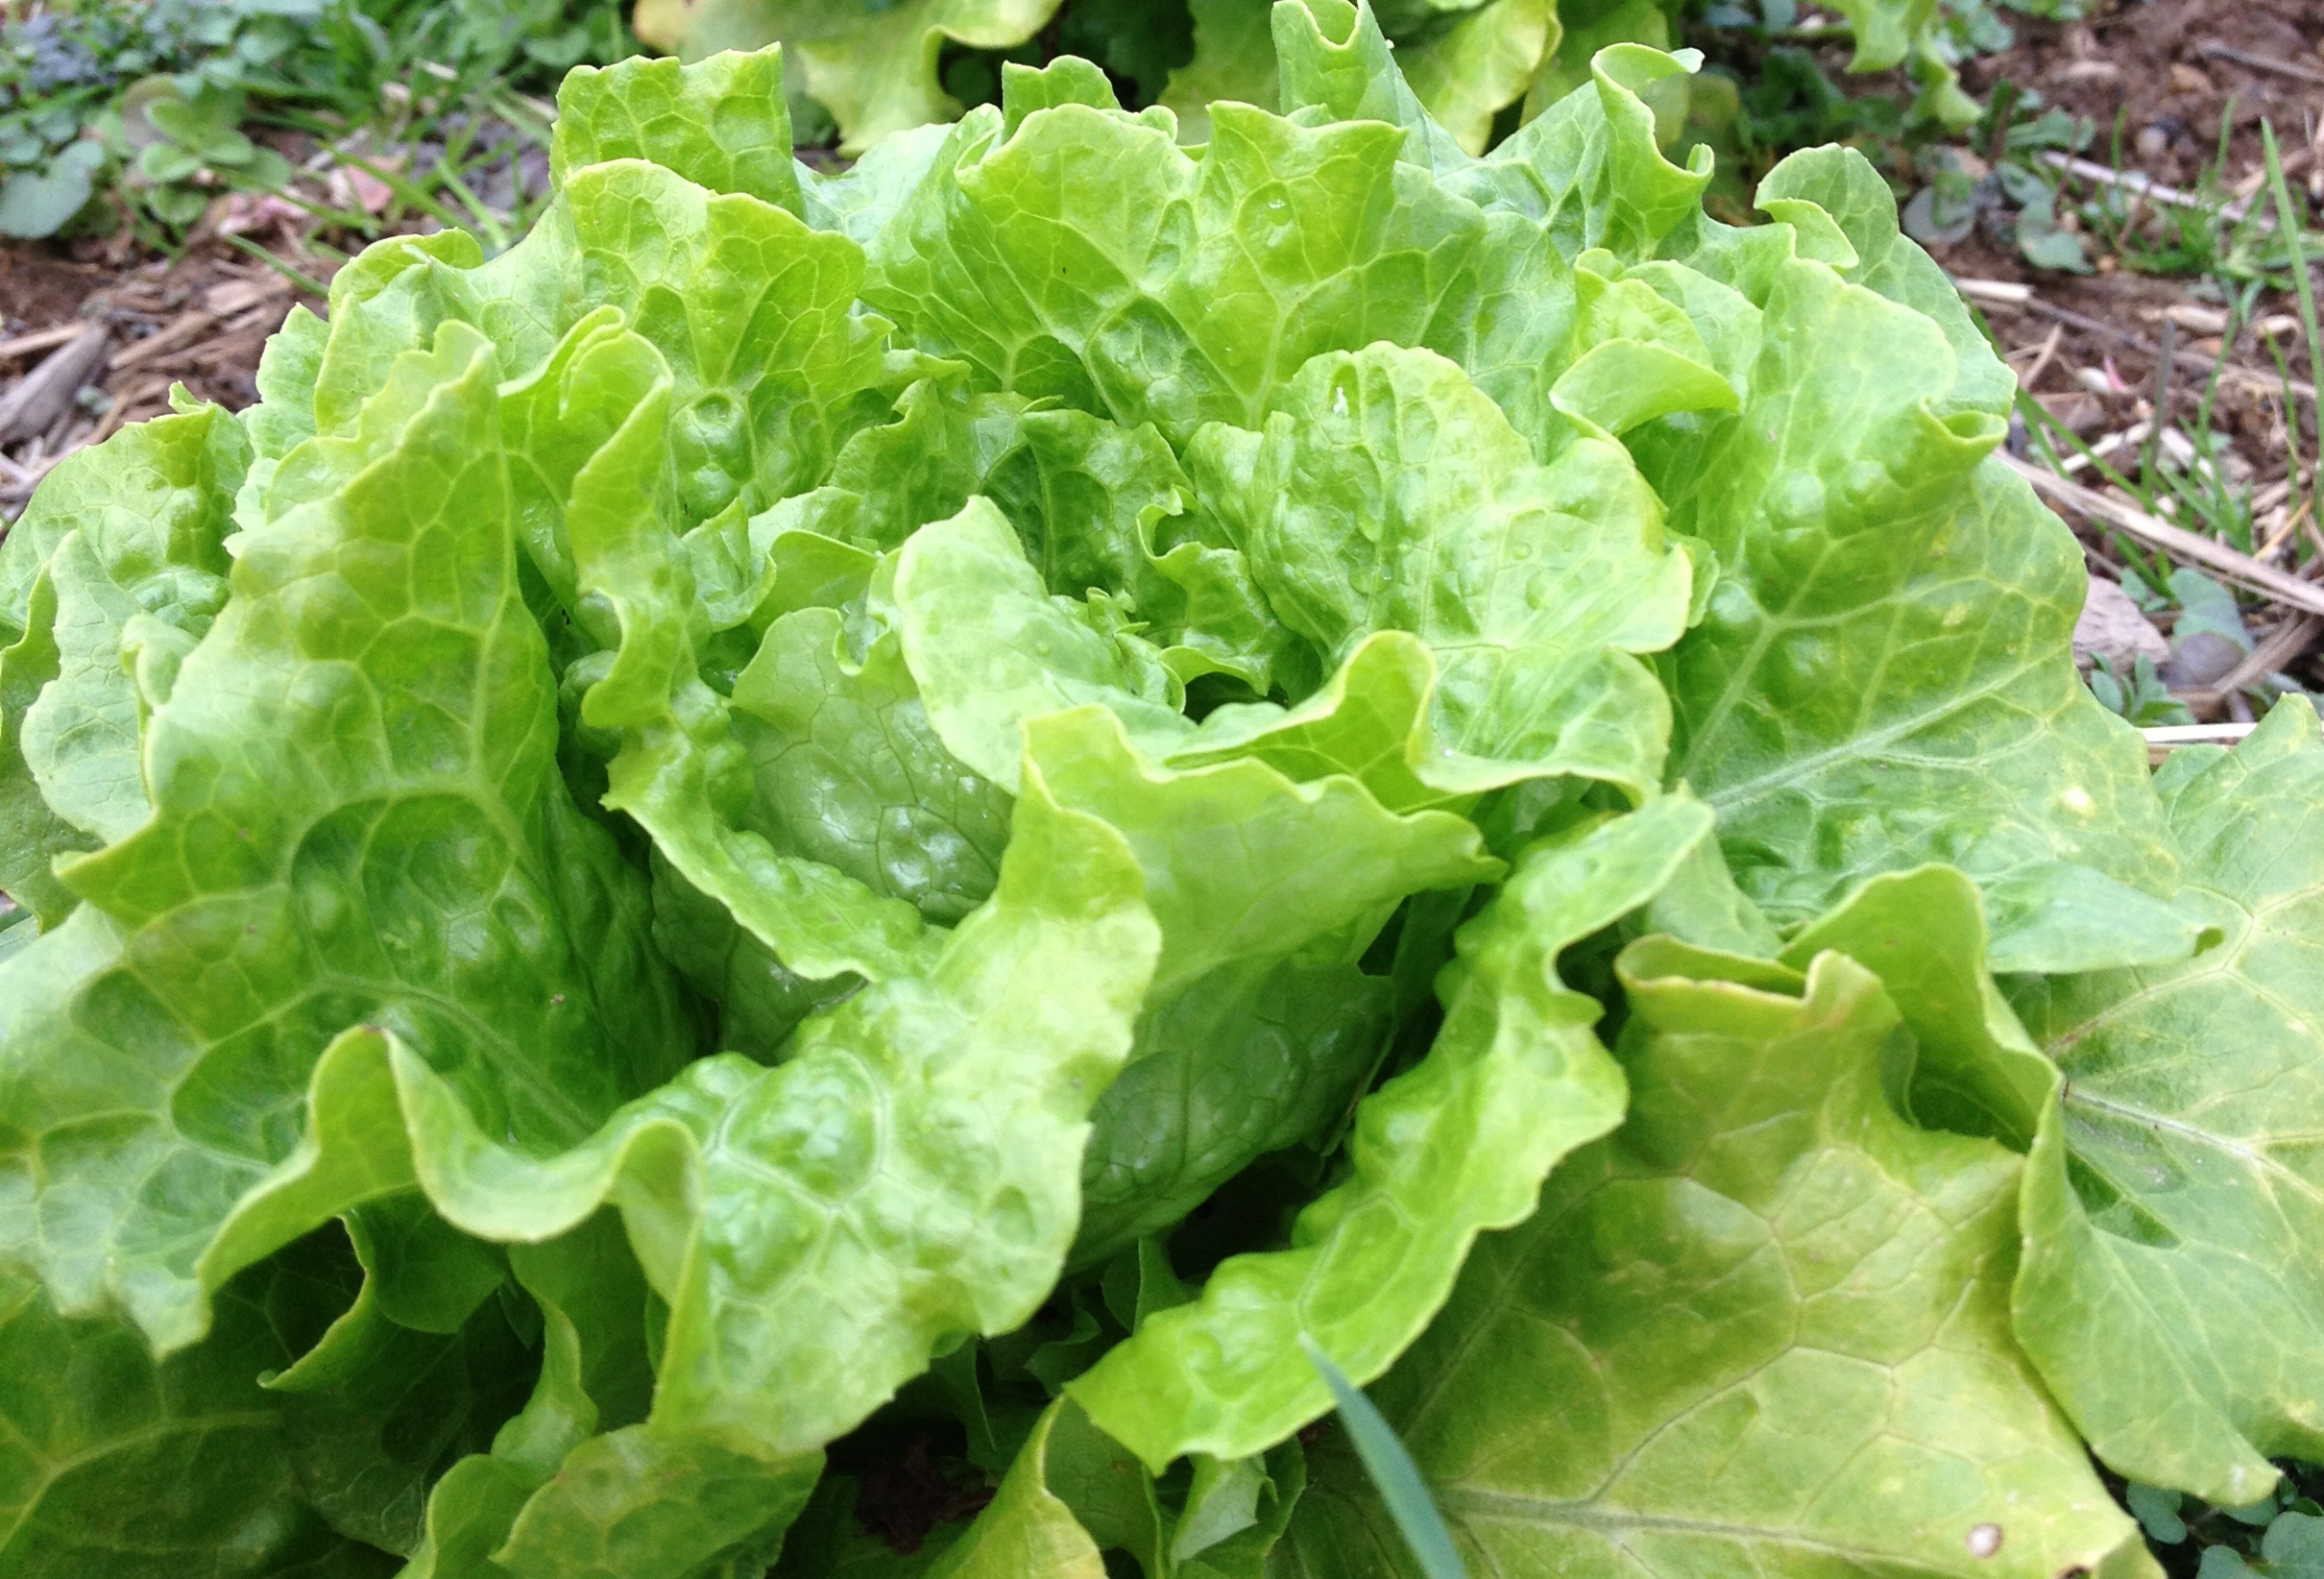
The first of our lettuce is up and through, almost ready for harvest. Pictured if Black Seeded Simpson.
Lettuce can be divided into many categories – but most will agree on these main four  : Butterhead (Bibb style lettuce) , Crisphead (Iceberg, etc.), Looseleaf (Cutting varieties) and Romaine style.
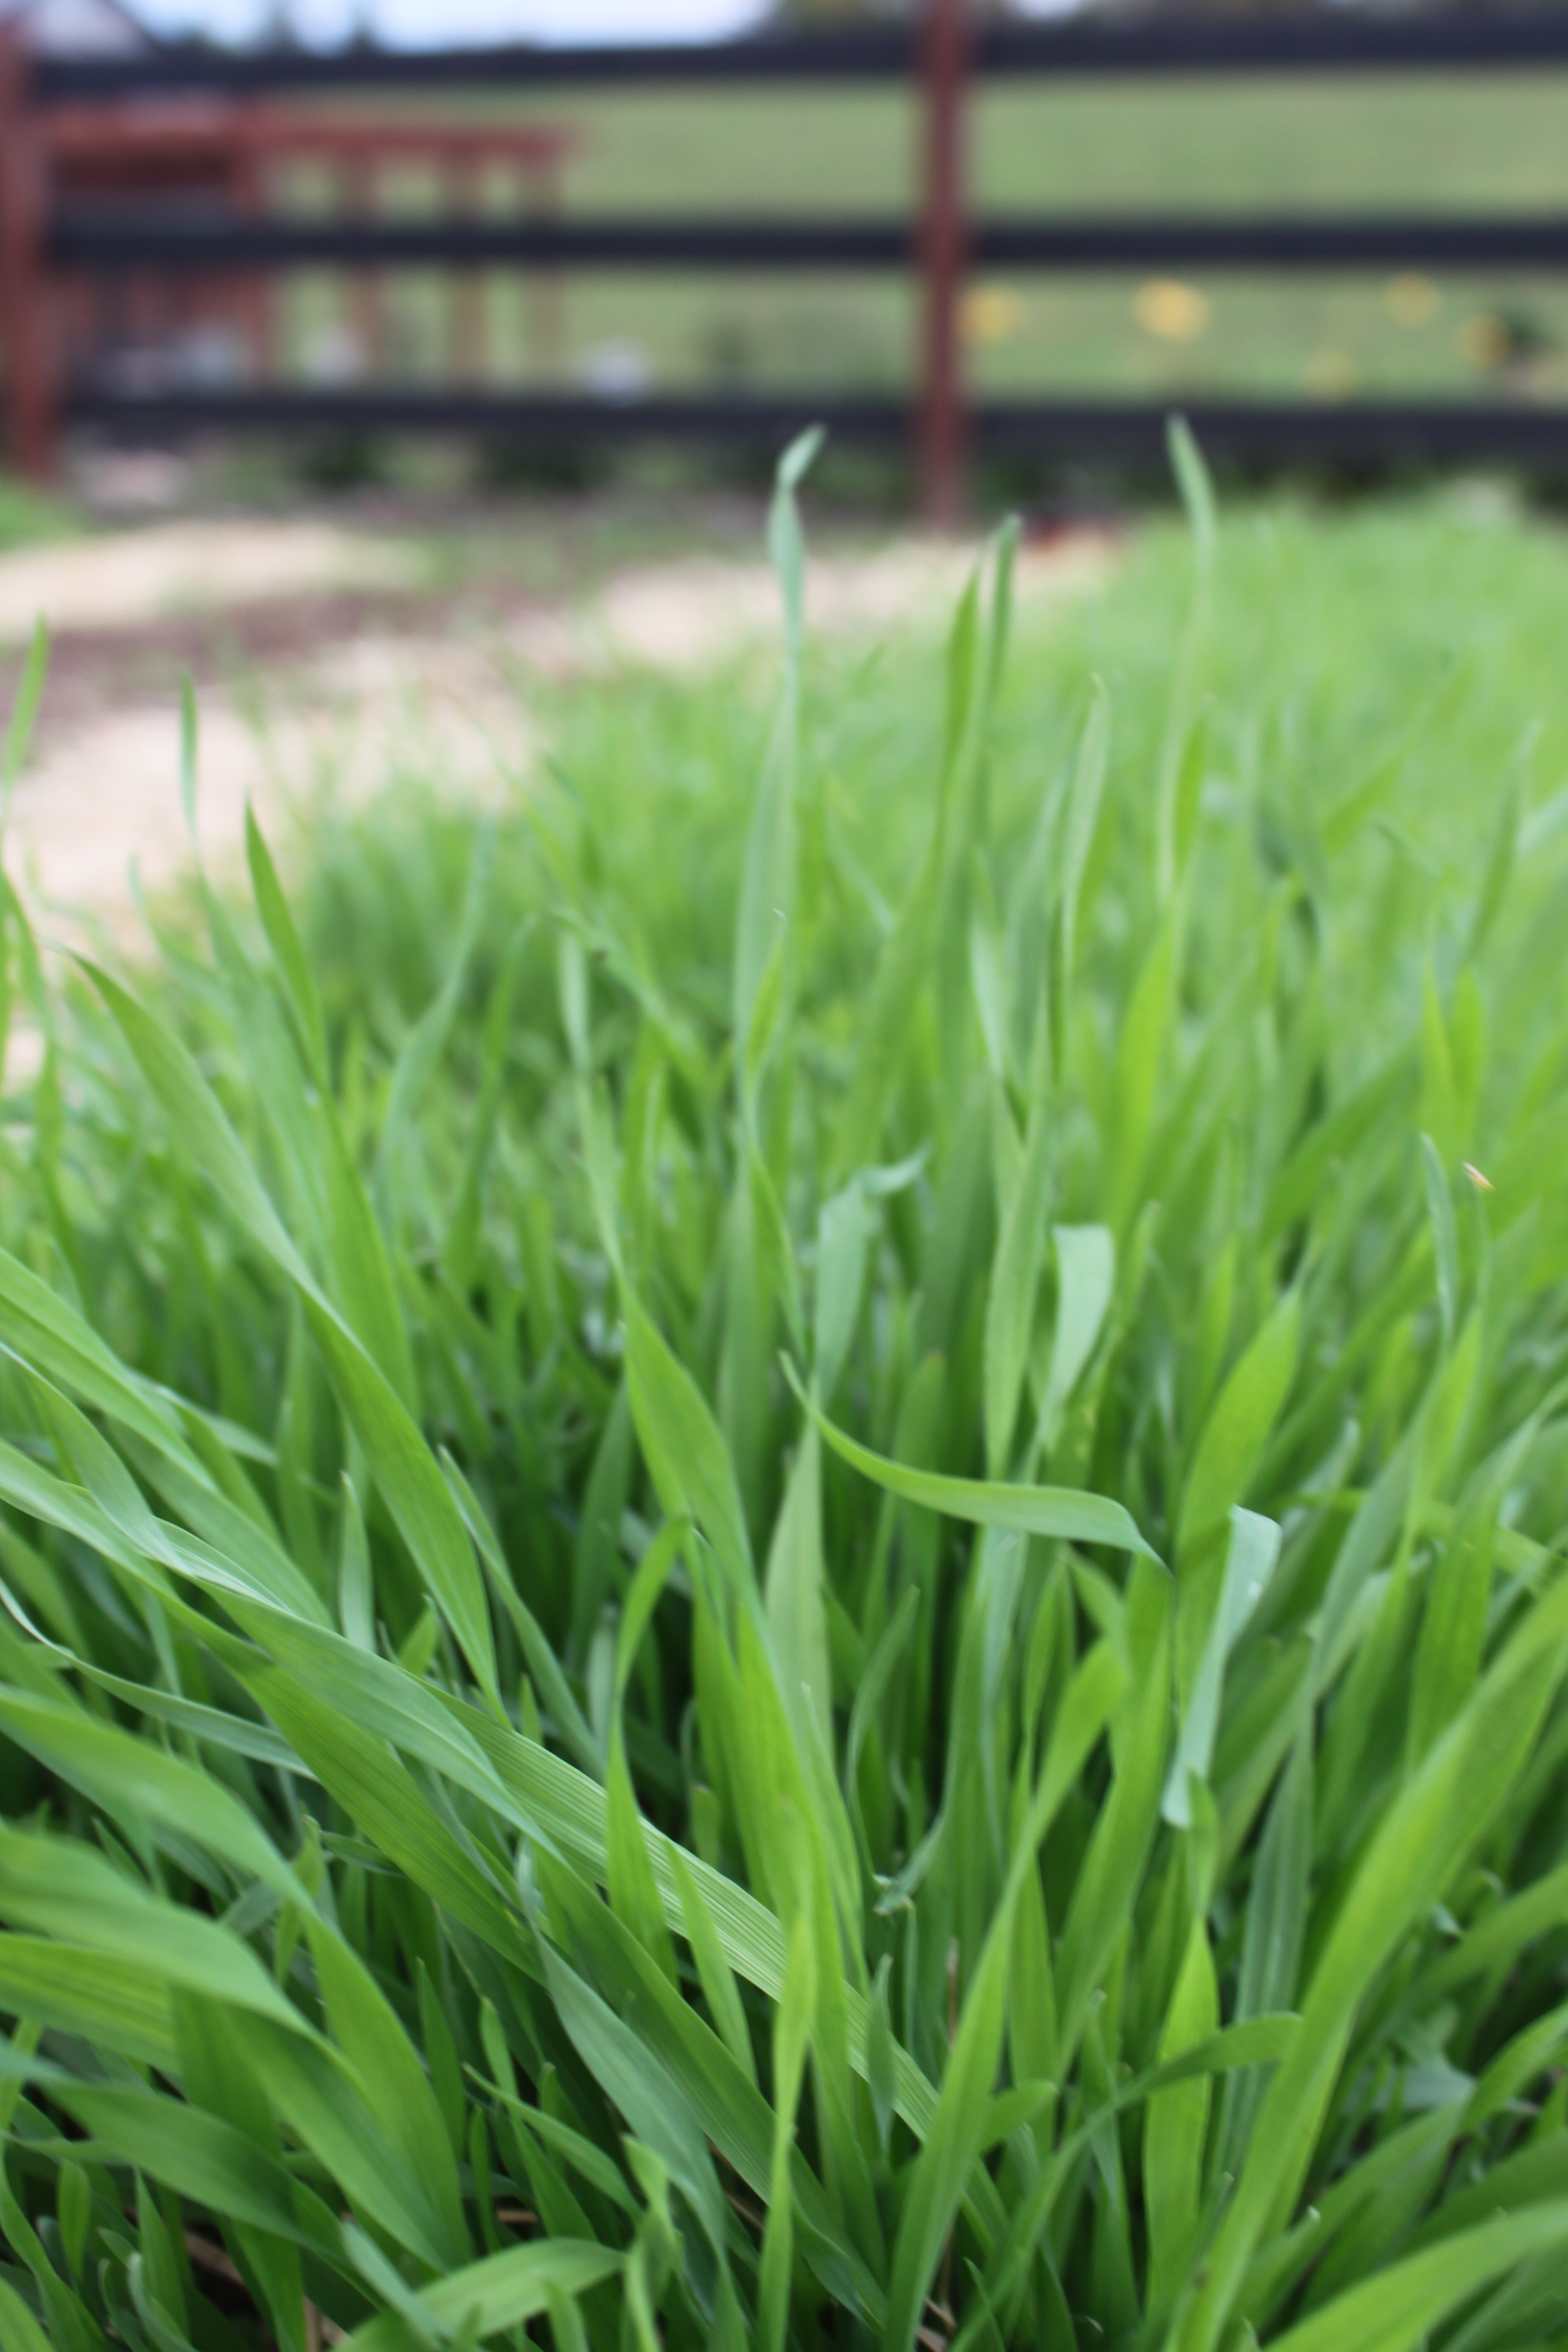
Lettuce in general prefers cooler weather – so you will want to plant a spring/early summer crop, with a second fall crop as well.  The hot summer heat tends to wilt and bolt lettuce.  The good news is that it’s a quick grower, and can actually go from seed to table in as little as three to four weeks!
Preparing The Soil And Planting Lettuce:
Rich, fertile soil is the key to great lettuce. 
Rich, fertile soil is the key to great lettuce.
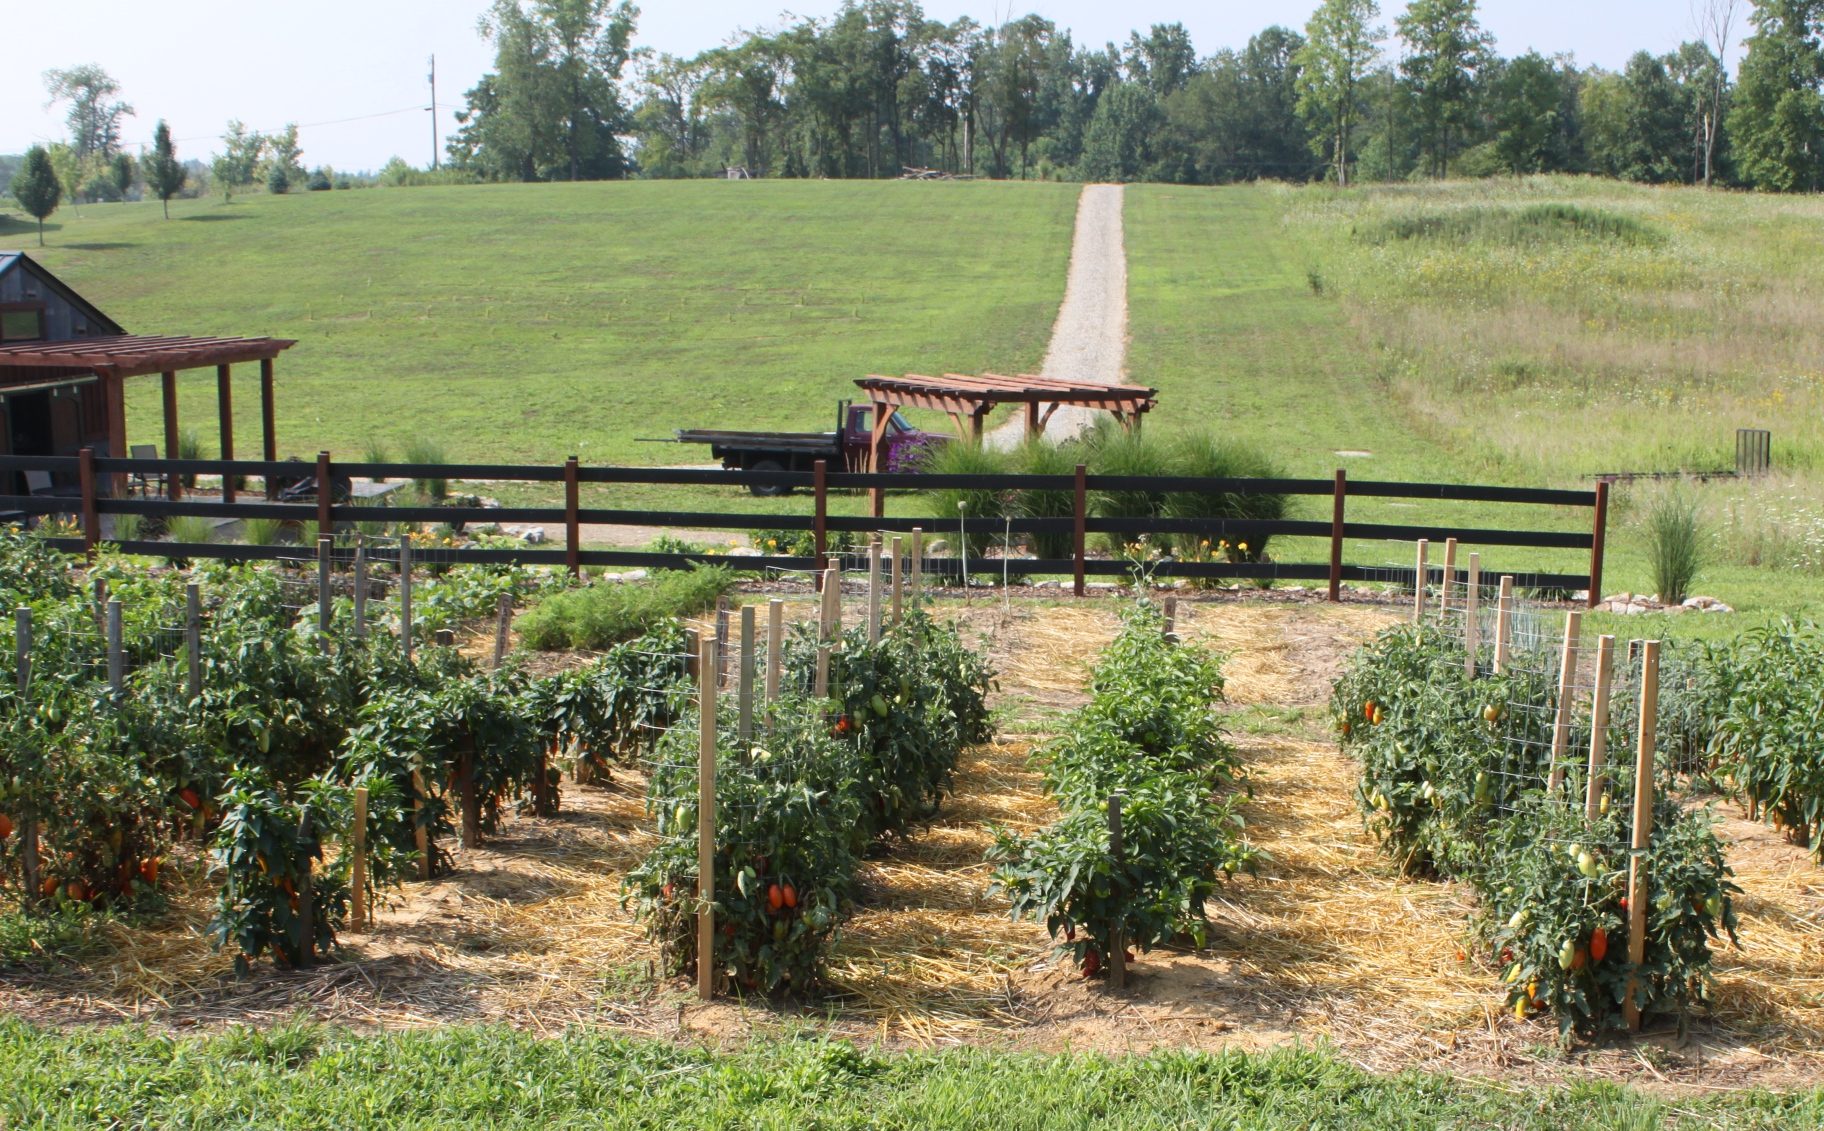
Lettuce prefers loose, fertile, and well-drained soil.  It will struggle to grow well in hard, clay-type soils.  Prepare your beds by adding in lots of compost and organic matter. If your soil is on the clay-type side – you can also add a few shovel-fulls of sand to help loosen the soil structure and aid in drainage.
Lettuce can be planted with transplants or by directly sowing seed into the soil. We prefer planting most of ours by seed, mainly for the convenience, and for us, they have seemed to do better emerging from the soil than they have as transplants.
If your soil is fertile, lettuce will not require much additional care other than keeping it watered throughout dry periods.  Lettuce, like most vegetable crops, should receive about 1″ of water per week.  If you do want to fertilize – an application of compost tea can be applied once the crops have emerged through the ground.
There is so much more to choose from than just "traditional" Iceburg lettuce 
There is so much more to choose from than just “traditional” Iceburg lettuce
We use a fair amount of straw mulch around the plants to keep weeds to a minimum – weeds can wreak havoc on lettuce crops.  Be sure to take care when weeding – lettuce roots are shallow and are easily pulled from the soil.
To help keep pests at bay – we like to plant a few of our hot pepper plants near our lettuce or directly in the middle of the lettuce bed. Garlic and onions are also known to have the same effect when planted near lettuce crops.
Harvesting Your Lettuce Crop:
Leaf lettuce can be harvested whenever the plants begin to become large enough to snip their tasty leaves.  The beauty of leaf style lettuce is that you can get multiple cutting from the same planting – increasing your yields.  Be aware though, that after the first few cuttings, the leaves will start to become a little less tender with each cutting.  If left alone, leaf lettuce will usually reach their maximum size in about 50 to 55 days.
Most head lettuce varieties mature in 55 to 70 days - and it is important to harvest them before the summer heat begins to wilt their leaves and change their taste.
To store lettuce, wash, drip or spin dry, and place in a plastic bag in the refrigerator. Lettuce keeps best right around 32°F.
Here are some of the types we grow and love:
We love Romaine Ridge - an organic variety we found at Johnny's Seeds. 
We love Romaine Ridge – an organic variety we found at Johnny’s Seeds.
Buttercrunch :  The name says it all!  Tasty, buttery leaves with a crisp bite.
Black Seeded Simpson :  A crisp, leaf lettuce with great flavor – also handles heat a little better than other varieities
Red Salad Bowl :   Just like its name, a great tasting, beautiful red-leafed lettuce adding lots of color to your plate.
Bibb Lettuce :  We use a variety call “Winter Bibb” – but bibb lettuce in general has a sweet, buttery leaf perfect for fresh salads.
Bibb lettuce is a great choice for the home gardener - it is full of flavor! 
Bibb lettuce is a great choice for the home gardener – it is full of flavor!
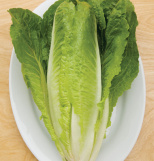
Romaine (Ridgeline) : This is an amazing variety of romaine – easy to grow, with wonderful flavor.
Concept : A Summer Crisp lettuce, it’s a great choice to sow in late spring because it can tolerate more heat than most lettuce types
Happy Gardening – Jim and Mary

Sunday, March 16, 2014

One of the reasons we have our community garden...

Farm and Garden To Table – Shaping Our Road To Self Sufficiency

One of the biggest reasons we started “Old World Garden Farms” was to simply become more responsible for the food our family consumed on a daily basis.
A fresh batch of salsa getting started - nothing beats the freshness of your own garden produce! 
A fresh batch of salsa getting started – nothing beats the freshness of your own garden produce!
In addition to the ever-rising cost of fresh food and produce, the simple fact is that almost everything you buy in the grocery store today either contains preservatives, additives – or has been sprayed with who knows what. And of course, if your plan is to just purchase all-organic produce – you might as well take out a loan on your house.
But by growing and preserving and preparing more of our own – we have indeed become more self-sufficient.  Our garden’s raised rows now account for the majority of our staple food year round (see: growing a garden for canning).
Our chickens have played a big part in our effort to becoming more self sufficient on our food needs 
Our chickens have played a big part in our effort to becoming more self-sufficient on our food needs
The chickens of course provide us eggs, the bees honey, and the fruit trees, grapes, blueberry, strawberry and blackberry plants and bushes  are beginning to produce a little more each year as well – allowing us to be able to preserve more for year round usage. In addition – the very work we put into it has allowed us to stay in better shape and stay active – two more great reasons to becoming more responsible for the food you grow.  A win-win all the way around.
Our 30 most used recipes  for preparing our own food 
Our 30 most used recipes for preparing our own food
The real key is in the plan – for us it is having a set of recipes that provide us with a large majority of the food we eat on a consistent basis.  As we sat down to write this article – we realized that there are about 30 recipes that make the main staples of our meal plans.
These are the recipes that have helped us to eliminate so many artificial flavorings, preservatives, and unhealthy foods from our diet. Staples like breads, pasta and sauces, cereal, jams, jellies and more that we use on a daily basis to create most of our meals and snacks. So we named them “The Go-To 30″ – and even created a new tab on the site to keep them handy. (see : 30 Recipes To Self Sufficiency)
IMG_7249 
Fresh pasta ready to be rolled into noodles
Don’t get me wrong – we still enjoy going out to eat from time to time – and we realize we can never grow everything we need –  but I can honestly say we both really prefer growing, cooking and eating our own food over anything else.  And it has made a difference for our kids as well. It has been amazing to watch them over the last few years actually ask for hot pepper mustard, fresh salsa, or home-made pasta.
It has nearly cut out the “middle aisles” of the grocery store for us.  I can’t tell you the last time we have had to buy canned vegetables, pasta sauce or cereal.  These days – we stick mainly to the outside aisles of milk, juice, fresh meat – and fresh fruits and vegetables when our own are not in season.  Hopefully, that too will decrease with the building of the hoophouse and cold frames –  and as our small orchard begins to allow us to pick and preserve more to use year around.
Get that garden started this year and take charge of your own food! 
Get that garden started this year and take charge of your own food!
There have never been more reasons to grow your own food than now.  With the extreme drought hitting certain parts of the country – and other crops that will be ruined from this winter’s extreme cold – it may harder than ever in the coming months to find the fresh vegetables and fruits we want. All the more reason to start that garden this year!
If you would like to receive our Sunday Farm Update each week – be sure to sign up to follow the blog via email in the right hand column, “like” us on  the Facebook, or follow us on Twitter.   - You can also always feel free to email us at : thefarm@owgarden.com
Happy Gardening – Jim and Mary!

Saturday, March 15, 2014

THEY'RE GROWING!!!!!

Last weekend, we planted tomato, pepper and marigold seeds (thanks to those who came and helped).  We also planted eggplant.

March 8, 2014 - seeds started
The tomato seeds have germinated and are UP AND GROWING TOWARD THE LIGHT!  You probably heard my squeal of delight on Thursday evening when I peeked at them and they had sprouted!  I took the covers off the top and put them under the grow lights and they are now straight up and growing toward the light. I am STILL amazed, year after year, when I see the plants grow...what a miracle I am able to witness each growing season.  Later in the year, when we are harvesting, I reflect back to the time that we just planted a tiny little seed and how the plant is now HUGE and producing enough to feed our community garden -- and then some.  We are truly blessed!  Be sure to thank your Heavenly Father for this incredible experience that we are embarking on.  I know prayers work in the growing of this garden.
March 15, 2014 - germinated and growing toward the light: TOMATOES

Our peppers and eggplant haven't sprouted yet; it will probably be another 1-1/2 to 2 weeks before we will be able to take off the lids on the peppers/eggplant and see them grow toward the light.

This week we also planted broccoli, cabbage, more cherry and regular tomatoes (our favorite Sun Gold cherries as well as a Pineapple Tomato and a Cherokee Pole Tomato).  All of our plants thus far have been heirloom.

So, in a few weeks, we will be transplanting our seedling into small pots where they will stay and grow inside of my home until they are ready to transplant into the community garden.

That's today's update... onward to springtime!

Tuesday, March 11, 2014

Try growing one at home...

Growing Heirloom Tomatoes – Experience REAL Flavor!

Black cherry tomatoes are the perfect salad tomato and full of flavor
If you have never tried an heirloom tomato – you need to put it on your bucket list!
Most all commercial varieties of tomatoes, and for that matter, vegetable plants in general – are selected and grown for their ability to look good at the local supermarket, and travel well getting there.
A Cherokee Purple Tomato on the vine. 
A Cherokee Purple Tomato on the vine.
They are certainly not selected for their taste!
Sadly, many of the best tasting varieties of tomatoes have been weaned out of the mainstream in the last 50 years – simply because they were not pretty enough to display at the market – or they didn’t have a long shelf life.  However, thanks in part to a few dedicated individuals and seed companies and their efforts to save these heritage varieties – flavor is coming back in bunches!
If you have ever savored a thick juicy slice of a Brandywine tomato – or tasted the full-bodied flesh of a Purple Cherokee –  you know exactly what I am talking about.  Heirlooms ooze with flavor!  In fact – its not fair to even attempt to compare them to a regular “supermarket” tomato.
The beautiful meaty flesh of a Brandywine tomato 
The beautiful and tasty flesh of a sweet Brandywine tomato
The best part of all – you can save the seeds from year to year.  Heirloom tomatoes are old-time open-pollinated and stabilized varieties that can be saved and planted to give great tasting tomatoes every year.
Seed companies such as Baker Creek Seeds, Johnnies, Patriot Seed Supply, and the Sustainable Seed Company, along with many others now specialize in all types of heirloom vegetable seeds – making it easy to try your hand at growing an almost infinite variety of tasty tomatoes.
When purchasing, keep in mind that there are basically two types of tomatoes – determinate and indeterminate.
The Amish Paste Tomato is an excellent choice for those wanting to make sauce, salsa or ketchup. 
The Amish Paste Tomato is an excellent choice for those wanting to make sauce, salsa or ketchup.
Determinate varieties are more of a bush style plant – and have most all of their fruit ripen over a two to three week period. They are great for small gardens and containers – and for those who want to can or process a lot of tomatoes at once.
Indeterminate tomatoes, on the other hand, will grow and keep on producing tomatoes until killed by frost. They need to have good staking support in the garden – as some can grow upwards of 10 feet – although 5 to 6′ is more the norm (See: making your own tomato supports). I like them because they continue giving all season long.
Heirloom tomatoes make a great base for home made pasta sauce! 
Heirloom tomatoes make a great base for home made pasta or pizza sauce!
So with that said – here are six of our favorites (all indeterminate). Rest assured – there are hundreds more out  - and that is why every year we try a few more to add to our favorite list!
So make sure to plant a few heirlooms in your garden this year and provide an explosion of taste to everyone in your family!

Our Favorite Heirloom Varieties:

Black cherry tomatoes are the perfect salad tomato and full of flavor 
Black cherry tomatoes are the perfect salad tomato and full of flavor
Amish Paste :  This is the heirloom variety of what most know as a “Roma” style of tomato.  Thick walled and great for making sauces and ketchup – this is a perfect tomato for canners!  They are also great for salads because they stay nice and firm when sliced.
Black Cherry :  If you like cherry tomatoes – you will love this black cherry heirloom variety.  They produce tons of small round black and reddish fruit that are perfect for salads, salsa – or just eating one after another!  They have a super-sweet rich flavor that can’t even be compared to those bright red cherry tomatoes you find in plastic boxes at the grocery store. They keep on growing and producing til frost – so be prepared to have plenty on hand!
The Copia Tomato is one of our favorites. It has beautiful striping to go with great flavor. We found these at Baker Creek Seed Co. 
The Copia Tomato is one of our favorites. It has beautiful striping to go with great flavor. We found these at Baker Creek Seed Co.
Copia Tomato:  This one is so unique and so good!  Large plants grow to produce yellow and red striped tomatoes that are almost neon in color. They are perfect for slicing and eating or to add tons of flavor and color to salads.  They are also a great conversation starter!  I have only found this one at Baker Creek Seeds.
Cherokee Purple:  This is my personal favorite. It produces large, beefy tomatoes that have a dark deep red to purplish hue. When sliced open – they are meaty and really make the perfect tomato sandwich!
It is said to have been grown and handed down from the Cherokee tribe – hence the name. This one can easily grow 6 to 8 feet tall.
Brandywine: This is a favorite among so many gardeners – and for great reason – the flavor is amazing! It is probably the most widely known and grown variety of heirloom tomatoes. These grow very large and dense, and we are always surprised by the weight of the tomatoes.
Our raised row garden. 
You will definitely need to stake up heirloom tomatoes like Brandywine and Cherokee Purple – they can easily take over a garden if left to roam.
Black Krim :  Another “Out of this World” tasting tomato.  Just like the name implies – it becomes a dark blackish-purple when ripe.  It originates from Russia, and has really become a favorite among heirloom tomato lovers. A word of caution – be prepared to support this one – it grows large and will take up some space!

Sunday, March 9, 2014

Why not try to grow just one item from seed at your home? I'll be happy to help!

Preparing For Gardening Season – A Little Work Now Pays Off Later!

Nothing says Spring like seeds popping up through the soil!
There is really no way to describe the incredible feeling that a new gardening season brings.
It wont be long until we can enjoy fresh sugar snap peas from the garden! 
It wont be long until we can enjoy fresh sugar snap peas from the garden!
Just the thought of those first seeds going into the ground – or the taste of just-plucked fresh lettuce, tomatoes, and peppers from the garden can put a smile on the grumpiest of the grumpy.
It’s hard to believe we are just a few weeks away from putting those first spring crops of sugar snap peas, radishes, lettuce and kale into the ground.
As exciting as that is – it also means we have much to do to get ready for it all!
Now is the time to review the garden plan one last time to make sure we have everything ready. 
Now is the time to review the garden plan one last time to make   sure everything is ready.
Once the season hits – there just never seems to be enough time  - so we have learned that a little preparation now can make all the difference between a well orchestrated garden oasis – or total chaos.
For us, that means going over the garden plan (see 2014 Garden Plan) one final time to make sure everything we need is ready to go.  So we spent yesterday checking seeds, making new tomato supports and cleaning up the barn.
Creating New Tomato and Pepper Supports For The Garden:
stake 
Our newly made stake a cages. 60″ stakes with an 18″ grid of welded wire and a pencil point to drive in the ground easily.
We have used our home-made Stake-A-Cages for three years now, and I can honestly say they have been one of the workhorses of our garden – keeping our plants healthy and organized.(see: How to make a Stake-A- Cage) It is such a simple concept – but it really keeps our tomatoes and peppers supported through the summer months, and lets us harvest our crop with ease.
With that said – it was time to fix a few of the early ones, and build a few more for the added plants that will go in this year.
When we first made them 3 years back – we used some left over pine for the stakes.  It worked well, although a few of the stakes now need replacing from the wear of 3 gardening seasons.
The sharp pencil points of the survey stakes will make it easy to drive into the ground 
The sharp pencil points of the survey stakes will make it easy to drive into the ground
For this batch – we were able to get an amazing deal on some 1.5″ x 1.5″ x 60″ hardwood survey stakes that have a pre-sharpened pencil point – making driving into the soil a breeze.  We then attached 18″ x 48″ welded-wire fencing to each post with a few 1″ staples from the staple gun, and in a little less than an hour – we made 50 new stake-a-cages for the garden.
The stakes ran us about $1.40 each, and we picked up a 100′ roll of the wire for about $55. At a total cost of less than $2 to make each support – it’s a bargain – especially since the hardwood stakes will last much longer than the pine.  We even added a quick OWG stencil to each post to give it a little more garden flair. :)
Seed Starting:
Nothing says Spring like seeds popping up through the soil! 
Nothing says Spring like seeds popping up through the soil!
This is also the time to make sure all of the seeds are started in time for the coming months. The first of our plants – the ornamental peppers, were seeded a few weeks back.  They have a long germination time so we needed to get them started first. They are now up and on there way under the lights on the homemade growing stand.  (see: Starting Seeds Indoors)
Starting today – all of our heirloom tomato and hot, sweet and green pepper seeds will get planted – giving them a full 8 weeks to become established before putting them into the ground around May 15th.  They usually pop up within 7 days of going into the seed trays, unlike the ornamental peppers that can take almost 21 days.
Labeling is the key to keeping it all straight! 
Labeling is the key to keeping it all straight!
No matter what we plant – we always place two seeds in every pod to ensure a full tray of seedlings.  If we get enough doubles to come up – we just transplant into an additional flat to have a few extra on hand for family and friends.  One thing I can definitely say we learned is the power of labeling every container and flat. It seems so easy to remember what you have planted in the beginning.  But when our home-made growing stand is full – we have close to 600 plants up at once – and by May – they all begin to look the same.  The labels are a lifesaver to make sure we are planting tomatoes where tomatoes go!  (see: Making an Indoor Seed-Starting Stand)
Preparing The Garden – Green Manure Cover Crops
The bright green texture of  4 week old annual rye - a great green manure crop 
The bright green texture of 4 week old annual rye – a great green manure crop
Normally at this point we will begin to turn a few of the raised rows fall cover crops back into the soil to get ready to plant the early spring crops in about a week. But this year’s late and heavy snows have left them still on the wet side. Hopefully we can dry out this week and get the soil turned and planted in the next two weeks.
For the rows that will not have spring crops planted – we will turn as soon as time allows and plant a quick “green manure” crop of annual rye.  It really helps to build a little more nutrients into the soil before mid-May’s big vegetable planting. (See: Planting Green Manure Crops)
With that said – it’s time to get back to those seed trays and get them planted!  Happy Gardening – Jim and Mar