Using Pallets to Build A Canning Pantry Cupboard

Our crate and pallet board pieces after disassembling a pallet and a shipping crate
Over the last few months – about every few days we get a comment or two on the canning cabinet or buffet hutch we built out of old shipping crates and pallets. A lot of people want to know how we went about making it. So we thought for today’s post we would go through the how 2′s of building with pallets and shipping crates – with a little extra information on the canning pantry. It’s a great project – with very little cost involved – and lets you store over 200 jars of canned goods!
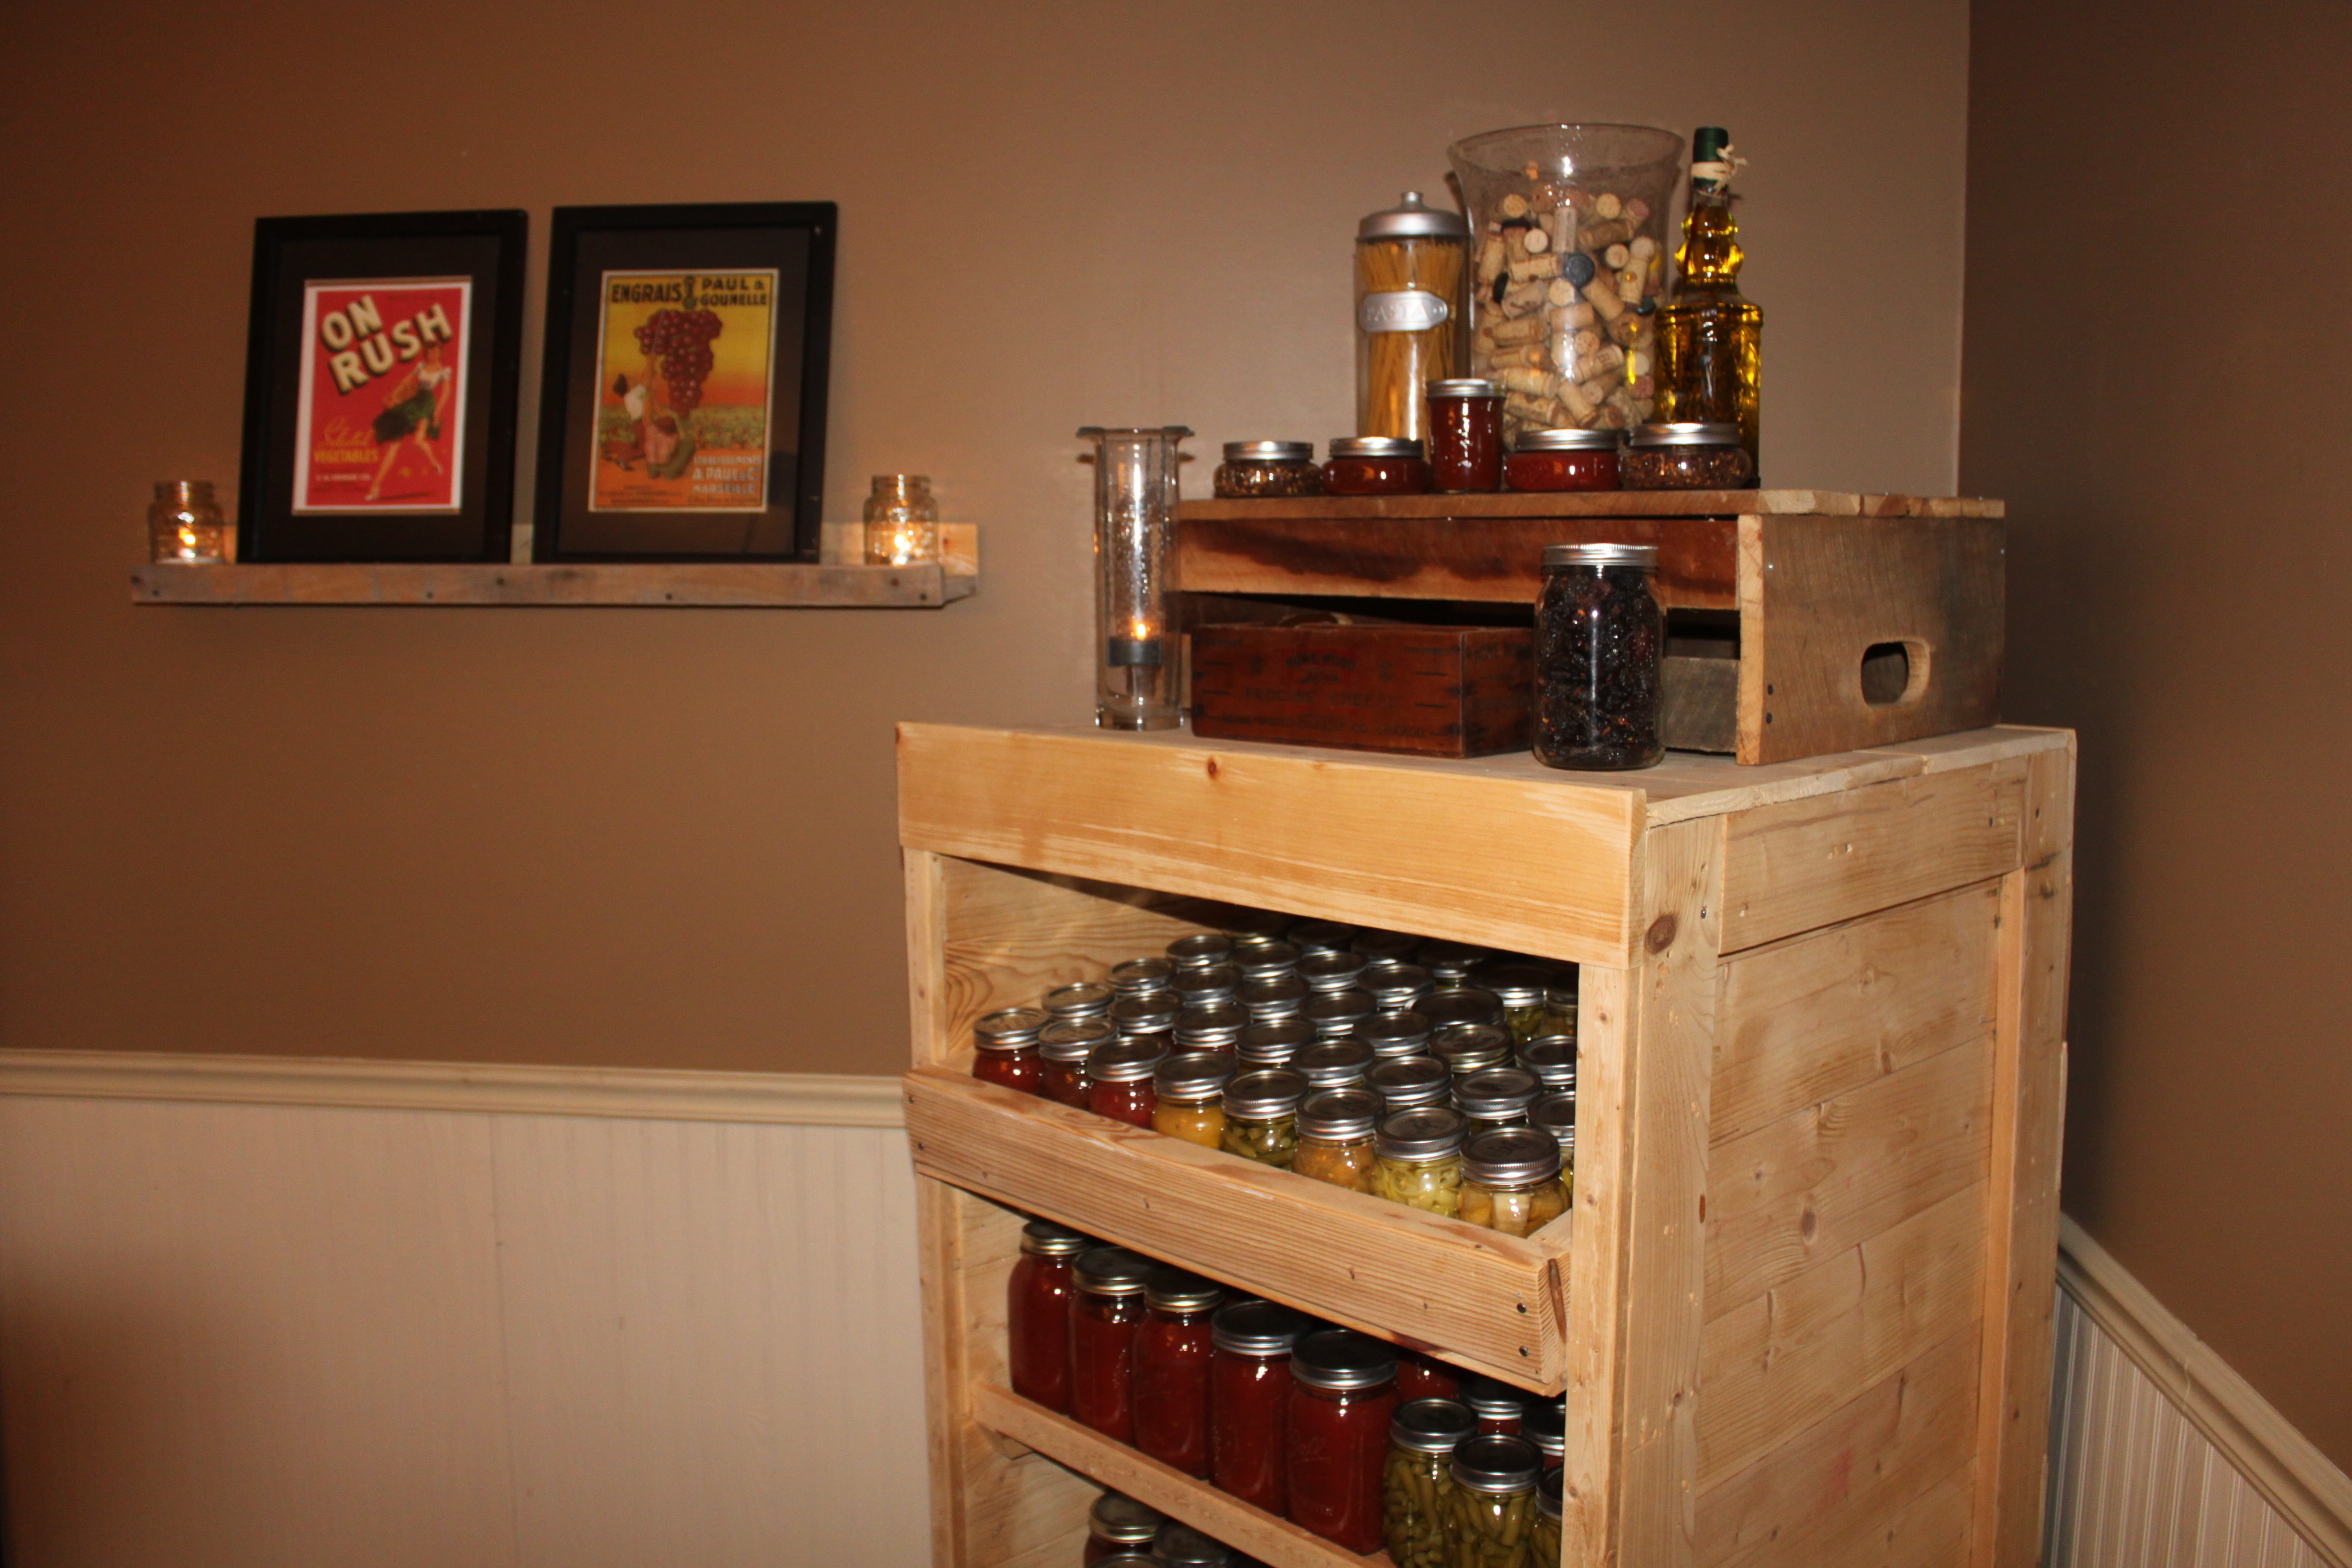
Our Canning Cabinet made from old pallets and shipping crates. We tilted the top shelf forward a touch for a better display, and added a lip to keep jars from coming off the other shelves.
We have actually made two of them – the first we built from pallets – the second from some old shipping crates and pallets. But for both – the only tools we used were a Sawzall, Nail Gun, Construction Adhesive (liquid nails heavy – duty), 3″ coarse drywall screws and a drill with a Phillips #2 screw bit (for drywall screws)
For the canning cupboard, we started by tearing apart about 4 pallets to use for the sides and shelving boards. We learned early on to not waste time trying to pull the nails from boards and remove every little speck of everything. You end up damaging way too many boards and it takes forever!

Canning pantry shelves are made from pallet boards nailed into 2 x4 frames.
We use a reciprocating saw with a long demolition construction blade and simply slice through the nails. Leave all of the remnant flat nails in the boards, not only does it add lots of character – its super quick. If you place the pallet up on end you can slice through all of the nails in about 15 seconds. Just repeat the process until you have cut them all and you end up with 15 to 25 single boards to work with for every pallet. (depending on pallet size and make-up – you usually get boards about 3 to 5″ wide by 30 to 48″ long). With shipping creates – we just disassemble the sides with the sawzall and then you have ready-made building panels to work with. Whatever you use – pallets, shipping crates or old barn wood – the important thing is to have simple straight boards to build with.

Buffet Hutch made with pallet panels and shipping crate remnants. Same concept – just a little bit bigger than the canning cabinet.
Anytime we make anything with pallets – whether it’s the canning cupboard or the buffet hutch – we will then use the left over 2 x 4′s that make up the pallet’s inside rails to build the carcass structure. They are durable – and although heavy – they are free and make the structure strong. Speaking of the structure – we always use coarse drywall screws and heavy-duty construction adhesive to assemble. The screws hold tight and the adhesive holds forever. Don’t worry about anything other than the framing being straight. Once again if there are some left over bits of nail that have been sawed off smooth – let it be – it just makes for a great patina when stained or painted over.

Side of the cabinet – simple straight pallet boards nailed to a long pallet board makes up a building panel.
Once we have the structures carcass built – we just simply use all of the straight boards cut from the pallets to cover. For this we will use the nail gun for speed and looks – but you could just as easily use a hammer and nails. Once you have trimmed it out to your liking – you can paint, stain or leave natural – and you have a unique conversation piece.
The biggest piece of advice – don’t sweat the details! The biggest mistake people make when using reclaimed lumber or pallets is tot try to make it too perfect. It’s far better to not try to sand everything super smooth - or take out every little crack or dent in the wood. Let them be - it just makes it look that much better.
We do have complete plans for the pantry on our Etsy shop - but whatever you build – the key is to make it yours and have fun with it!
Jim and Mary
No comments:
Post a Comment