Thursday, September 12, 2013

This is so cool....

Using Pallets to Build A Canning Pantry Cupboard

Crate and pallet boards after disassembly
Our crate and pallet board pieces after disassembling a pallet and a shipping crate
Over the last few months – about every few days we get a comment or two on the canning cabinet or buffet hutch we built out of old shipping crates and pallets.  A lot of people want to know how we went about making it. So we thought for today’s post we would go through the how 2′s of building with pallets and shipping crates – with a little extra information on the canning pantry.  It’s a great project – with very little cost involved – and lets you store over 200 jars of canned goods!
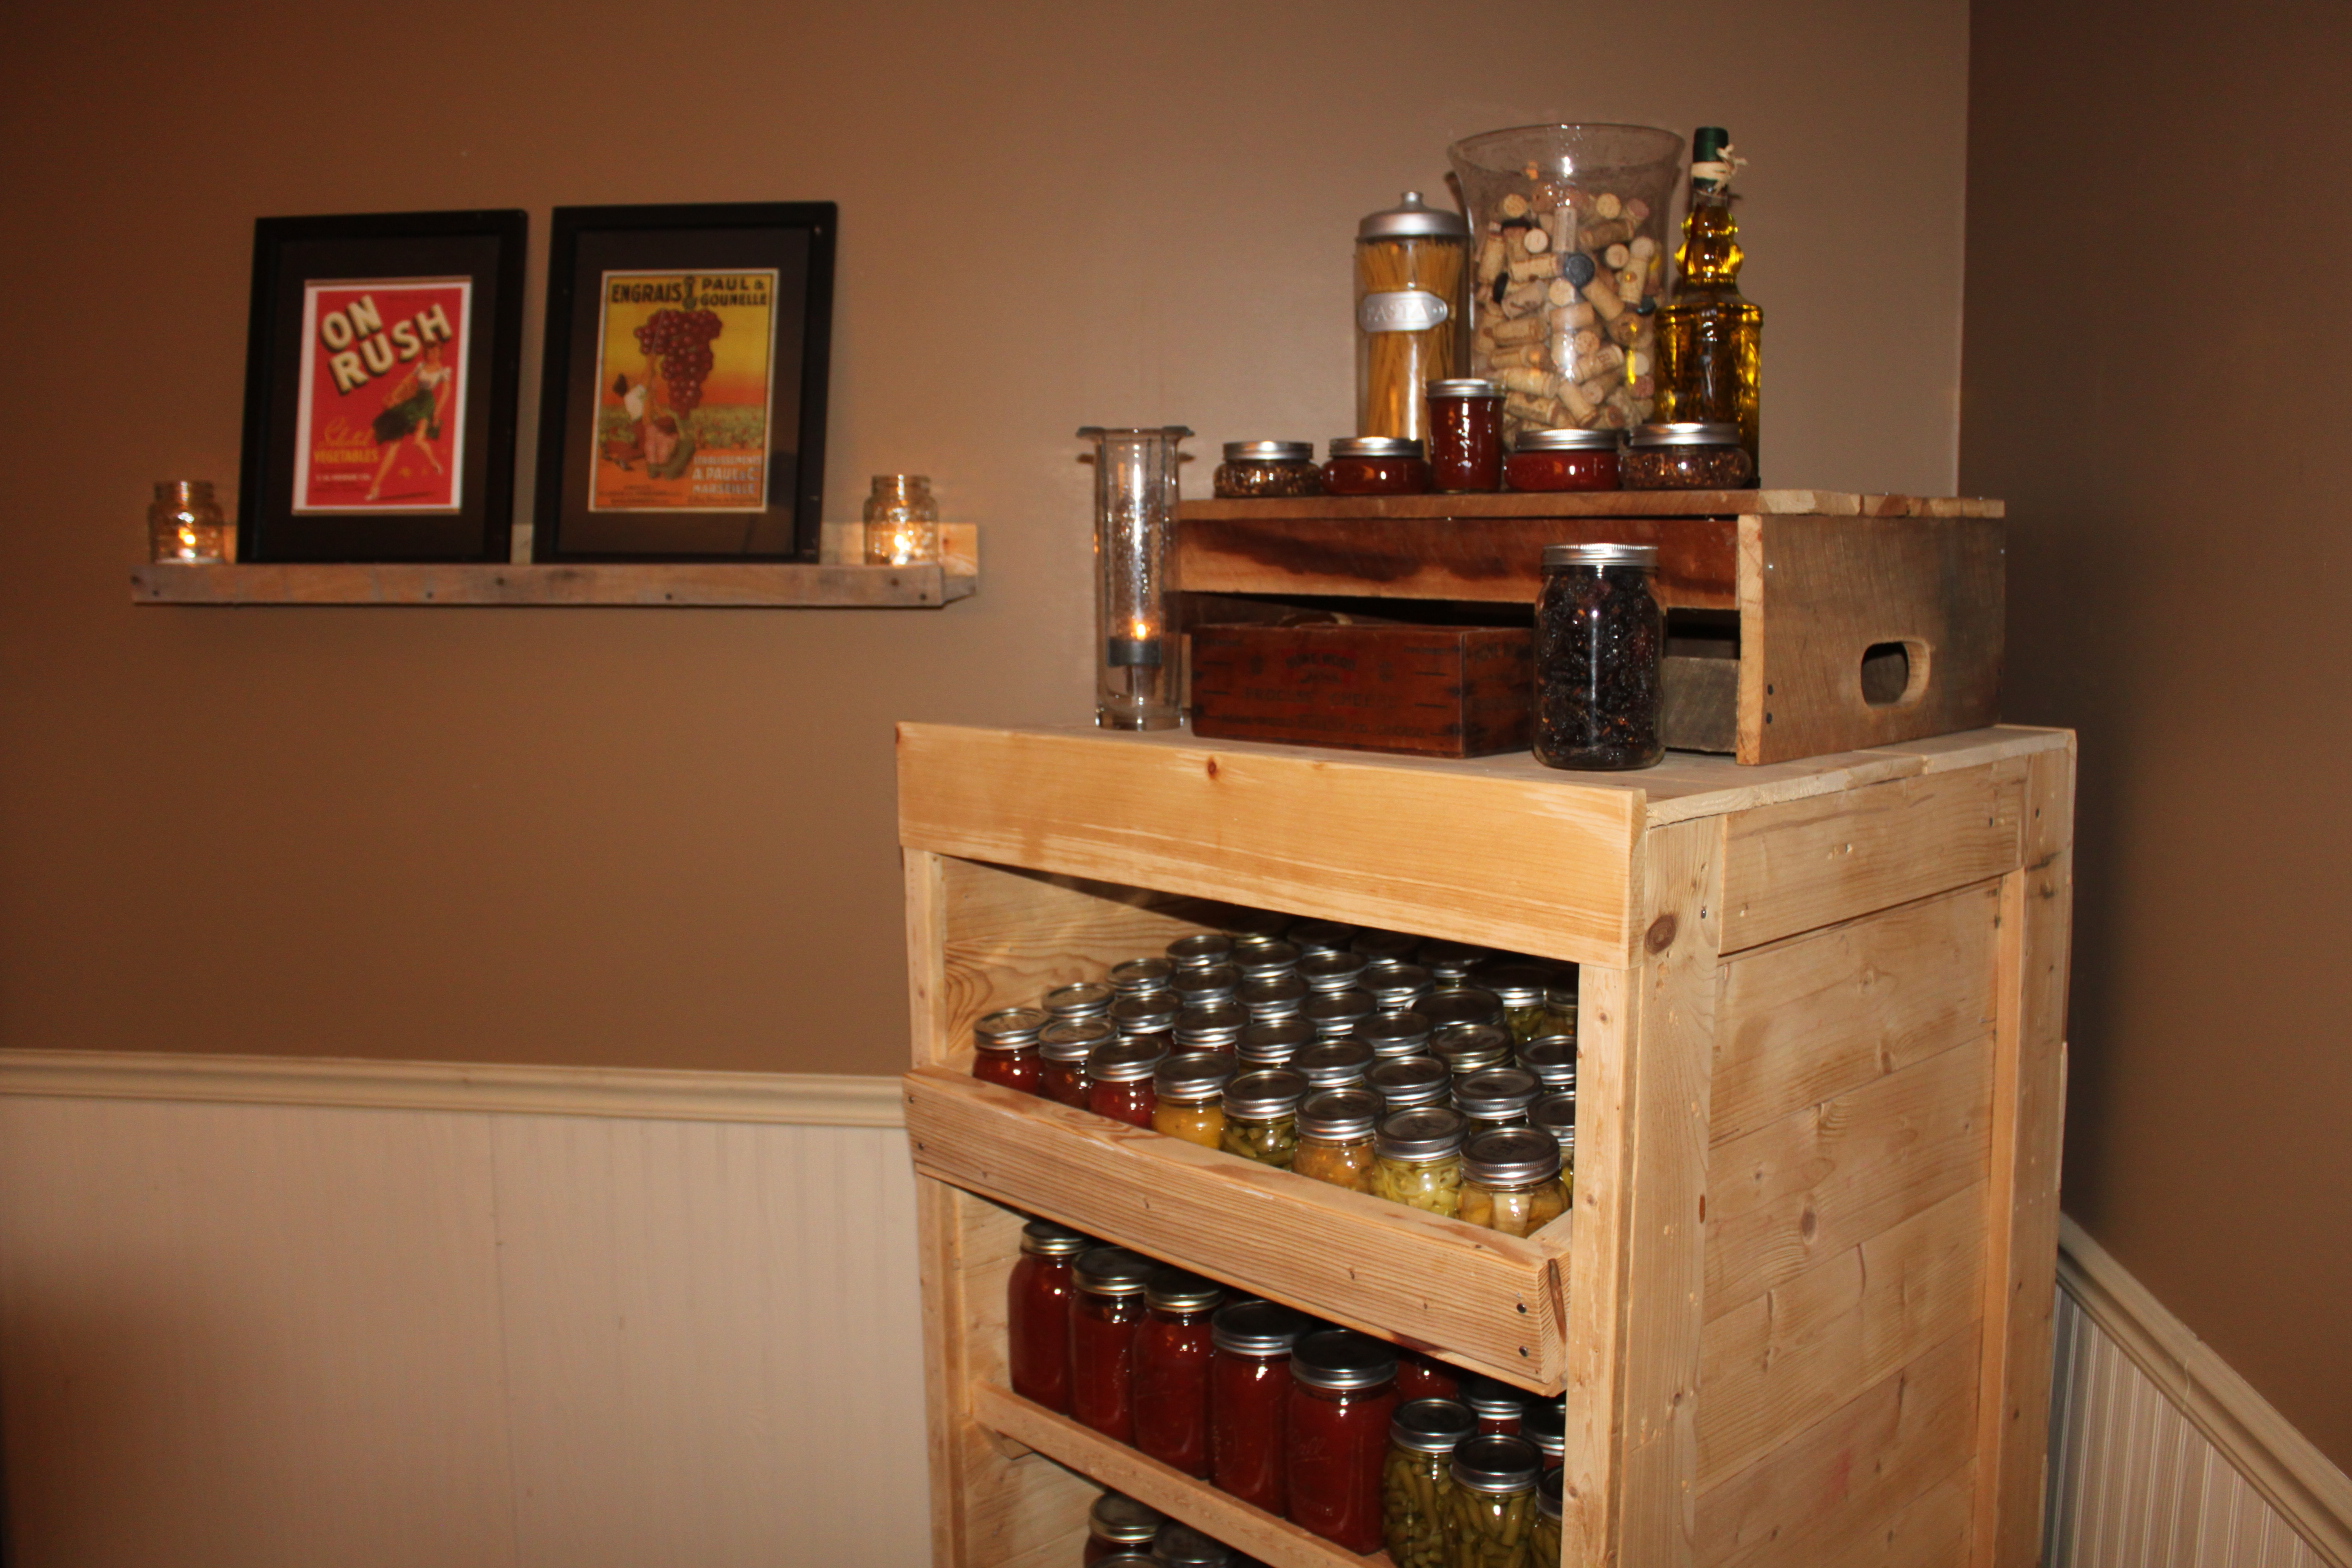
Our Canning Cabinet made from pallets and shipping crates
Our Canning Cabinet made from old pallets and shipping crates.  We tilted the top shelf forward a touch for a better display, and added a lip to keep jars from coming off the other shelves.
We have actually made two of them – the first we built from pallets – the second from some old shipping crates and pallets.  But for both – the only tools we used were a Sawzall, Nail Gun, Construction Adhesive (liquid nails heavy – duty), 3″ coarse drywall screws and a drill with a Phillips #2 screw bit (for drywall screws)
For the canning cupboard, we started by tearing apart about 4 pallets to use for the sides and shelving boards.   We learned early on to not waste time trying to pull the nails from  boards and remove every little speck of everything.  You end up damaging way too many boards and it takes forever!
Canning pantry shelves are made from pallet boards nailed into 2 x4 frames.
We use a reciprocating saw with a long demolition construction blade and simply slice through the nails.  Leave all of the remnant flat nails in the boards, not only does it add lots of  character – its super quick.  If you place the pallet up on end you can slice through all of the nails in about 15 seconds.  Just repeat the process until you have cut them all and you end up with 15 to 25 single boards to work with for every pallet. (depending on pallet size and make-up – you usually get boards about 3 to 5″ wide by 30 to 48″ long).  With shipping creates – we just disassemble the sides with the sawzall and then you have ready-made building panels to work with.  Whatever you use – pallets, shipping crates or old barn wood – the important thing is to have simple straight boards to build with.
Buffet Hutch made with pallet panels and shipping crate remnants.  Same concept – just a little bit bigger than the canning cabinet.
Anytime we make anything with pallets – whether it’s the canning cupboard or the buffet hutch – we will then use the left over 2 x 4′s that make up the pallet’s inside rails to build the carcass structure.  They are durable – and although heavy – they are free and make the structure strong.  Speaking of the structure – we always use coarse drywall screws and heavy-duty construction adhesive to assemble.  The screws hold tight and the adhesive holds forever.  Don’t worry about anything other than the framing being straight.  Once again if there are some left over bits of nail that have been sawed off smooth – let it be – it just makes for a great patina when stained or painted over.
Side of the cabinet – simple straight pallet boards nailed to a long pallet board makes up a building panel.
Once we have the structures carcass built – we just simply use all of the straight boards cut from the pallets to cover.  For this we will use the nail gun for speed and looks – but you could just as easily use a hammer and nails.  Once you have trimmed it out to your liking – you can paint, stain or leave natural – and you have a unique conversation piece.
The biggest piece of advice – don’t sweat the details!  The biggest mistake people make when using reclaimed lumber or pallets is tot try to make it too perfect.  It’s far better to not try to sand everything super smooth  - or take out every little crack or dent in the wood.  Let them be  - it just makes it look that much better.
We do have complete plans for the pantry on our Etsy shop - but whatever you build – the key is to make it yours and have fun with it!
Jim and Mary

Wednesday, September 11, 2013

GREAT food storage recipe ... homemade pasta with only two ingredients!

Making Home Made Pasta – Passing Down A Family Tradition From Italy

My Grandmother. Born in Italy in 1899, she came to the US where she met and married my grandfather.
This past weekend, we spent the day making home-made pasta noodles with my mom, my sister and brother-in-law.  Mary and I both grew up with parents who made fresh pasta, and although I am sure we both may have been “little helpers” in our youth – this was truly the first time for either of us to really learn the art.  The best part of all, was in addition to making incredible fresh pasta – we learned so much more about the past.
Tried and true recipe with vintage tools of the trade
The recipe itself is simple.  Two basic ingredients. Eggs, and flour – with about 1 egg for every cup of flour.  It can’t get more simple than that – and it’s easy to see why pasta of all types has fed many a generation of hungry people.  It’s inexpensive and easy to make – and it filled you up!
On this day we had the privilege of using my mother’s pasta maker. It was imported from Italy over 65 years ago as a wedding present from my Italian grandmother to my then newlywed mom.
The pasta maker that was given to my mother as a wedding present in 1953 – still as beautiful as it was then!
As the day unfolded – I became amazed at just how many things my mom still used and that still looked and worked so well from those earlier years.
In addition to the pasta maker, we beat the eggs and mixed flour in brightly colored vintage Pyrex mixing bowls, and worked the dough on an old wooden pie board that was a wedding shower present.
If that wasn’t enough – we rolled and cut dough out on a classic cherry red kitchen table from the 50′s – in the extra downstairs kitchen my father had built for mom, complete with their matching vintage refrigerator and oven (still both working by the way!).
Working in the vintage kitchen - Admiral Fridge and Stove, along with a classic red table and the pasta machine.  
We joked with my mom that all of her older “things” are so “in” right now – but after spending the day working with everything – it’s easy to see why that’s the case.  There is no mistaking the quality and workmanship built into the tools and appliances of our parents and grandparents era. Things were built to last, and taken care of by a generation who valued what they had.  Something that I think our generation should and could learn a lot from.
6 farm fresh eggs from our hens in a vintage red Pyrex bowl – ready to be beaten and mixed into the flour
So while we rolled the dough through the machine – We got to hear great stories about how my grandmother would make mountains of pasta right on the kitchen table – and all about big sunday dinners of the past, complete with spaghetti, fried chicken and of course, homemade wine.
We finished the day with a great family style spaghetti feast – topped with pasta sauce we had canned from our garden – and yes a little wine too (someday, hopefully we can use one of our own bottles!)   It felt like after all that pasta we should have included a nap as well!
The dough balls – all ready to be rolled through the pasta machine and then cut into noodles.
All joking aside – this day will go down as a favorite.  Spending time with family, passing on recipes, hearing stories of the past and enjoying great home-made food – that is something no amount of money can ever buy – and something I will cherish for the rest of my life.
We also learned some valuable lessons from my mom in keeping a pasta machine working.  Never ever use any type of water to clean it. And never use salt in the dough.  If you follow those two simple rules…you end up with one vintage machine that can crank out a lot of noodles in it’s lifetime.  We included our little step by step process of the pasta making at the bottom of the post – if you have never tried it – it’s so worth the time!
Mary and Jim
**If you would like to receive our Recipe Of The Week each Friday – be sure to sign up to follow the blog via email in the right had column, “like” us on  the Facebook, or follow us on Twitter.

Sunday, September 8, 2013

Pick a Peck of Pickled Peppers...

What To Do With A Banner Crop Of Peppers – The Sunday Farm Update

A bushel of fresh picked banana and cajun belle peppers
A bushel of fresh picked banana and Cajun Belle peppers
The pepper crop in the garden has come to life in the last few weeks. Thankfully – every year – the majority of the peppers seem to come on about two to three weeks after the tomatoes have had their moment in the sun.  I’m not quite sure what we would ever do if they all hit at once! So as soon our last jars of salsa, tomato juice and pasta sauce have been filled and canned – our attention turns to the pepper crop - and how to preserve them.
A bowl of our Chinese Lantern Peppers.  They are a new favorite - a super flavor, super hot - but the heat goes away quickly.
A bowl of our Chinese Lantern Peppers. They are a new favorite – a super flavor, super hot – but the heat goes away quickly.
We grew a total of 17 varieties of peppers in the garden and landscape this year, with 10 of them being hot, and one of which (poinsettia) we call just plain ridiculously hot :) . California Wonder and Big Bertha Green, Red, Yellow and Orange Bell, Marconi, Italian Roaster, Mariachi, Pimento, Super Cayenne, Chinese Lantern, Jalapeno, Hot Banana, Cajun Belle, Cubanelle, Poinsettia and Sangria all found their way onto the farm this year. And all of them are now loaded with peppers!
The beautiful but insanely hot poinsettia ornamental pepper
For some of the varieties – such as our hot banana peppers – it’s simple. They are grown solely as the main ingredient for Mary’s Hot Pepper Mustard. (And unfortunately – the only recipe we can’t share – it’s a family secret passed down through Mary’s family :) )
For the green peppers, and the red and yellow bell sweet peppers – freezing is the name of the game.  We slice them up and use a food saver to shrink-wrap them into stir fry packets for use through the winter. Freezing them whole takes up too much room – and quite honestly – the flavor and texture of frozen whole bell peppers are never the same once frozen.
Jars of roasted red peppers sealed and ready for storage.
Roasted Red Peppers – This was a recipe (Roasted Red Pepper Recipe)  that Mary featured just a few weeks back – and is an excellent way to enjoy the flavor of your sweet red peppers throughout the year. They are fantastic in pasta dishes of all kinds – adding intense garden flavor.
Whether it’s homemade jalapeno poppers, stuffed sweet heat Cajun Belles – or spicy stuffed mariachi peppers – we use many of our hot peppers to make some killer appetizers as well as main dishes.   If you really like the heat – you can leave more of the seeds and membrane in – but if you remove – you can really reduce the heat of a completed dish. Hot peppers get their heat and kick from capsaicin, the substance located in the seed pod and in the membrane lining of the pepper’s inner walls.  If you remove that – you remove most of the heat!   See : Stuffed Cajun Belle Recipe
We leave many of our jalapenos to turn red on the plants to smoke them into chipotle peppers.
Jalapenos : The jalapenos have multiple uses. They are great to east fresh and in salsa –  but maybe the most flavorful use is to smoke and make our own chipotle peppers from our red jalapenos late in the season.See: Making Your Own Chipotle Peppers.  Just allow your jalapenos to turn red on the vine and you’re ready to go!
We also make a sweet jalapeno recipe (Cowboy Candy) that is really good as a condiment on sandwiches, hot dogs or hamburgers – or even in chili!
My personal favorite is Jalapeno-Chicken Soup.  Not only is it spicy and full of flavor – I swear that it can cure the common cold! :) .  It was one of the first recipes we featured on the blog, and you can find it here : Jalapeno Chicken Soup Recipe.
Hot pepper flakes and powder made from our peppers.
So last but not least – when we have made everything we can think of and we still have hundreds of peppers left – we make our own pepper flakes and pepper powder!  It is a great way to use up loads of peppers before they go bad – and it’s so simple to do! You can use them to make hot pepper flakes, hot pepper powder, taco seasoning and even chili powder from your own dried hot peppers. See: Making Your Own Hot Pepper Flakes And Powder.  We also make enough to give away to friends and family that love the fresh pepper grind.
Happy Gardening - Mary and Jim

Saturday, September 7, 2013

The How To of Planting Fruit Trees

How And Why To Plant Fruit Trees In The Fall

Nothing beats the taste of fresh picked cherries!
For those of us that love to garden – nothing can beat the quick return of bountiful harvests from the planting of tomatoes, peppers, corn and more each year. However, not to be forgotten are the years and years of fruit harvests that can be provided from a single planting of a few fruit trees to your yard or landscape.
There is something that is so satisfying about planting fruit trees – somehow signifying that you are putting down roots of a more permanent nature.  Fruit trees can be a valuable addition for those that are trying to be more responsible for growing their own food – and requires much less maintenance than an annual garden.
Fall Planting:
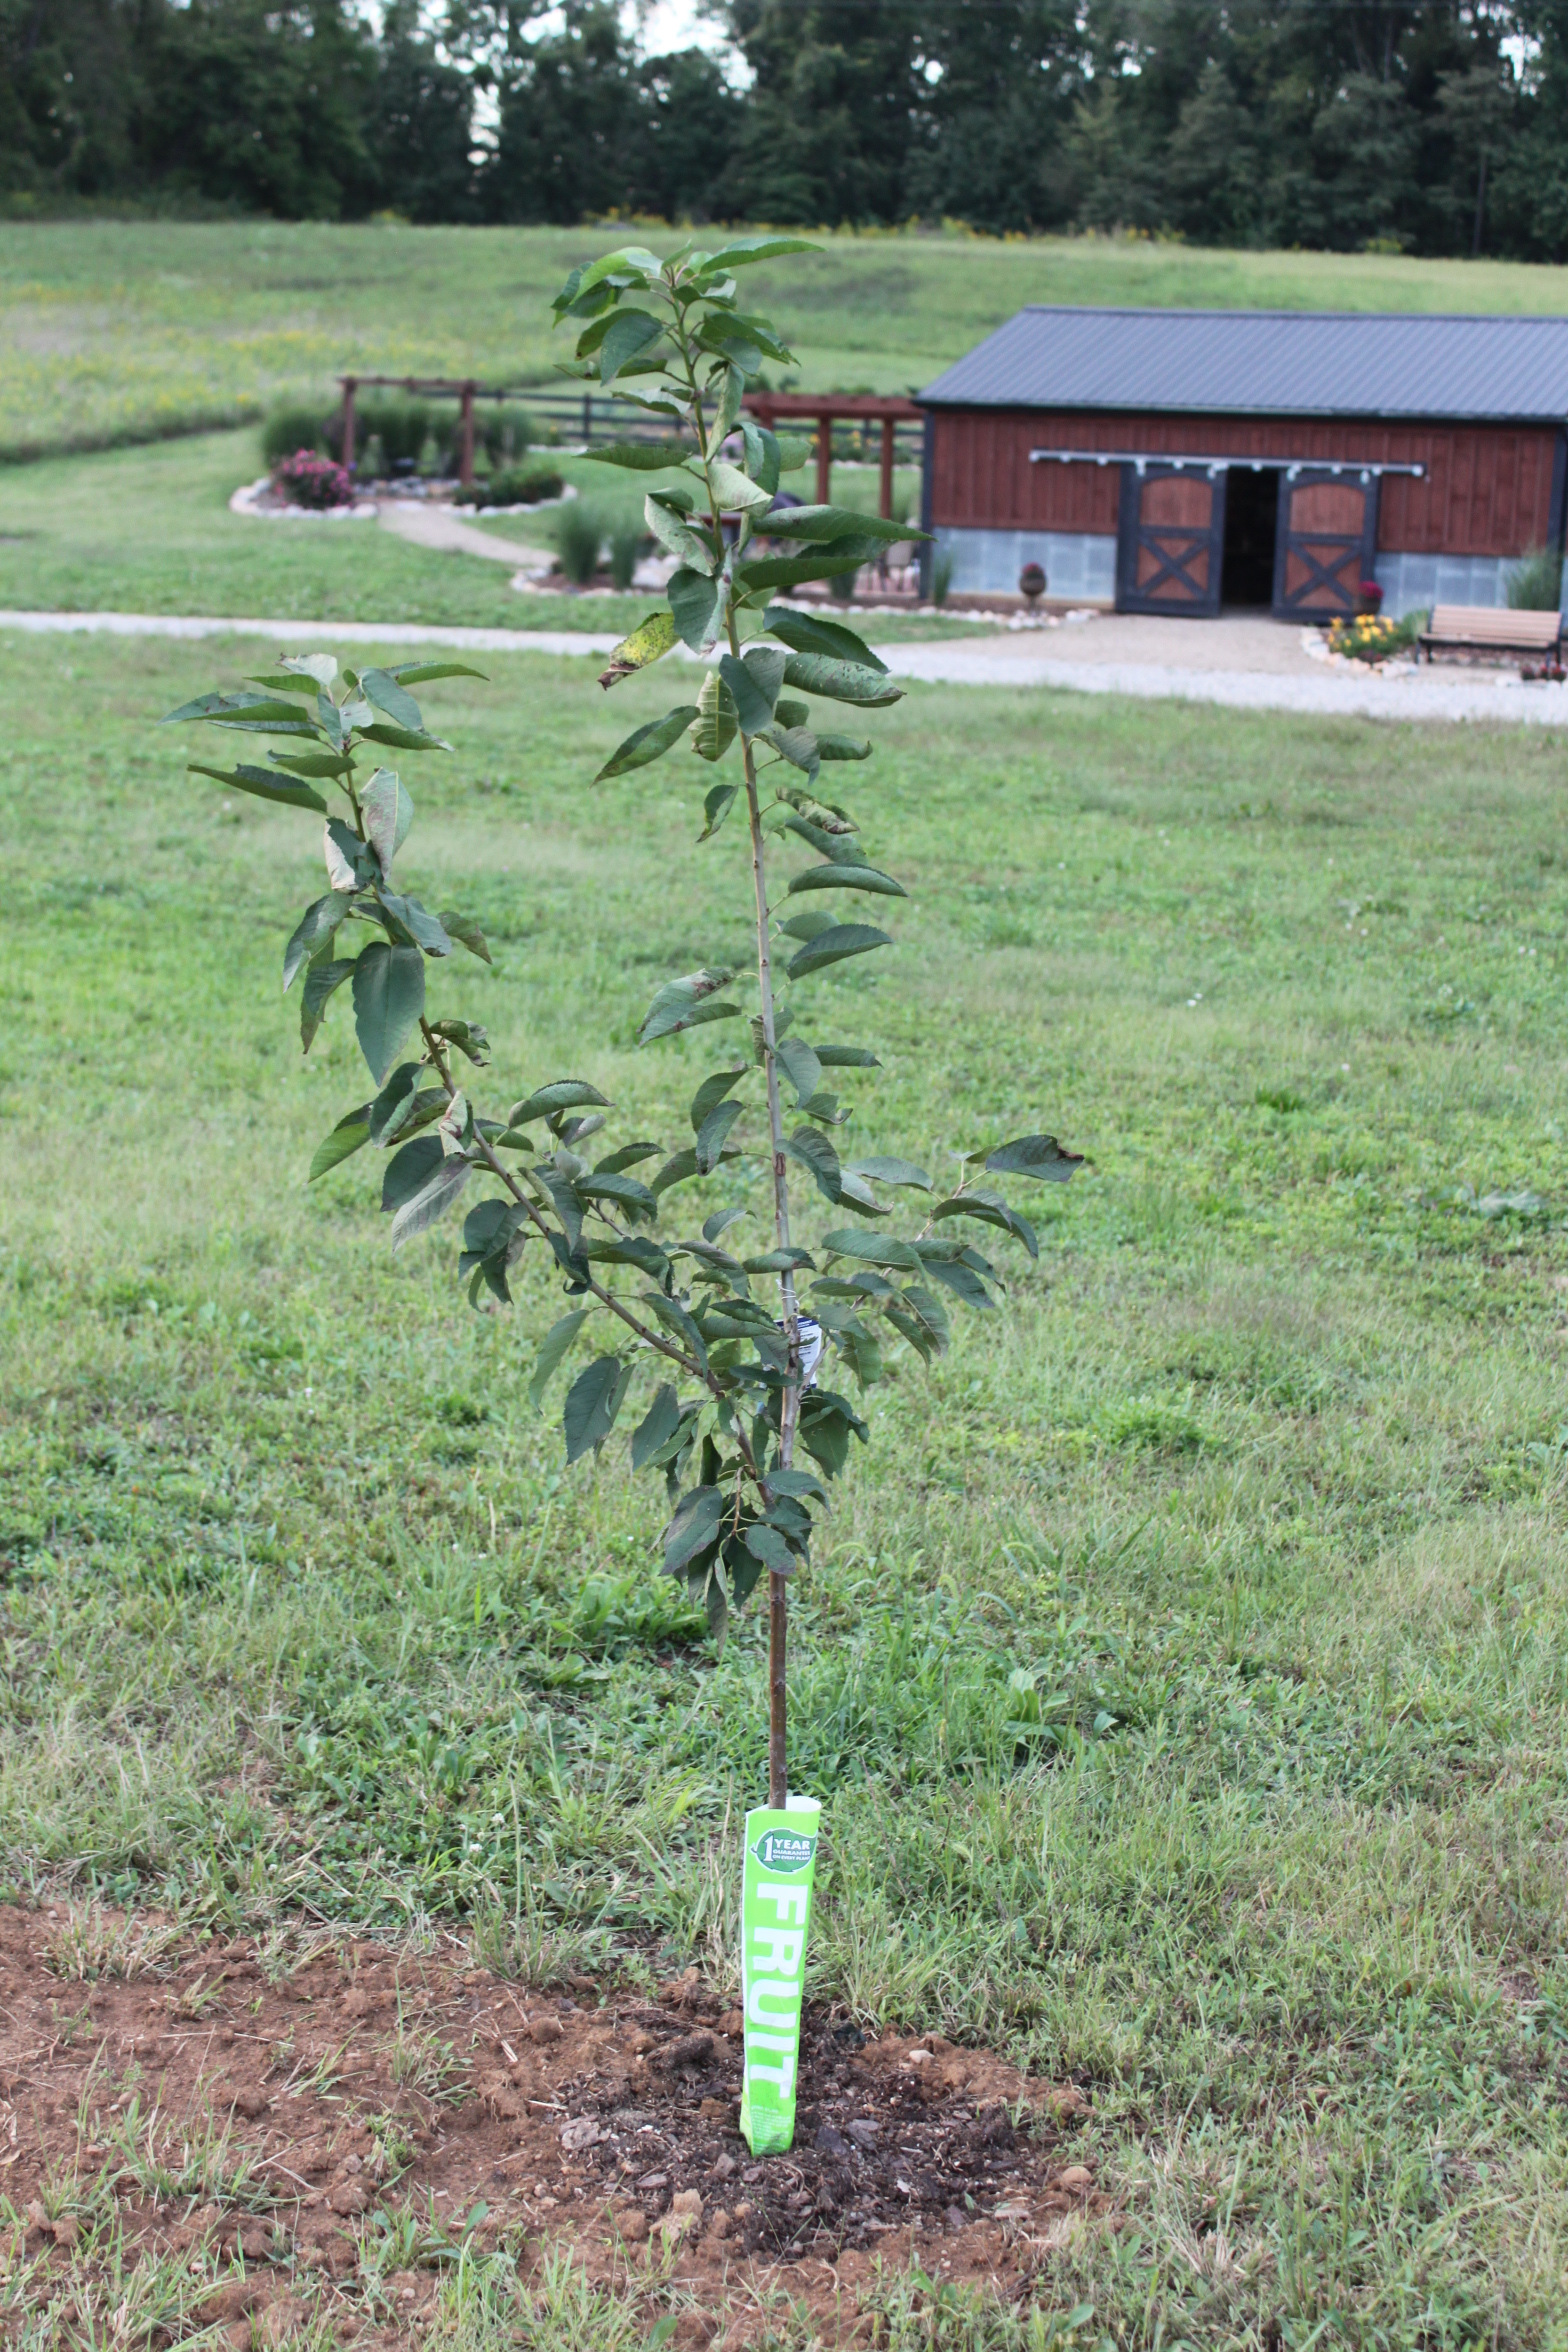
A newly planted apple tree at the farm
Although you can plant fruit trees into your landscape at any point of the growing season – fall is really the best time to plant.
The advantages to planting your trees in the fall are many.  For one, the cooler temperatures are much less stressful on the trees and require far less watering than planting trees in the spring and taking them through the hot summer months.
Fall planting allows just enough time for the roots of a tree to become established – getting them accustomed to the soil and preparing them for fast growth the following spring.
Choosing Your Trees:
Whether you would like to grow your own cherry, pear, or apple trees –  take care when you select your fruit trees.  Make sure you select varieties that are hardy and tolerant to your growing zone.  In addition, most fruit trees require a second pollinator to insure that the trees will bear fruit.
Freshly peeled apples being prepared for making fresh apple butter
For example – let’s say you like the Fuji apple variety.  If you plant a single Fuji apple tree – you may be sad to find out you will never enjoy the tasty apples that so many of us love. That’s because the Fuji is a self sterile variety – and requires a second pollinator to fruit.  So in order to have Fuji apples – you will need to plant a partner tree such as Gala or Granny Smith variety as well.
It may sound a bit daunting at first between selecting tolerant and partner friendly varieties – but almost all nurseries have easy to read pollination charts that can walk you through the process.  And of course – don’t be afraid to ask questions – most nurseries worth their salt will have someone on staff that can guide you through the process.
TIPS TO PLANTING:
Planting a fruit tree is actually a very simple process.
As with your garden - mixing in compost in your planting hole is a great way to get your trees off to a good start!
As with your garden – mixing in compost in your planting hole is a great way to get your trees off to a good start!
Dig your planting hole about two to three times the diameter – and about 1 1/2 times the depth of the container that your tree came in.  Once your hole is dug – mix back in equal amounts of compost and soil to the bottom of the hole, filling it up enough so that the top of the tree’s root ball sits about and inch or so above the top of the hole. At this point, water the root ball generously (a few gallons) – and then fill in around the rest of the hole with equal amounts of compost and soil.  When your tree is completely planted – you want the base of the trunk to be just above ground level – allowing for good drainage.  Apply a 2 to 3″ layer of mulch (shredded hardwood mulch, straw, or shredded leaves work well) to help the tree retain moisture and protect the root ball from winter.  That’s it!
Can anything be better than a fresh fruit pie?!
You will want to water your trees for the remainder of fall – applying a few gallons around the root zone when mother nature doesn’t provide her own.  If your tree is large enough – you may also want to stake it to provide protection from winter winds.
As for spacing – on average most dwarf trees should be planted about 8 to 10 feet apart – and at least 12 feet between rows. For semi-dwarfs 10 to 12 feet apart and 14 to 16 feet between rows, and for full size trees, your best bet is to read the label to make sure you leave adequate growth for specific trees.
With a little work this fall – you can be enjoying your favorite fruits for years to come!
Happy Gardening!  - Jim and Mary

Friday, September 6, 2013

Applesauce, anyone?

The Secrets to Canning Apple Sauce – Recipe of the Week

IMG_4660
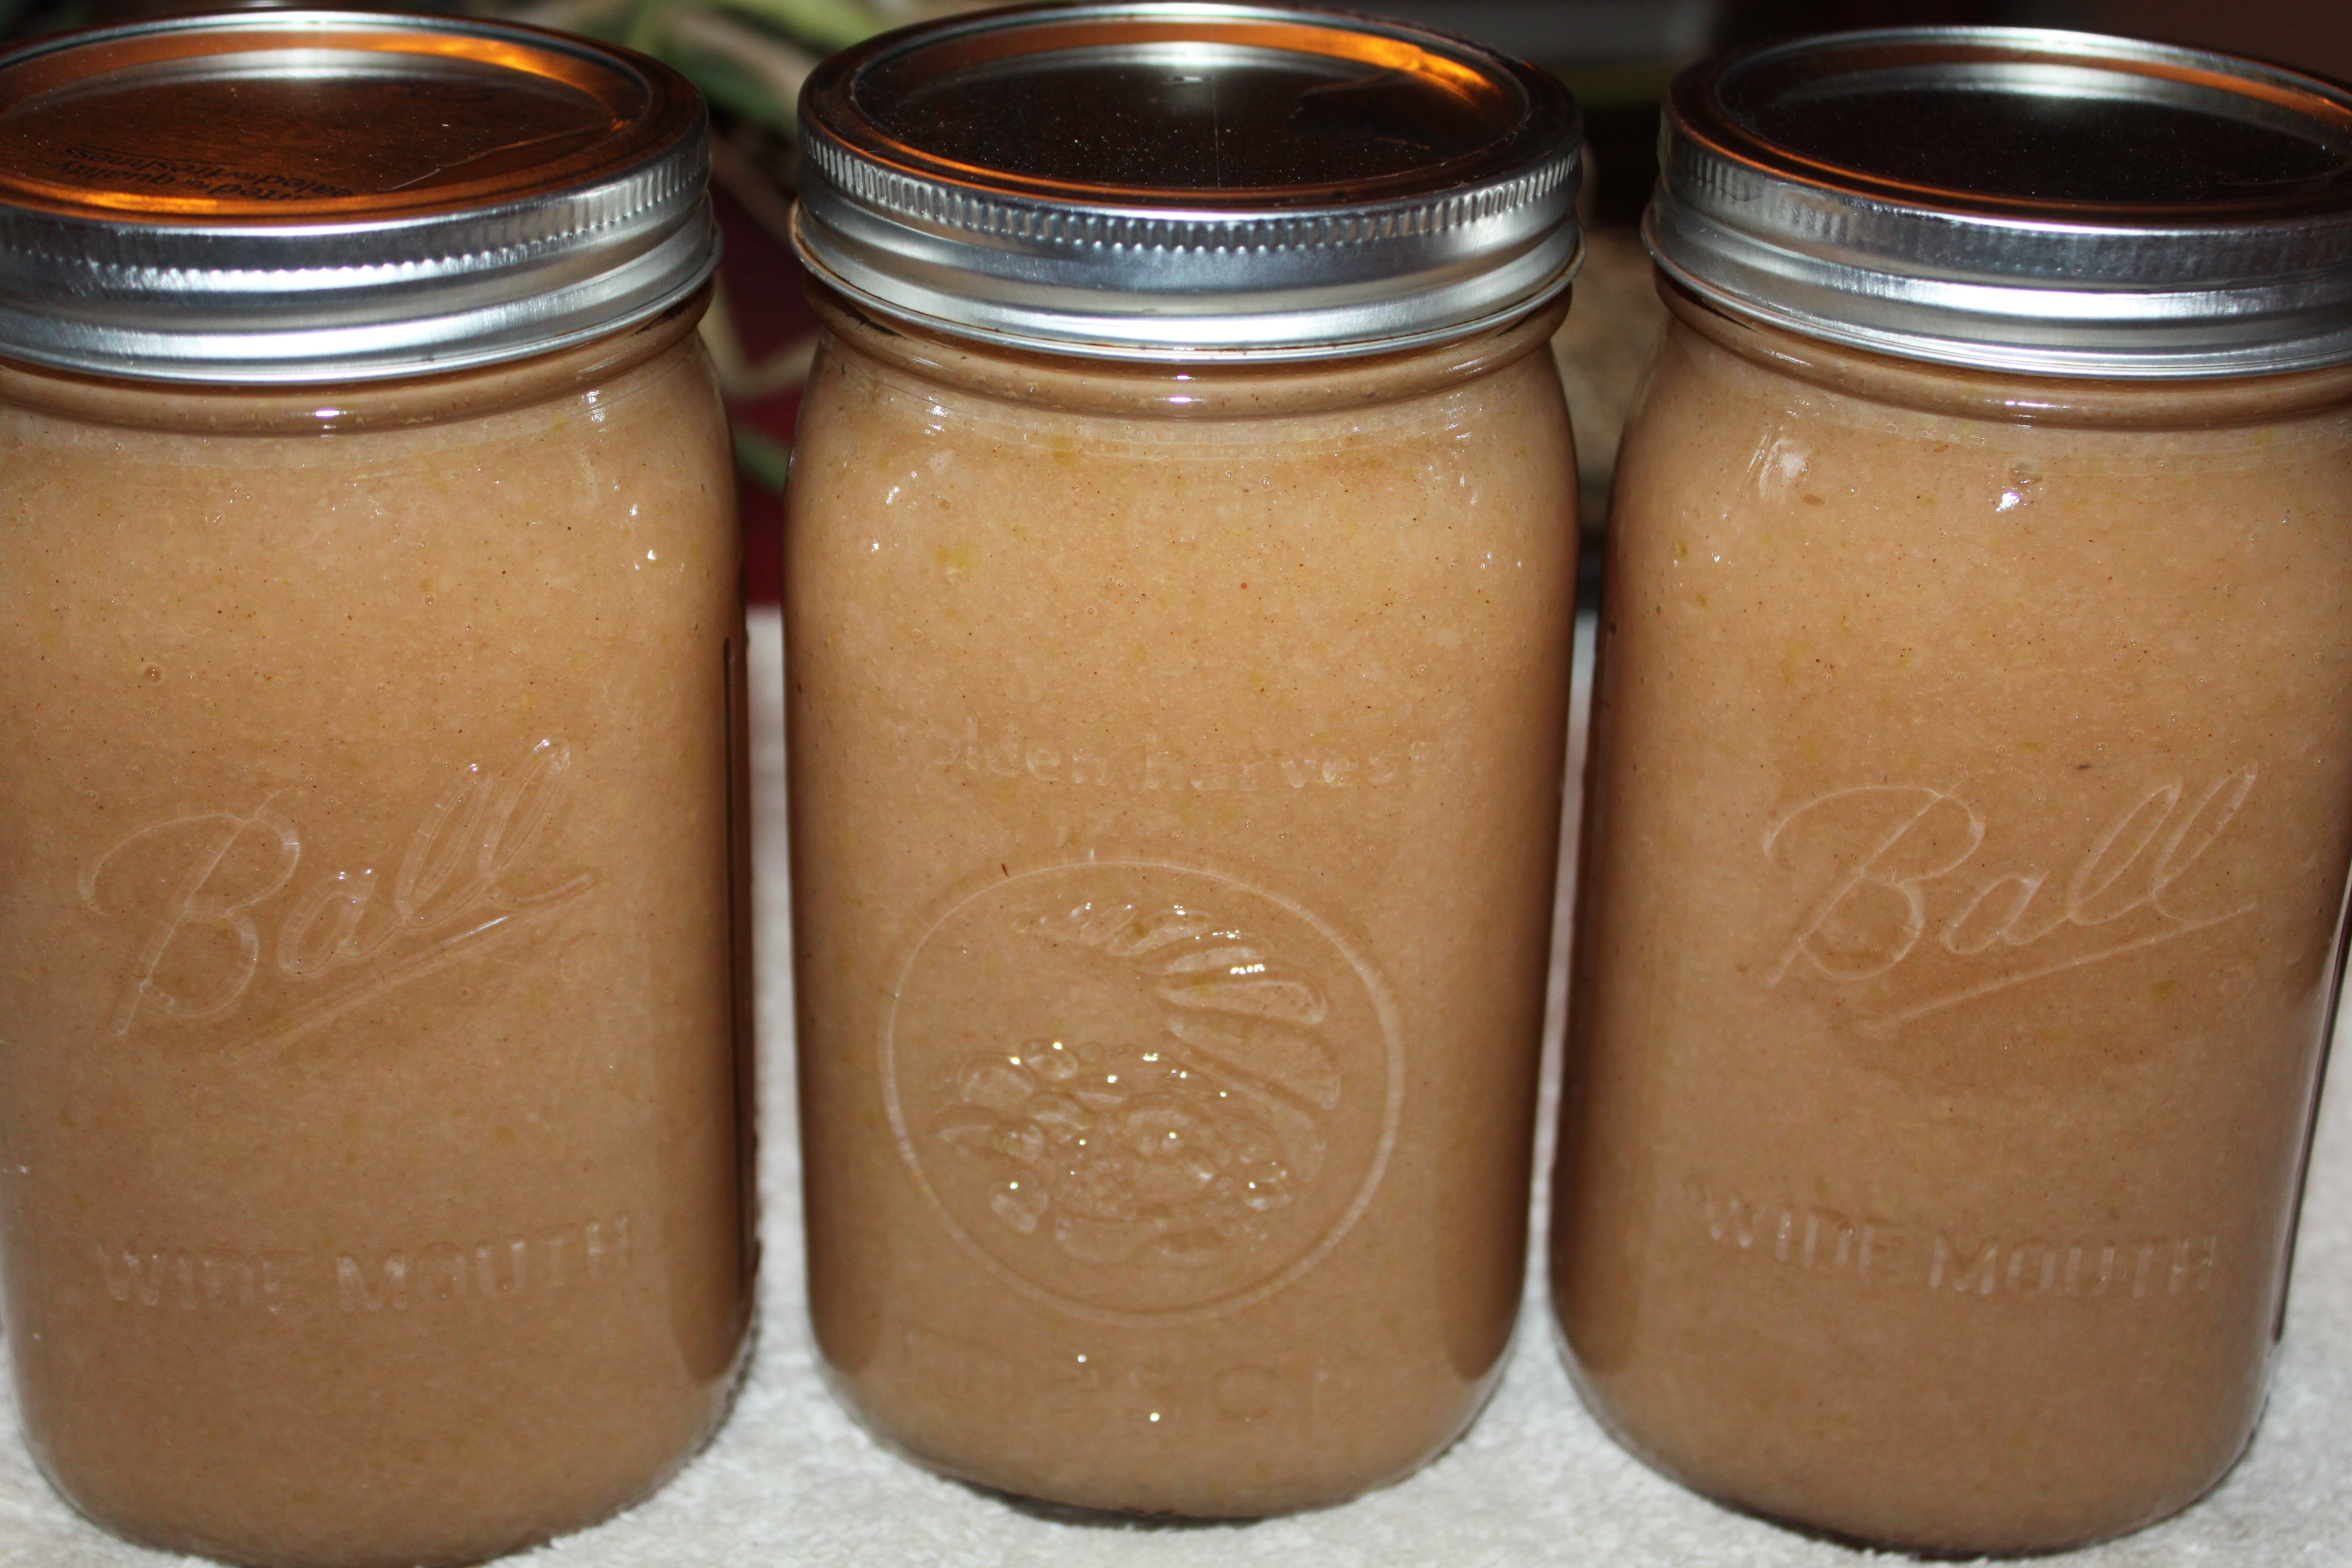
Freshly canned applesauce ready to find room on the canning pantry shelf for use over the winter.
September means many things in our house.  Kids are back to school, the garden is transitioning into a new set of fall crops and being nourished with cover crops, and because we live in Ohio, football season.  But one of the best things about September is the abundance of fresh apples from the orchard.
Our orchard is still too young to produce apples, however, we are lucky enough to have a local orchard within 15 minutes of our home.  So as I was driving home from work this week, I decided to stop and pick up my first bushel of apples with the goal to make applesauce.  I remember the days when the kids were little, that applesauce was a staple in our house.  We packed it in their lunches, ate it for dinner, and even added it to several recipes instead of using oil.  At least we knew that we weren’t adding High Fructose Corn Syrup and white sugar to our diet.  If you use the right mixture of sweet apples, there is no need to add any sugar to make the perfect sauce.
Making your own applesauce is simple – especially if you follow the tips listed below:
1. You must choose the correct mixture of apples.  That’s right – mixture is the key!  Making applesauce with a variety of sweet apples will add the depth of flavor that you are looking for, without adding any sugar.   And don’t think of throwing those Granny Smith apples in the mix – although we all love to bake with these, they need to stay out of the applesauce mixture.
IMG_4633
Cortland, Jonathan, and Mollie ‘seconds’ from the local orchard. Perfect to use to make applesauce.
2. Do yourself a favor, and buy ‘seconds’ if you can.  Seconds are the apples that are either misshapen or damaged, which aren’t prime for raw eating. However, they make great apples for sauce or apple butter, at usually 1/2 or 1/3rd of the cost. Sometimes you have to ask for seconds – they may keep them in the back room, but are quite a bargain!
3. If you plan on doing any canning, invest in a food mill of some sort.  The time that it will save you is well worth the cost!  We have both a Foley Food Mill and a Roma Food Strainer and Sauce Maker.  Both have been essential in our kitchen!  If you are just making a small batch for dinner – skip the food mill and take the extra time to peel your apples before throwing them in the pot to cook down and then use a potato masher to make chunkier apple sauce.
4. The lemon juice/citric acid debate — I prefer not to add either of these to our applesauce.  It tastes and preserves well without them!  And most importantly, it isn’t necessary.
Remove air bubbles on the inside of the jar with a plastic utensil before sealing it with the lid.
5. When canning applesauce, be sure to get any air bubbles out of the jar by running a plastic utensil down the inside of your jars.  This will stop any air being trapped in the jars, expanding, and eventually continuing the oxidation process.
6. When your water bath is finished, remove your canner from the heat source and allow the applesauce to cool for 10-15 minutes in the hot, but not boiling water.  This will allow time for the applesauce to cool more slowly and condense without producing excessive air pockets at the top of your jars, thus decreasing the risk of excessive oxidation.
So with that said, here are the simple instructions on how to make and can your own applesauce…..

Apple Sauce Recipe

*makes approximatley 12 quart jars
Ingredients:
1 bushel of a variety of sweet apples – this time I used 40% Jonathan, 40% Cortland, and 20% Mollie
Cinnamon to taste – optional
Instructions:
Using an apple corer/slicer saves a ton of time when making applesauce!
1. Core and cut your apples.  Leave the skin intact but cut off any bad spots.  This is where an apple corer/slicer comes in handy — makes it very quick to fill your pot.
2. Fill the bottom of your pot with one inch of water, add a lid and bring to a boil.
Add one inch of water to the bottom of your pot, add a lid and let the apples cook down.
3. Once the water begins to boil, stir, reduce heat to medium and let the apples soften for approximately an hour.  (The lid should remain on during the heating process). Stir occasionally to prevent burning.
4. Once apples are soft, remove from heat.
Foley food mill being used to make the applesauce and remove the skins.
**Hint – if there is a lot of extra liquid, remove the liquid to prevent your applesauce from being too runny.  Save the juice to be used in later recipes.
5. While the apples are warm, run them through your food mill and return the applesauce to the stove on medium heat. (No need for a lid now)
6. Add cinnamon to taste and return to a light simmer.
The cinnamon has been added and the applesauce is ready for the canning jars.
7. Add to sterilized and heated quart jars.  Place a warm lid and ring on the jar and place into your canner.  Water bath jars by placing water at least one inch above the tops of the jars and wait until the water begins to boil.  Boil for 20 minutes.
8. Once your time is up, remove canner from the heat source and let the jars sit in the warm water for 10-15 minutes.
9. Remove jars and let cool on a towel in a cool place, away from drafts.  You should begin to hear that wonderful ‘POP’ sound of the jars sealing.  Let cool for 24 hours – then check by pushing down on the lids to make sure the jars have sealed.  If you can not press in the lid, store in a cool dark place for up to a year.  If the jar did not seal properly, immediately place in the refrigerator and eat within 4 weeks.
Enjoy!
Mary and Jim

Monday, September 2, 2013

I think I might want to try this...

Making Your Own Chipotle Peppers From Jalapeno’s

Red Jalapenos picked from the garden.
This week we had our first true freeze of the fall season.  Fortunately, we were able to pick the last of the peppers before nature turned down the thermostat. That left us with a plethora of peppers to try to can, freeze, and dry. A great way to preserve your red jalapenos is to make your own Chipotle Peppers.  It does take some patience, so plan to do this on a day when you have a full day to be ‘on call’.
Chipotle peppers ground down to make powder – Great to add to soups, stews and pasta dishes.
A Chipotle pepper is a dry, smoked jalapeno pepper.  They are most commonly made from red jalapenos.   They are added to any dish that needs a smoky flavor with a little kick.    Most of the natural ‘heat’ of the jalapeno is retained in the drying and smoking process.Typically it is about 5,000 to 10,000 Scoville Units. This is considered a “medium” heat in comparison to other chilies.  Of course, you can take out the seeds and ribs of the jalapeno to make a milder version of the chipotle pepper. Typically the Chipotle is used to flavor soups, salsas, stews, sauces, and even an occasional dessert.
Make sure to soak your wood chips in water for at least an hour to prevent burning in the smoker.
After a few hours, the red jalapenos are beginning to dry
To make your own Chipotles, start with thoroughly washed JalapeƱos, without bruises or surface cuts. They shouldn’t be too soft. Remove the stems and place them on the rack in your smoker or grill in a single layer.
Add pre-soaked wood for the smoke in small amounts. Fruit woods are best to use such as apple wood, however hickory, oak, and pecan (the Mexican traditional wood) works well also. Just keep the airflow low so that the fire doesn’t get too hot and then continue smoking until the peppers are complete dried. Some people use a dehydrator, which works, but your dehydrator will smell smoky for weeks.
So what do you do with all of your chipotle peppers?  There are countless ways to use them, but here are some of our favorites…..
You can see the jalapenos have now begun to turn into chipotle peppers. Only a couple more hours to go.
Chipotle Powder 
A few spice companies offer a chipotle powder. This is simply the dried whole chili,
ground up into a fine powder. Use as you would any chili powder for a spicy, smoky flavor.
Chipotle in Adobo Sauce 
Normally canned with a sauce made of spices, vinegar, tomato sauce and sometimes other chilies. You can use the chilies, the sauce, or both in common recipes.
Chipotle Chili Salt
The salt is a combination of chipotle chili powder and table salt. Use on meats or vegetables for a light smoky flavor.
Chipotle Dip 
Chilies are dehydrated and blended into a paste. Use the dip for chicken fingers, wraps and on veggies or chips.
Chipolte Peppers ready to come out of the smoker.
We will get into more specific recipes on how to use your dried chipotle peppers in future posts.  But as for now, concentrate on getting those leftover jalapenos put to use before they go bad.
Jim and Mary

Saturday, August 31, 2013

Canning question and answer...check it out...

Why am I losing liquid while canning?

losing liquid while canningLosing liquid while canning is something that happens with both metal and tattler lids.  It is more common with pressure canning.
Tomatoes and green beans are the worst in my experience.
There can be a variety of reasons for losing liquid in your jars.
  • Incorrect headspace can cause your food to boil over during processing.
  • Trying to cool the canner quickly will cause problems.  Do NOT pour water over your pressure canner to cool it down and reduce pressure.
  • Irregular heat during processing can cause issues as well.  Be sure and maintain a steady pressure or steady boil in the waterbath.
The most common reason for losing liquid while canning is taking the jars out of the canner too quickly after processing. I suggest that you let the jars rest in the canner after the canner has come to zero pressure.
When the canner pressure has reduced to zero, wait about 5 minutes.  Then open the lid to release steam.  Be sure to open the canner carefully, it will be very hot!  Tilt the lid so the steam does not hit you in the face.
Set the lid back on the canner (not latched) then wait 5 more minutes.
This allows the pressure in the jars to reduce.  Sometimes the jars are still pressurized.  If the jar still has pressure it will naturally boil over, this causes liquid to be pushed out.
turkey soup in the pressure canner
Pint jars of turkey soup resting in the pressure canner.
After 5 minutes take a look and visually check the lids.  Make sure they are not domed up. If they are domed up set the lid back down and wait another 3-5 minutes and check again.  If all looks well then remove the jars to the counter and tighten the bands down.
They will still be very hot!  Some bubbling inside the jar is normal. But if it is bubbling out of the jar it needs to rest some more.
Using this resting process has helped me to have better luck avoiding losing liquid while canning.  Especially with pressure canning!
I should add, as long as you have processed the food correctly, if they have some liquid loss the food is still safe.  Depending on the food type, some foods that are above the liquid may discolor.  I always put any jars that have excessive liquid loss to the front of the cupboard to be used up first.
- See more at: http://blog.reusablecanninglids.com/why-am-i-losing-liquid-while-canning/#sthash.VmObUFd8.VirGqmkA.dpuf