Monday, August 12, 2013

Homemade Apple Butter...in a Crock Pot No Less!

Make Your Own Apple Butter – Easy Crock Pot Recipe

Canned Apple Butter
As the autumn leaves turn vibrant colors of red and yellow, it reminds me that the apple picking season is well underway.  We have about a 2 month span to collect, eat, and preserve anything we can using fresh picked apples from a local orchard.  Besides snacking on slices of crisp apples (dipped in caramel or peanut butter), our favorite apple recipe is hands down our Homemade Crock Pot Apple Butter.
Using a Pampered Chef product makes the peeling, coring, and slicing of an apple an easy task.
We live about one hour from a large Amish community, and this is where I was first introduced to the succulent taste of apple butter.  Nothing could compare to the sweetness of the apple spread on a piece of warm toast.   I decided then that I had to learn to make it on my own. So after many attempts at various recipes, this one is by far the most delicious, and least time-consuming.   As we all know, this time of the year the days go by quickly.  The garden has to have its final picking, the soil has to be prepared for next year, the kids are deep into their studies and athletics, and of course, there is less and less sunlight every day.   Now is the time to pull out that crock pot that has had its summer off, and put it to good use – even for Apple Butter.
INGREDIENTS:
All the ingredients in the Crock Pot, ready to cook over night.
6lbs of apples (peeled, cored, sliced) **weight before peeling**
4 cups of sugar
3 teaspoons of cinnamon
1/4 teaspoon of cloves
1/4 teaspoon of salt
Place all ingredients into a large crock pot.  Turn on high for 1 hour, then turn to low for an additional 10-11 hours.  Uncover and cook for 1 hour longer on low to thicken.
The Final Step – placing the cooked apples through the sieve
Put through a sieve to smooth out.  Makes 4-5 pints.  Freeze or can (10 minutes in a hot water bath).
Hint: Tart apples are best to use – Jonathan, McIntosh, Winesap, Cortlands, and Gala   are just a few of the varieties that we find best for making good apple butter.  Local orchards are usually a great resource as well – and are usually more than glad to tell you what varieties they grow are best for.
- Mary and Jim

Tuesday, August 6, 2013

Zucchini

In case you got a lot of zucchini at your house..........and cherry tomatoes

Braised Zucchini and Sun Gold Cherry Tomatoes
4 zucchini, washed and sliced lengthwise
1/2 c. sun gold cherry tomatoes, sliced in half
3 cloves garlic, sliced
olive oil
salt & pepper
1 small bunch basil, torn or cut into large pieces
Heat olive oil in large skillet with high sides or braising pan.  When it shimmers, add zucchini and cook quickly until browned.  Remove to a bowl and set aside.  Add a little more olive oil to pan and add garlic.  Saute briefly, 30 seconds-1 minute, then add cherry tomatoes.  When tomatoes begin to soften and release juices, add zucchini back to pan, season with salt and pepper, and toss to combine.  Add basil, toss again, and serve hot or at room temperature.

Sunday, August 4, 2013

The tomatoes are almost ready for canning...

Tomato Season At The Farm – What To Do With All Of Those Tomatoes

A fresh picked bowl of tomatoes from the garden
It is here.  Tomato season has arrived at the farm and like every year – it becomes a mad rush to pick, eat, make and store everything we can with the magical red fruit.
It always amazes me how quickly we go from impatiently waiting for that first taste from those ripening green globes to “what the $%&! are we going to do with all of these tomatoes?!”  :)
Freshly canned salsa made on Saturday
Over the course of the next few weeks – we will pick anywhere from 25 to 50 pounds a day from the garden – and almost every night, we will be water bathing or pressure canning a batch of home-made salsa, ketchup, pasta sauce, tomato juice, pizza sauce and more. (You can find some of our favorite tomato based recipes below)
I have to admit – by the end of it all – we are usually ready for it to be over.  But you just can’t beat heading into the pantry during the fall, winter and early spring to pull out a jar of canned garden goodness.
The Celebrity Tomate - our favorite!
The Celebrity Tomato – our favorite!
This year’s harvest was pushed back a week or two more than normal by the cooler and wetter weather we have experienced here in Ohio.  But judging by the first few pickings – the harvest should be right up there with the last few years.
Although we always try a new variety or two every year – our favorite tomato continues to be the Celebrity – it really is the ultimate tomato in so many ways.  It not only has that “perfect” tomato shape – but is a heavy producer on the vine – slices beautiful for sandwiches – and works well for salsa, juices, or any of our sauces.
There is nothing like the taste of fresh tomato juice from the garden
It also blends well with our La Roma tomatoes – the other workhorse variety we plant each year. The Roma’s meaty substance makes it a great choice when it comes to thickening up our pasta and pizza sauce.
We tend to use the first few harvests of our tomatoes for juice and salsa – because they are usually more plump early in the season.   We then make our pasta sauce, pizza sauce and ketchup with the tomatoes harvested later – as they tend to be a little thicker from the late summer heat.
You can find many of our tomato based recipes on the blog under the canning and Friday Recipe tabs…but here are some of our favorites:
Happy Gardening,
Jim and Mary

Friday, August 2, 2013

Just in time...how to can green beans!

How To Can Green Beans – Using a Pressure Canner

The last of the green beans cold packed and ready to be canned this past week.
Green beans cold packed and ready to be canned.
As many of our readers know, last year our purple green bean crop was enjoyed by deer, leaving Jim and I only enough to salvage a handful for our own tasting. Well this year is different – the new fence around the garden has provided the deer with a detour requiring them to walk on a different path and thus far, leaving the garden alone.
That means not only do we have a bountiful crop of bush green beans, but we also have a ton of purple green beans to preserve.
Because beans are a low-acid food, pressure canning is required to kill micro-organisms and to prevent botulism.   But don’t stop reading now — it really is easy!!!  I will take you through step by step instructions on how to can green beans using our weighted pressure canner.  However, it is very important to follow the instructions on your own pressure canner, as it may differ from the one that we use.  This is a great first recipe when learning to use a pressure canner.

Canning Green Beans

Green beans picked and ready to be washed.
1. Gather 9 pounds of green beans to make approximately a 9 pint batch – or 14 pounds which will make approximately a 7 quart batch. Choose only fresh, filled out, and firm beans.
2. Prepare your jars by sanitizing them – easy to do in a dishwasher or boil the jars for 10 minutes in a large pot.  Keep the jars and lids hot until ready to use.   I place the lids in a small frying pan and keep them on a back burner until they are needed.  This is where the magnetic lid lifter comes in handy – and well worth the investment to prevent burnt fingers! Check out our article on The Must-Haves for Canning.
Place 3 quarts of water in the pressure canner.  Make sure to always use the base to prevent jars from tipping over.
Place 3 quarts of water in the pressure canner. Make sure to always use the base to prevent jars from tipping over.
3. Fill a large stock pot with water and place on medium high heat to achieve a nice rolling boil.
4. Place 3 quarts of water into the pressure canner (again, follow your manufacturer’s instructions on what’s required for your canner).  **Hint – place 2 tablespoons of white vinegar in the water to prevent water stains on jars.  With the lid off, turn on medium heat to warm the water but not to a boil.
5. Prepare your beans.  Wash in cold water – then cut each end off.  If they are string beans, remove the string from the top of the bean.  Remove and discard any bad spots. You can leave them whole, however, I prefer to cut them in 1-2 inch pieces.
Cut off each end and remove the string if needed.
* If you like French green beans, feel free to slice them that way before canning.
6.  Pack the beans in the canning jars, leaving 1 inch head space at the top of the jar to allow for expansion during the canning process. For the newbies, this step is called ‘cold packing’.  That is because we do not cook the green beans before canning.
7. Using a ladle pour the boiling water into the jars leaving the 1 inch head space at the top.  The green beans should be covered.
8. The salt debate — many people will put in 1/2 – 1 teaspoon of salt into the jars at this point.  This is not required to preserve the beans, it is purely for those who like a lot of salt.  I do not add any salt to my jars.
Slide a plastic utensil down the inside of the jar to release any air bubbles.
9. Use a plastic utensil to slide down the side of the jars to release any air bubbles.  Add more water if necessary to cover the beans while still leaving 1 inch of head space.
10. Wipe the rim of the jar with a clean cloth. Add a warm lid **Use your lid lifter** and apply the ring only finger tight.
11. Use your jar lifter and place it into the pressure canner.
12. Repeat process until all jars are filled or your pressure canner is filled – whichever comes first.
13. Make sure you can see light through the vent pipe on your lid – then place the lid on your canner and tighten. Turn burner on high heat.
Place each jar into the canner using the jar lifter.
14. Heat pressure canner until there is a steady flow of steam that can be seen, heard or felt coming through the vent pipe. Continue to heat for 10 minutes – reducing heat if necessary to allow for a steady flow of steam.
15. Place 10 pounds of pressure on the regulator and add it to the vent pipe. Heat canner on high setting.  As pressure develops, the cover lock will lift – this means there is pressure in the canner.  **Never remove the regulator or lid when the cover lock is lifted.
16. Processing time begins when the pressure regulator (the weight) begins to rock gently. Adjust the heat to maintain a slow steady rocking motion.
Now that the is down, it is time to remove the weight and let the canner cool for another 10 minutes.
Now that the cover lock is down, it is time to remove the weight and let the canner cool for another 10 minutes.
Process pints for 20 minutes, and quarts for 25 minutes.  *Times and pressure may differ slightly depending on your altitude.
17. At the end of processing time, turn burner off and remove canner from heat source. Here is where the waiting begins — you must let the pressure drop as the canner cools. Pressure is completely reduced when the cover lock drops back down in place. Do not remove the regulator or lid until this drops!!! This step seems like it takes forever – be patient and in the mean time, I am sure you can find something to do.
18. Once the cover lock has dropped, remove the regulator and let the canner cool for an additional 10 minutes.  Remove lid — Lift the back of the lid up first so the steam escapes away from you.
Canned Beans - labeled and on the canning pantry shelf!
Canned Beans – labeled and on the canning pantry shelf!
19. Remove jars from canner using your jar lifter – and place on a towel to cool.  Within several minutes you will hear that wonderful ‘pop’ sound indicating that the jars are sealing.  Let cool for 24 hours.
20. Remember to label your jars with the contents, batch number, and date.  Store in a cool, dry place.
Enjoy!!!
Mary and Jim

Tuesday, July 30, 2013

I learn so much from this website...

How And Why To Plant Fruit Trees In The Fall

Nothing beats the taste of fresh picked cherries!
For those of us that love to garden – nothing can beat the quick return of bountiful harvests from the planting of tomatoes, peppers, corn and more each year. However, not to be forgotten are the years and years of fruit harvests that can be provided from a single planting of a few fruit trees to your yard or landscape.
There is something that is so satisfying about planting fruit trees – somehow signifying that you are putting down roots of a more permanent nature.  Fruit trees can be a valuable addition for those that are trying to be more responsible for growing their own food – and requires much less maintenance than an annual garden.
Fall Planting:
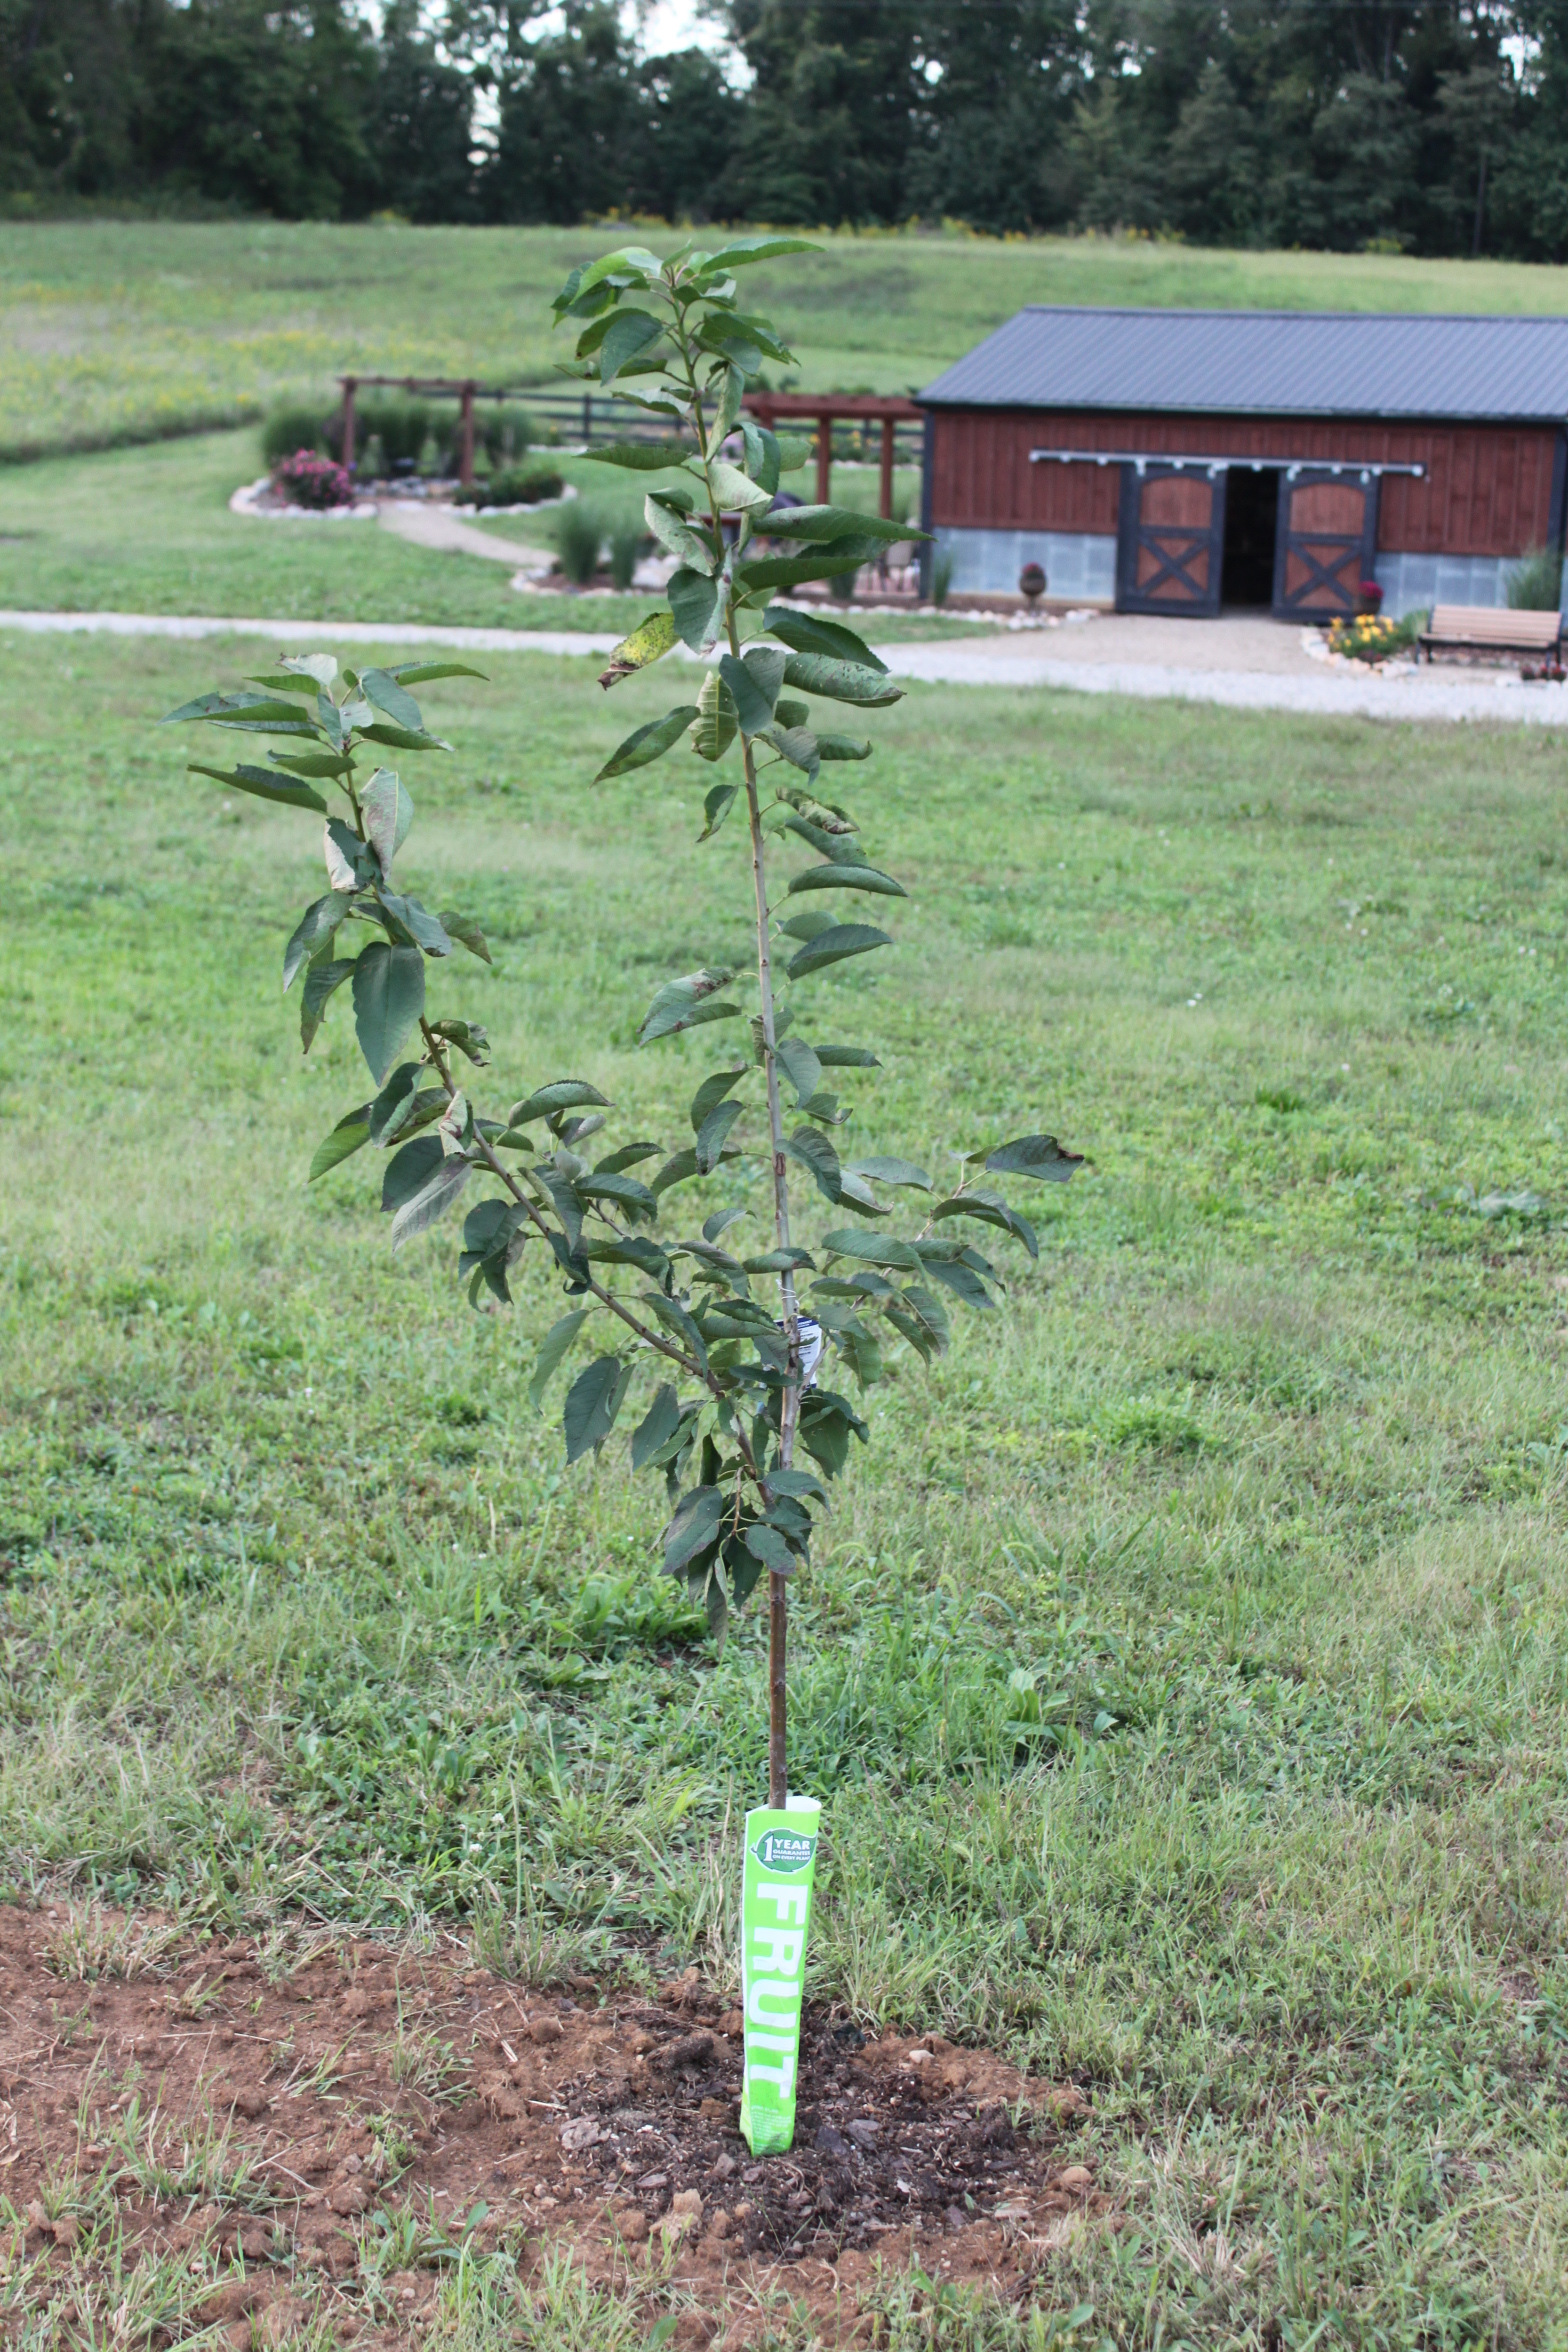
A newly planted apple tree at the farm
Although you can plant fruit trees into your landscape at any point of the growing season – fall is really the best time to plant.
The advantages to planting your trees in the fall are many.  For one, the cooler temperatures are much less stressful on the trees and require far less watering than planting trees in the spring and taking them through the hot summer months.
Fall planting allows just enough time for the roots of a tree to become established – getting them accustomed to the soil and preparing them for fast growth the following spring.
Choosing Your Trees:
Whether you would like to grow your own cherry, pear, or apple trees –  take care when you select your fruit trees.  Make sure you select varieties that are hardy and tolerant to your growing zone.  In addition, most fruit trees require a second pollinator to insure that the trees will bear fruit.
Freshly peeled apples being prepared for making fresh apple butter
For example – let’s say you like the Fuji apple variety.  If you plant a single Fuji apple tree – you may be sad to find out you will never enjoy the tasty apples that so many of us love. That’s because the Fuji is a self sterile variety – and requires a second pollinator to fruit.  So in order to have Fuji apples – you will need to plant a partner tree such as Gala or Granny Smith variety as well.
It may sound a bit daunting at first between selecting tolerant and partner friendly varieties – but almost all nurseries have easy to read pollination charts that can walk you through the process.  And of course – don’t be afraid to ask questions – most nurseries worth their salt will have someone on staff that can guide you through the process.
TIPS TO PLANTING:
Planting a fruit tree is actually a very simple process.
As with your garden - mixing in compost in your planting hole is a great way to get your trees off to a good start!
As with your garden – mixing in compost in your planting hole is a great way to get your trees off to a good start!
Dig your planting hole about two to three times the diameter – and about 1 1/2 times the depth of the container that your tree came in.  Once your hole is dug – mix back in equal amounts of compost and soil to the bottom of the hole, filling it up enough so that the top of the tree’s root ball sits about and inch or so above the top of the hole. At this point, water the root ball generously (a few gallons) – and then fill in around the rest of the hole with equal amounts of compost and soil.  When your tree is completely planted – you want the base of the trunk to be just above ground level – allowing for good drainage.  Apply a 2 to 3″ layer of mulch (shredded hardwood mulch, straw, or shredded leaves work well) to help the tree retain moisture and protect the root ball from winter.  That’s it!
Can anything be better than a fresh fruit pie?!
You will want to water your trees for the remainder of fall – applying a few gallons around the root zone when mother nature doesn’t provide her own.  If your tree is large enough – you may also want to stake it to provide protection from winter winds.
As for spacing – on average most dwarf trees should be planted about 8 to 10 feet apart – and at least 12 feet between rows. For semi-dwarfs 10 to 12 feet apart and 14 to 16 feet between rows, and for full size trees, your best bet is to read the label to make sure you leave adequate growth for specific trees.
With a little work this fall – you can be enjoying your favorite fruits for years to come!
Happy Gardening!  - Jim and Mary

Monday, July 29, 2013

If you are wanting to try some of the basil at Linda's here is a yummy and simple recipe that uses zucchini, fresh basil and cherry tomatoes. So yummy!

Simple Summer Spaghetti
Makes: 4 to 8 servings
Prep 20 minsCook 20 mins

Simple Summer Spaghetti
  • 12ounces dried spaghetti or spaghettini
  • 1/4cup olive oil
  • 5cloves garlic, coarsely chopped (not too tiny or it will burn)
  • Pinch crushed red pepper, or more to taste
  • 2cups cut-up grilled zucchini or summer squash
  • 2cups red and/or yellow cherry tomatoes, quartered
  • 1/4cup fresh basil leaves, torn
  • 1/4 - 1/2cup grated Parmesan cheese
  • 2tablespoons chopped fresh basil and/or Italian parsley

directions
1.Bring a large pot of salted water to boiling. Stir in spaghetti. Cook for 9 to 10 minutes or just until tender. Strain pasta, reserving 1 cup of the cooking water.
2.Meanwhile, in an extra-large skillet combine olive oil, garlic, and crushed red pepper. Cook over medium heat about 3 minutes or until garlic begins to soften; do not let garlic brown. Stir in zucchini, tomatoes, and torn basil. Season with salt and pepper.
3.Reduce heat to low. Stir in reserved cooking water and spaghetti. (If skillet is too small, mix all ingredients the large pot used to cook spaghetti.) Heat through. Sprinkle with Parmesan. Transfer to a large serving bowl. Sprinkle with fresh basil and/or parsley.

Grilled Squash:
  • Cut squash in 1/2-inch lengthwise slices. Brush with olive oil and season with salt and pepper. Grill over medium-high heat, just until barely tender. Remove from grill before squash strips become soft; the squash will continue to cook when combined with spaghetti and sauce. Cut squash into 1/2-inch cubes. (Squash can be grilled, cut, and refrigerated up to 3 days in advance.)

Saturday, July 27, 2013

Hoping for a fall harvest of spring crops...

Planning And Planting A Late Summer Garden – Getting Extra From Your Garden Space This Year!

You can enjoy favorites like snow peas late into the fall with a second late summer planting!
So much emphasis is given every year to getting the garden in throughout the spring and early summer – that sometimes we forget that many crops can be planted again in the late summer.
Almost all of the crops that do well in the cooler seasons of early spring and summer can once again thrive in late summer and fall – giving you a chance to enjoy even more fresh veggies before the proverbial snow starts to fly.
Better yet, with the warmer soil temperatures in late summer – all of the plantings can be done through direct sowing of seeds.  That means for just a few dollars – you can enjoy mounds and mounds of fresh vegetables!
Clearing And Preparing Space In The Garden:
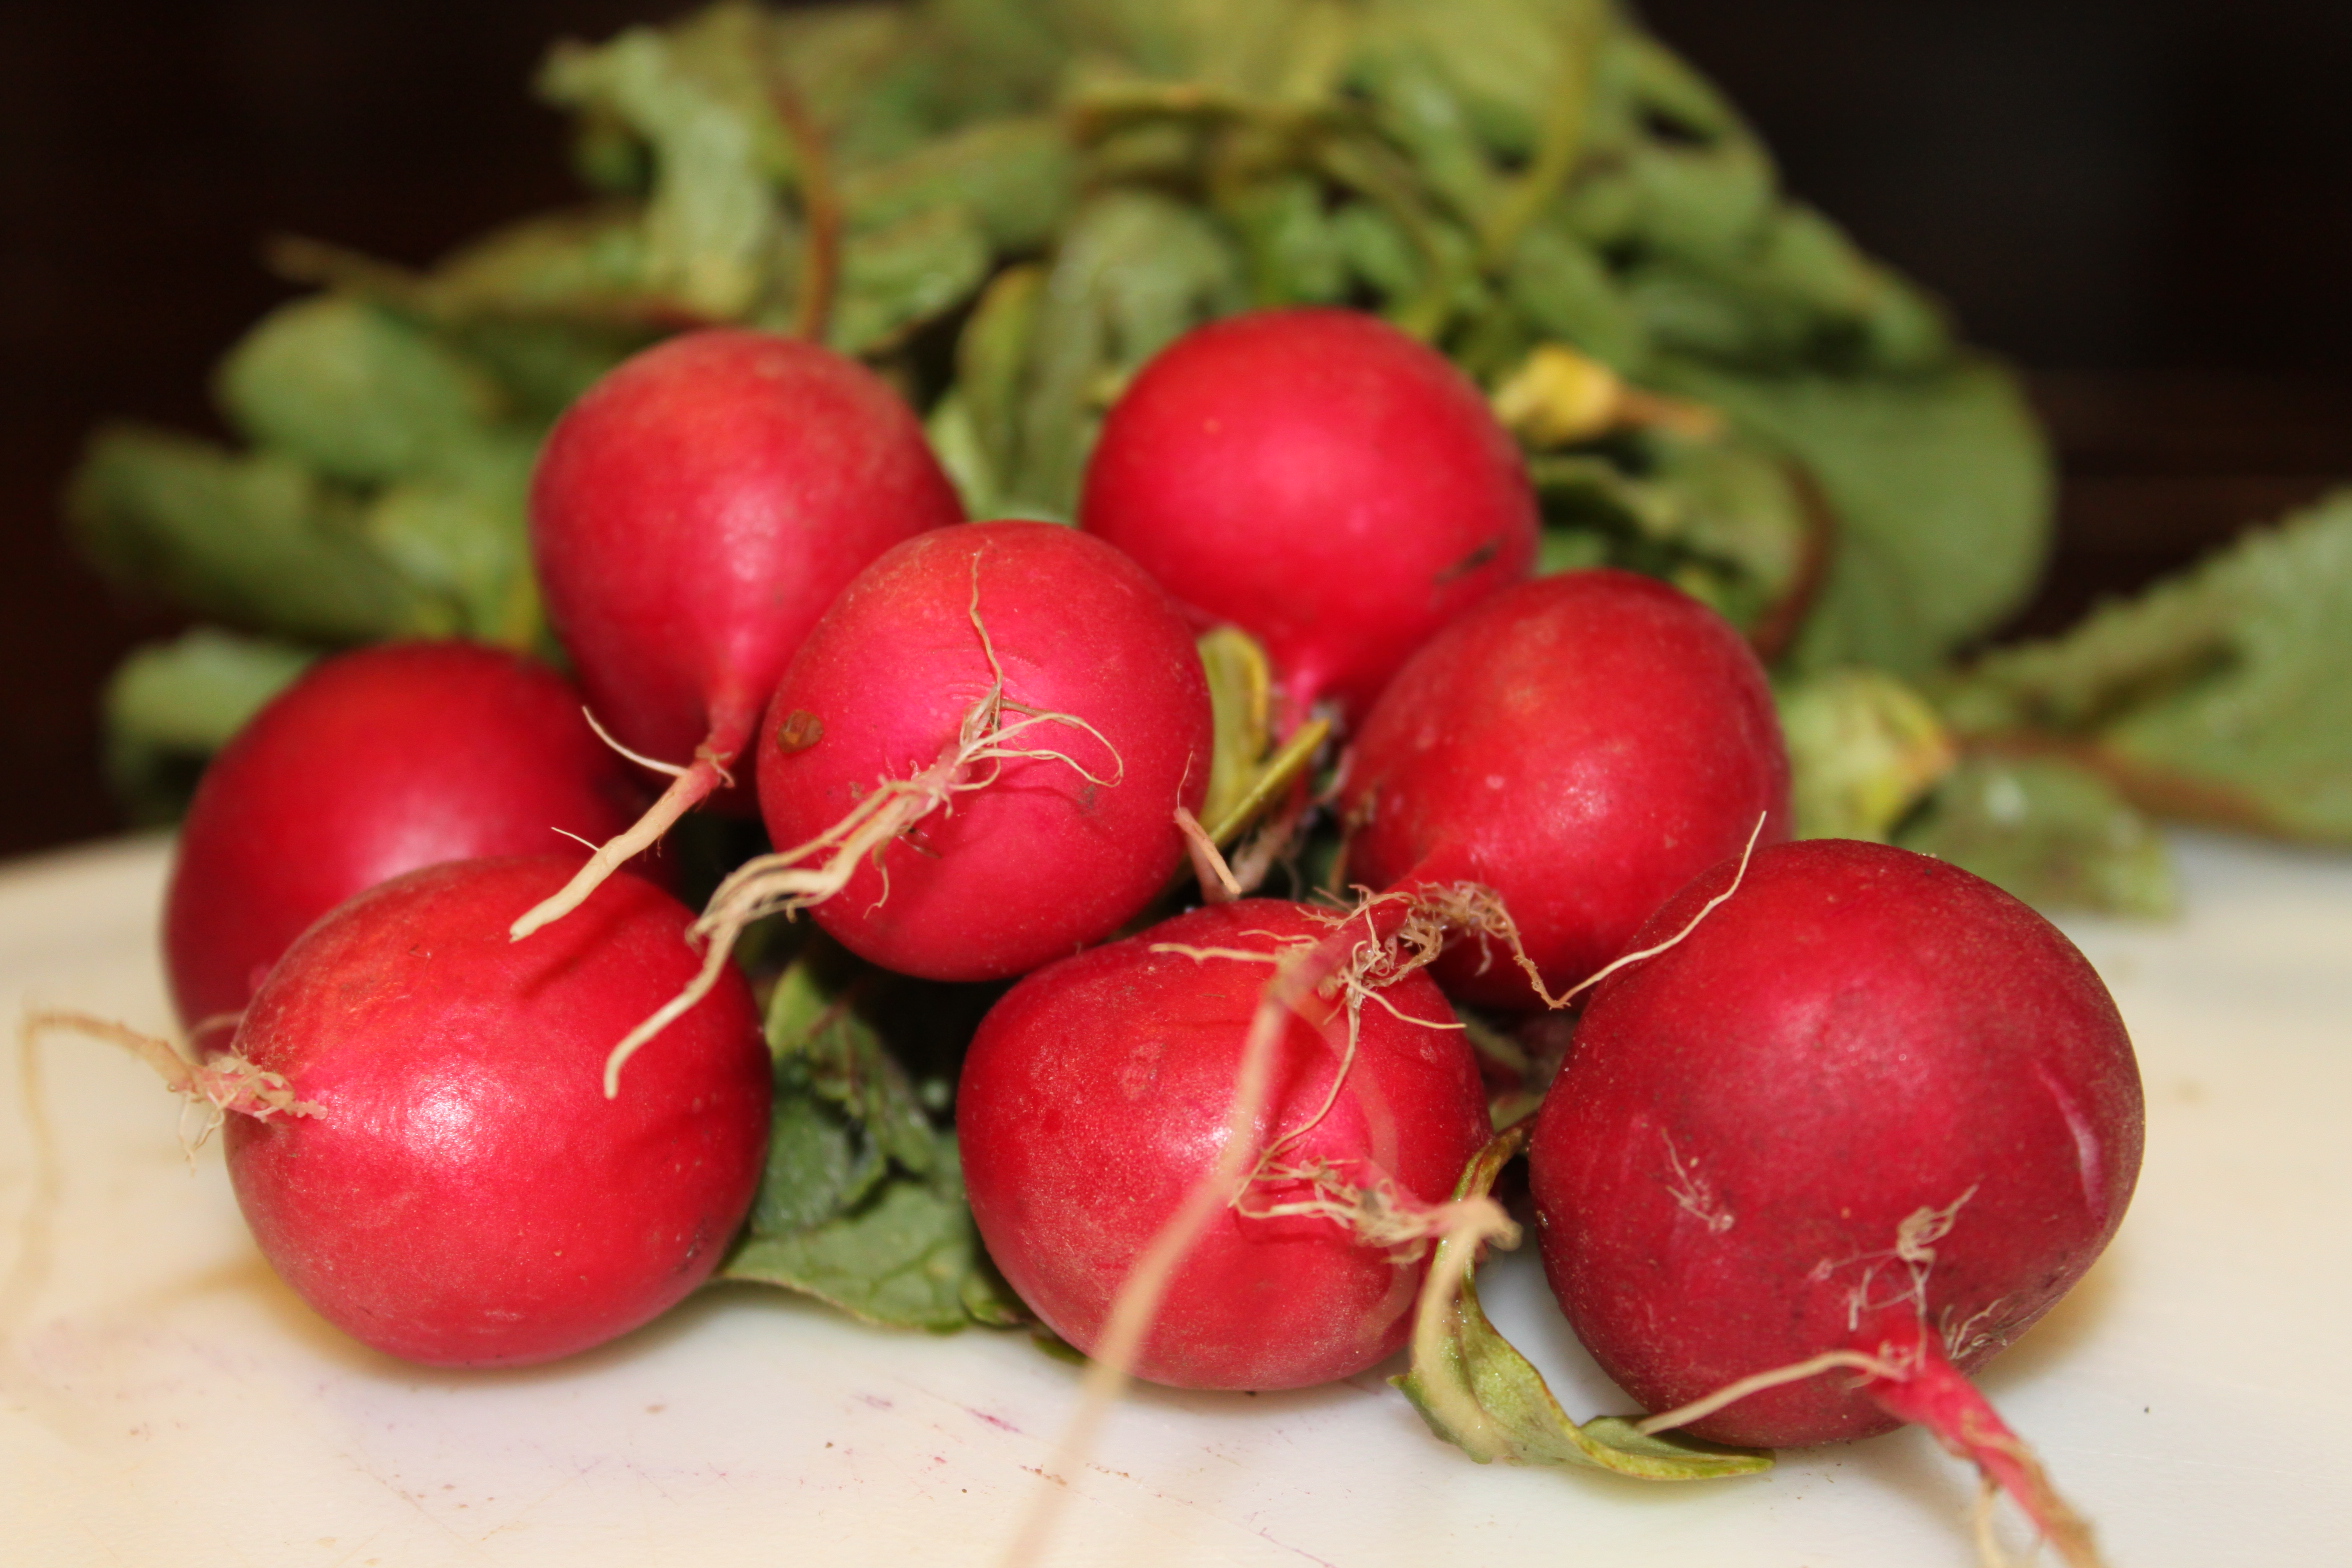
Radishes are a great fall crop - maturing in as little as 18 to 21 days!
Radishes are a great fall crop – maturing in as little as 18 to 21 days!
As many of your early season plants such as peas, cucumbers, zucchini or cabbage are harvested - it is a great time to clear them out and prepare the space for planting a second round of crops.  We simply pull up our expired plants - chop them up and add them into our compost bins.
If you missed planting anything at all early in the year – here is your chance to still have a garden!
Add Some Compost And Rejuvenate Your Soil:
Compost is a great way to rejuvenate the soil for a late summer crop
This is a step that many forget to take when planting successive crops within the same season.  Remember that your soil just spent the last few months giving back some of its nutrients to your first round of crops, so it is important to rejuvenate the soil with a little compost to provide a boost for your fall crop.  We like to work in an inch or two to the soil, and then add a little more into the planting rows when we sow our seeds.
When And What To Plant:
Green onions are another great late season crop
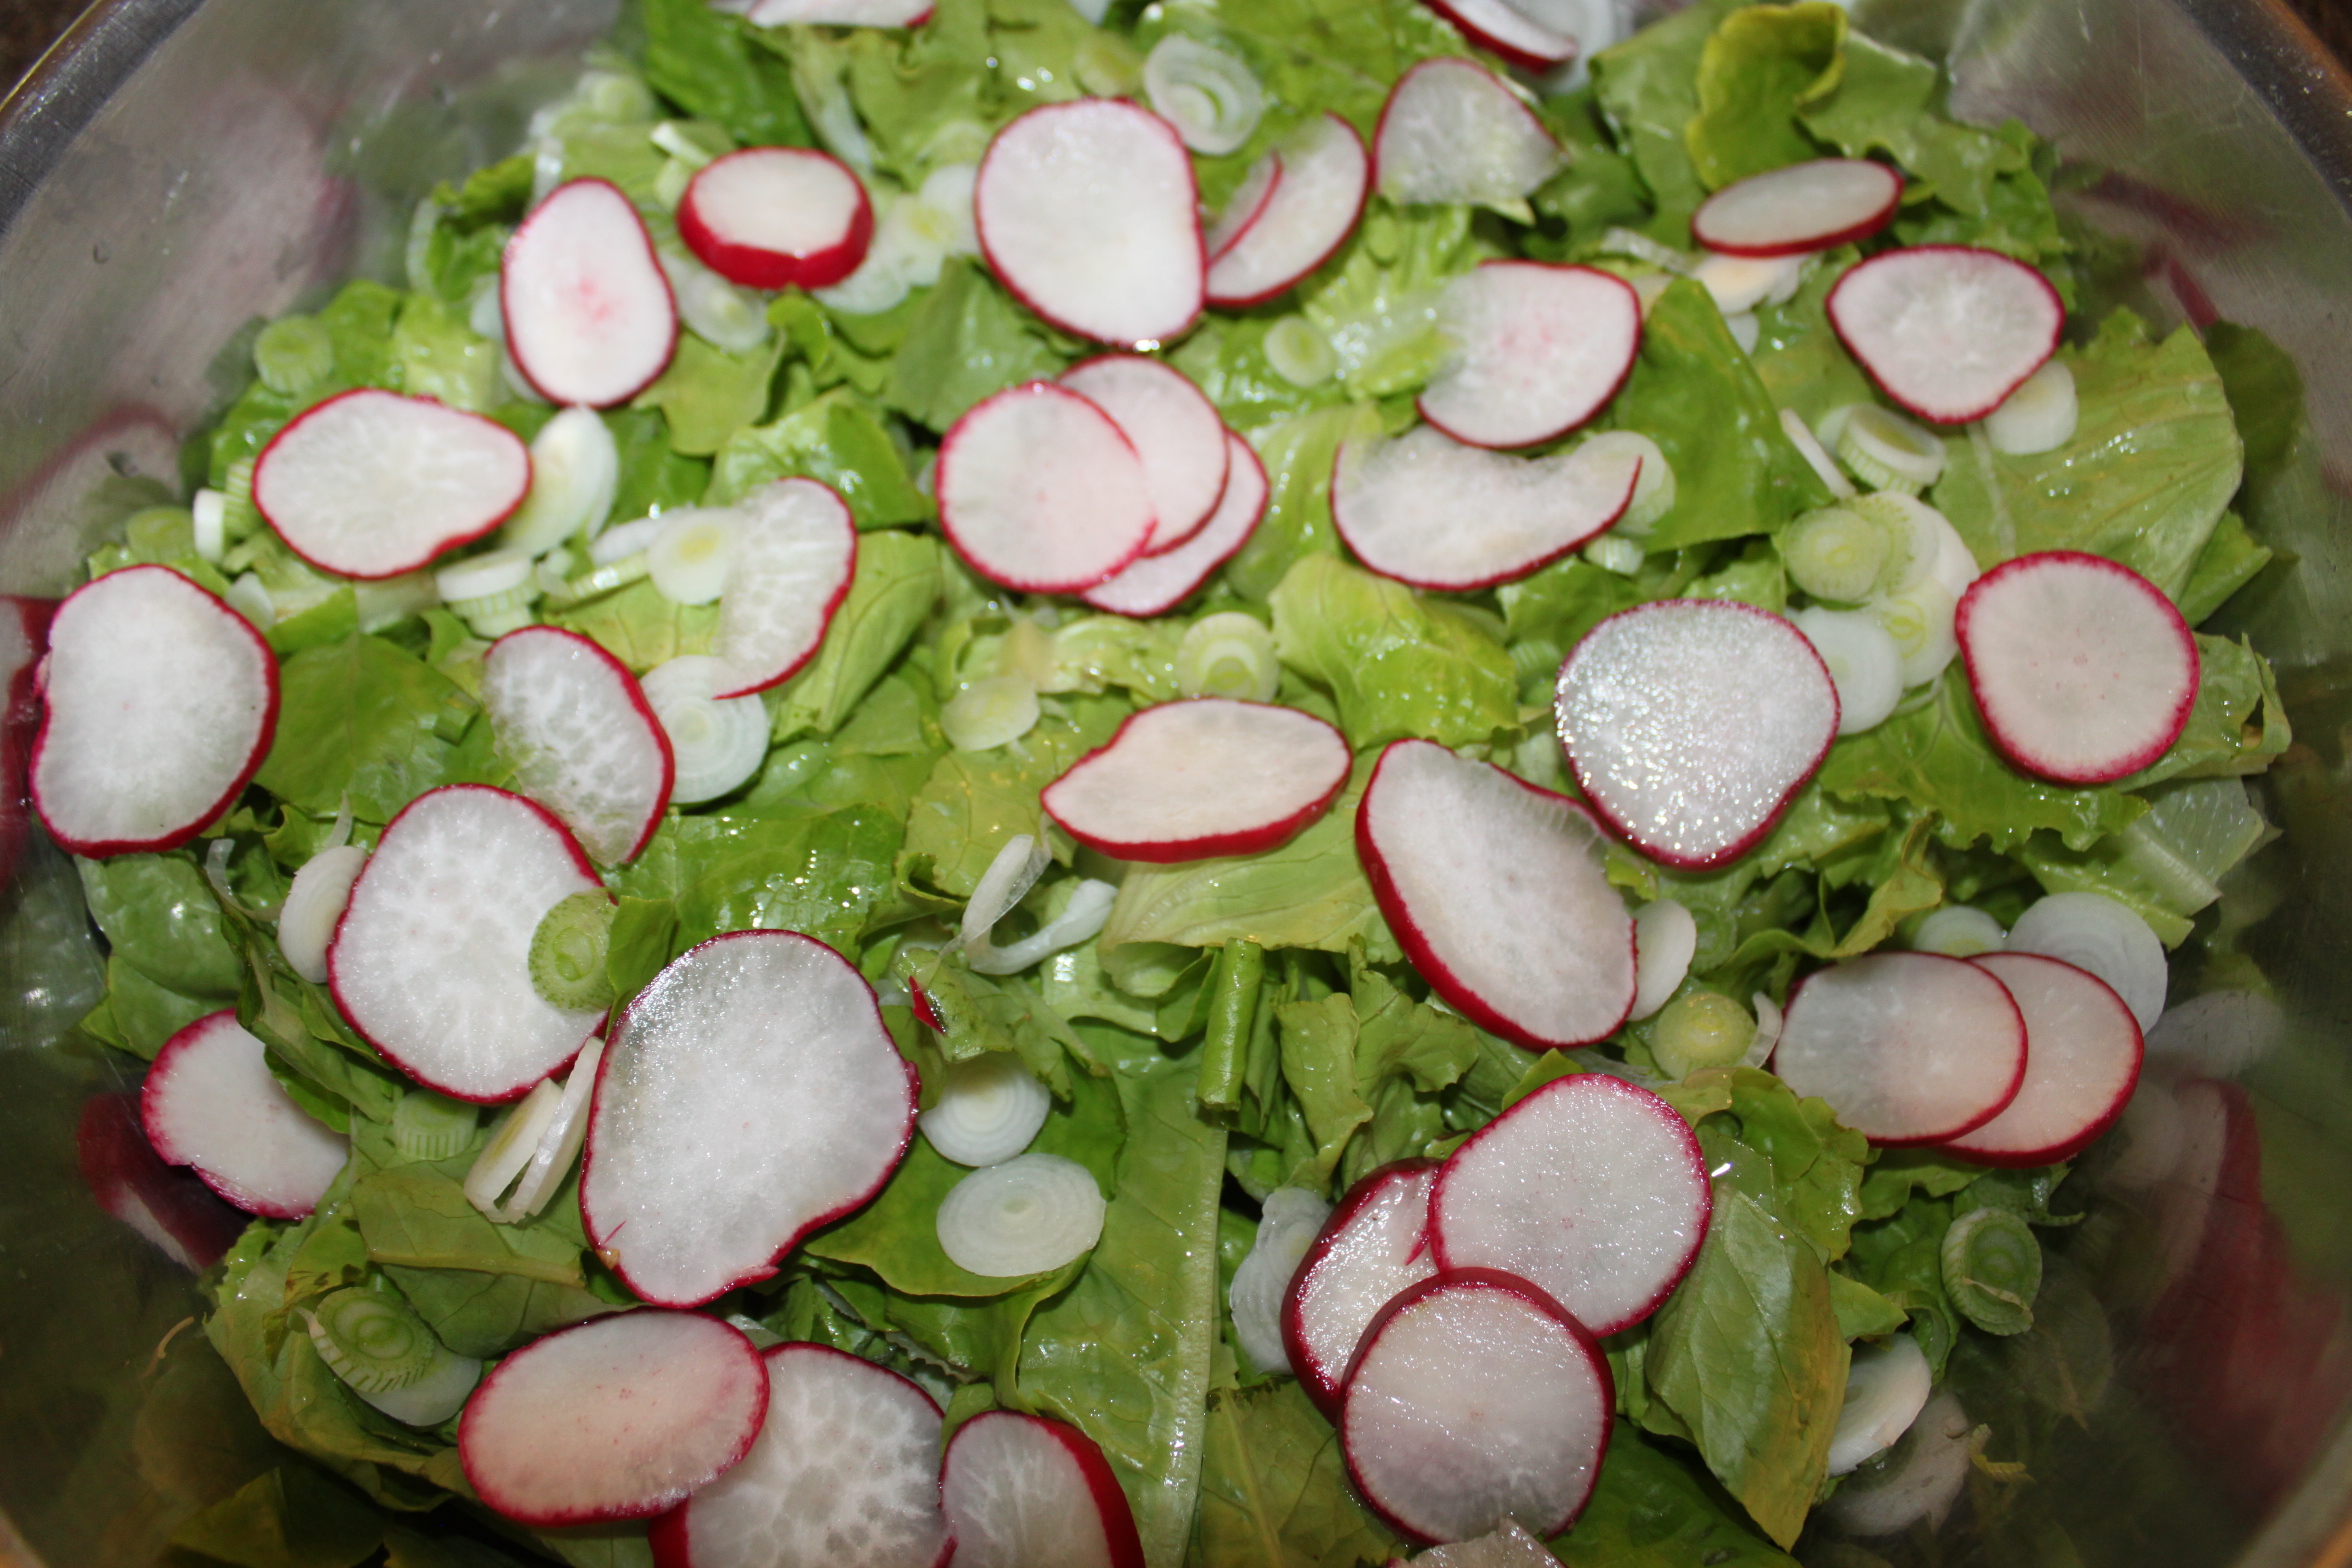
Planting in late summer can keep you in fresh salads late into the year!
Although it is a little late to plant a new round of long maturing crops like corn or tomatoes – late summer can be a great time to get in a few more rounds of your favorite cool weather crops such as sugar snap peas, lettuce, kale, green onions, radishes, carrots and even green beans.
Late summer planting has a lot of advantages over early spring planting for cool loving crops.  For one, the soil is already warm, so your seeds will germinate much faster, without the worries of your seed rotting in the overly cool and sometimes all too wet spring.
Here in Ohio – we start to sow our crops in late July / Early August – allowing the plants to come up through the soil and mature in the cooler temperatures of late August and September.  In many cases, like with our snow peas – we will sow two separate crops about 10 days apart to enjoy two extra crops.
Fall Care:
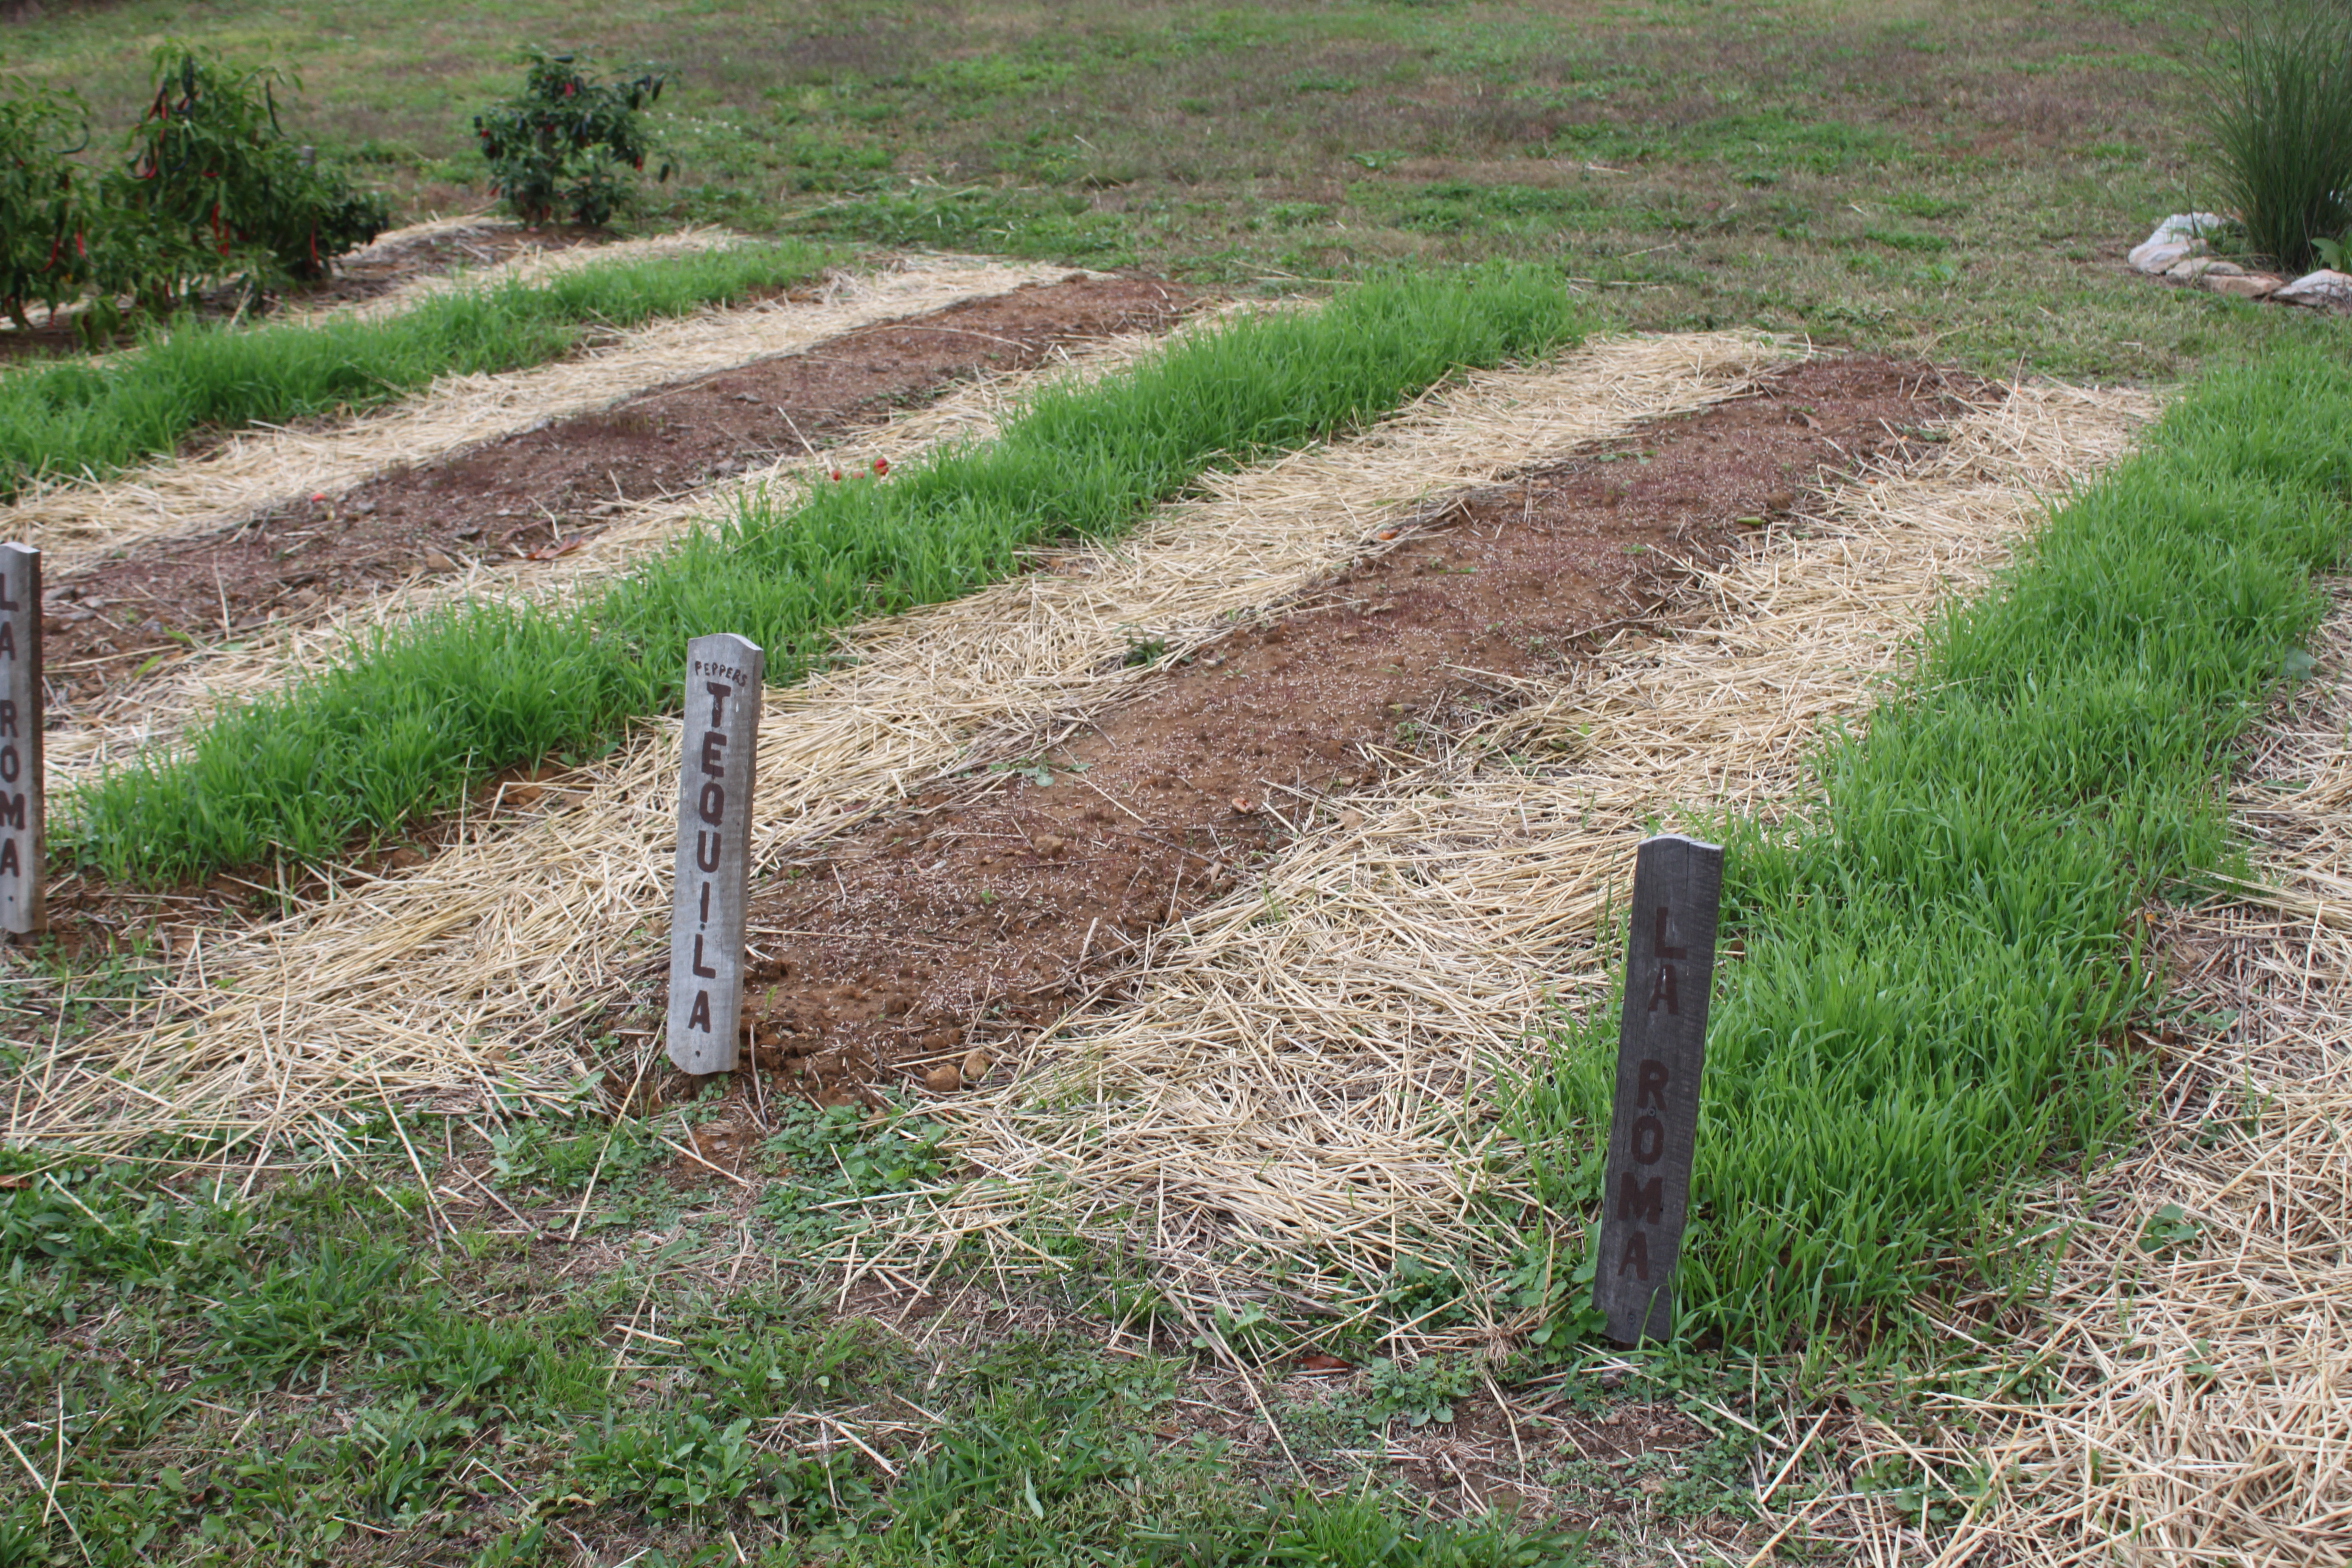
Clear all of your debris from the garden before winter - and plant a cover crop like annual rye to build back nutrients and keep back weeds!
Clear all of plant debris from the garden before winter – and plant a cover crop like annual rye to build back nutrients and keep back weeds next year!
It is important, as it is with all crops, to make sure to remove all the plants and foliage from the garden once your late season crops are finished.  Why? Allowing any of your vegetable plant material to over-winter is an open invitation to insects, pests and plant diseases to become established in your garden and soil.  So make sure to clear that space!  Better yet – once those garden crops are complete – sow in a great fall cover crop (See How To Plant Cover Crops) to rejuvenate that soil for a great garden next year!
So get planning and planting on those fall seed crops now – and you will be rewarded with some in-season fall vegetables to enjoy!
Happy Gardening – Jim and Mary