Tuesday, August 19, 2014

Banana Pepper Rings – How to Preserve Your Hot Peppers

Over the past few weeks we have been focusing on how to preserve, can and freeze all of our garden tomatoes.  Now that our tomato crop is finally winding down to a manageable level, it is time to switch our focus to preserving our hot peppers.
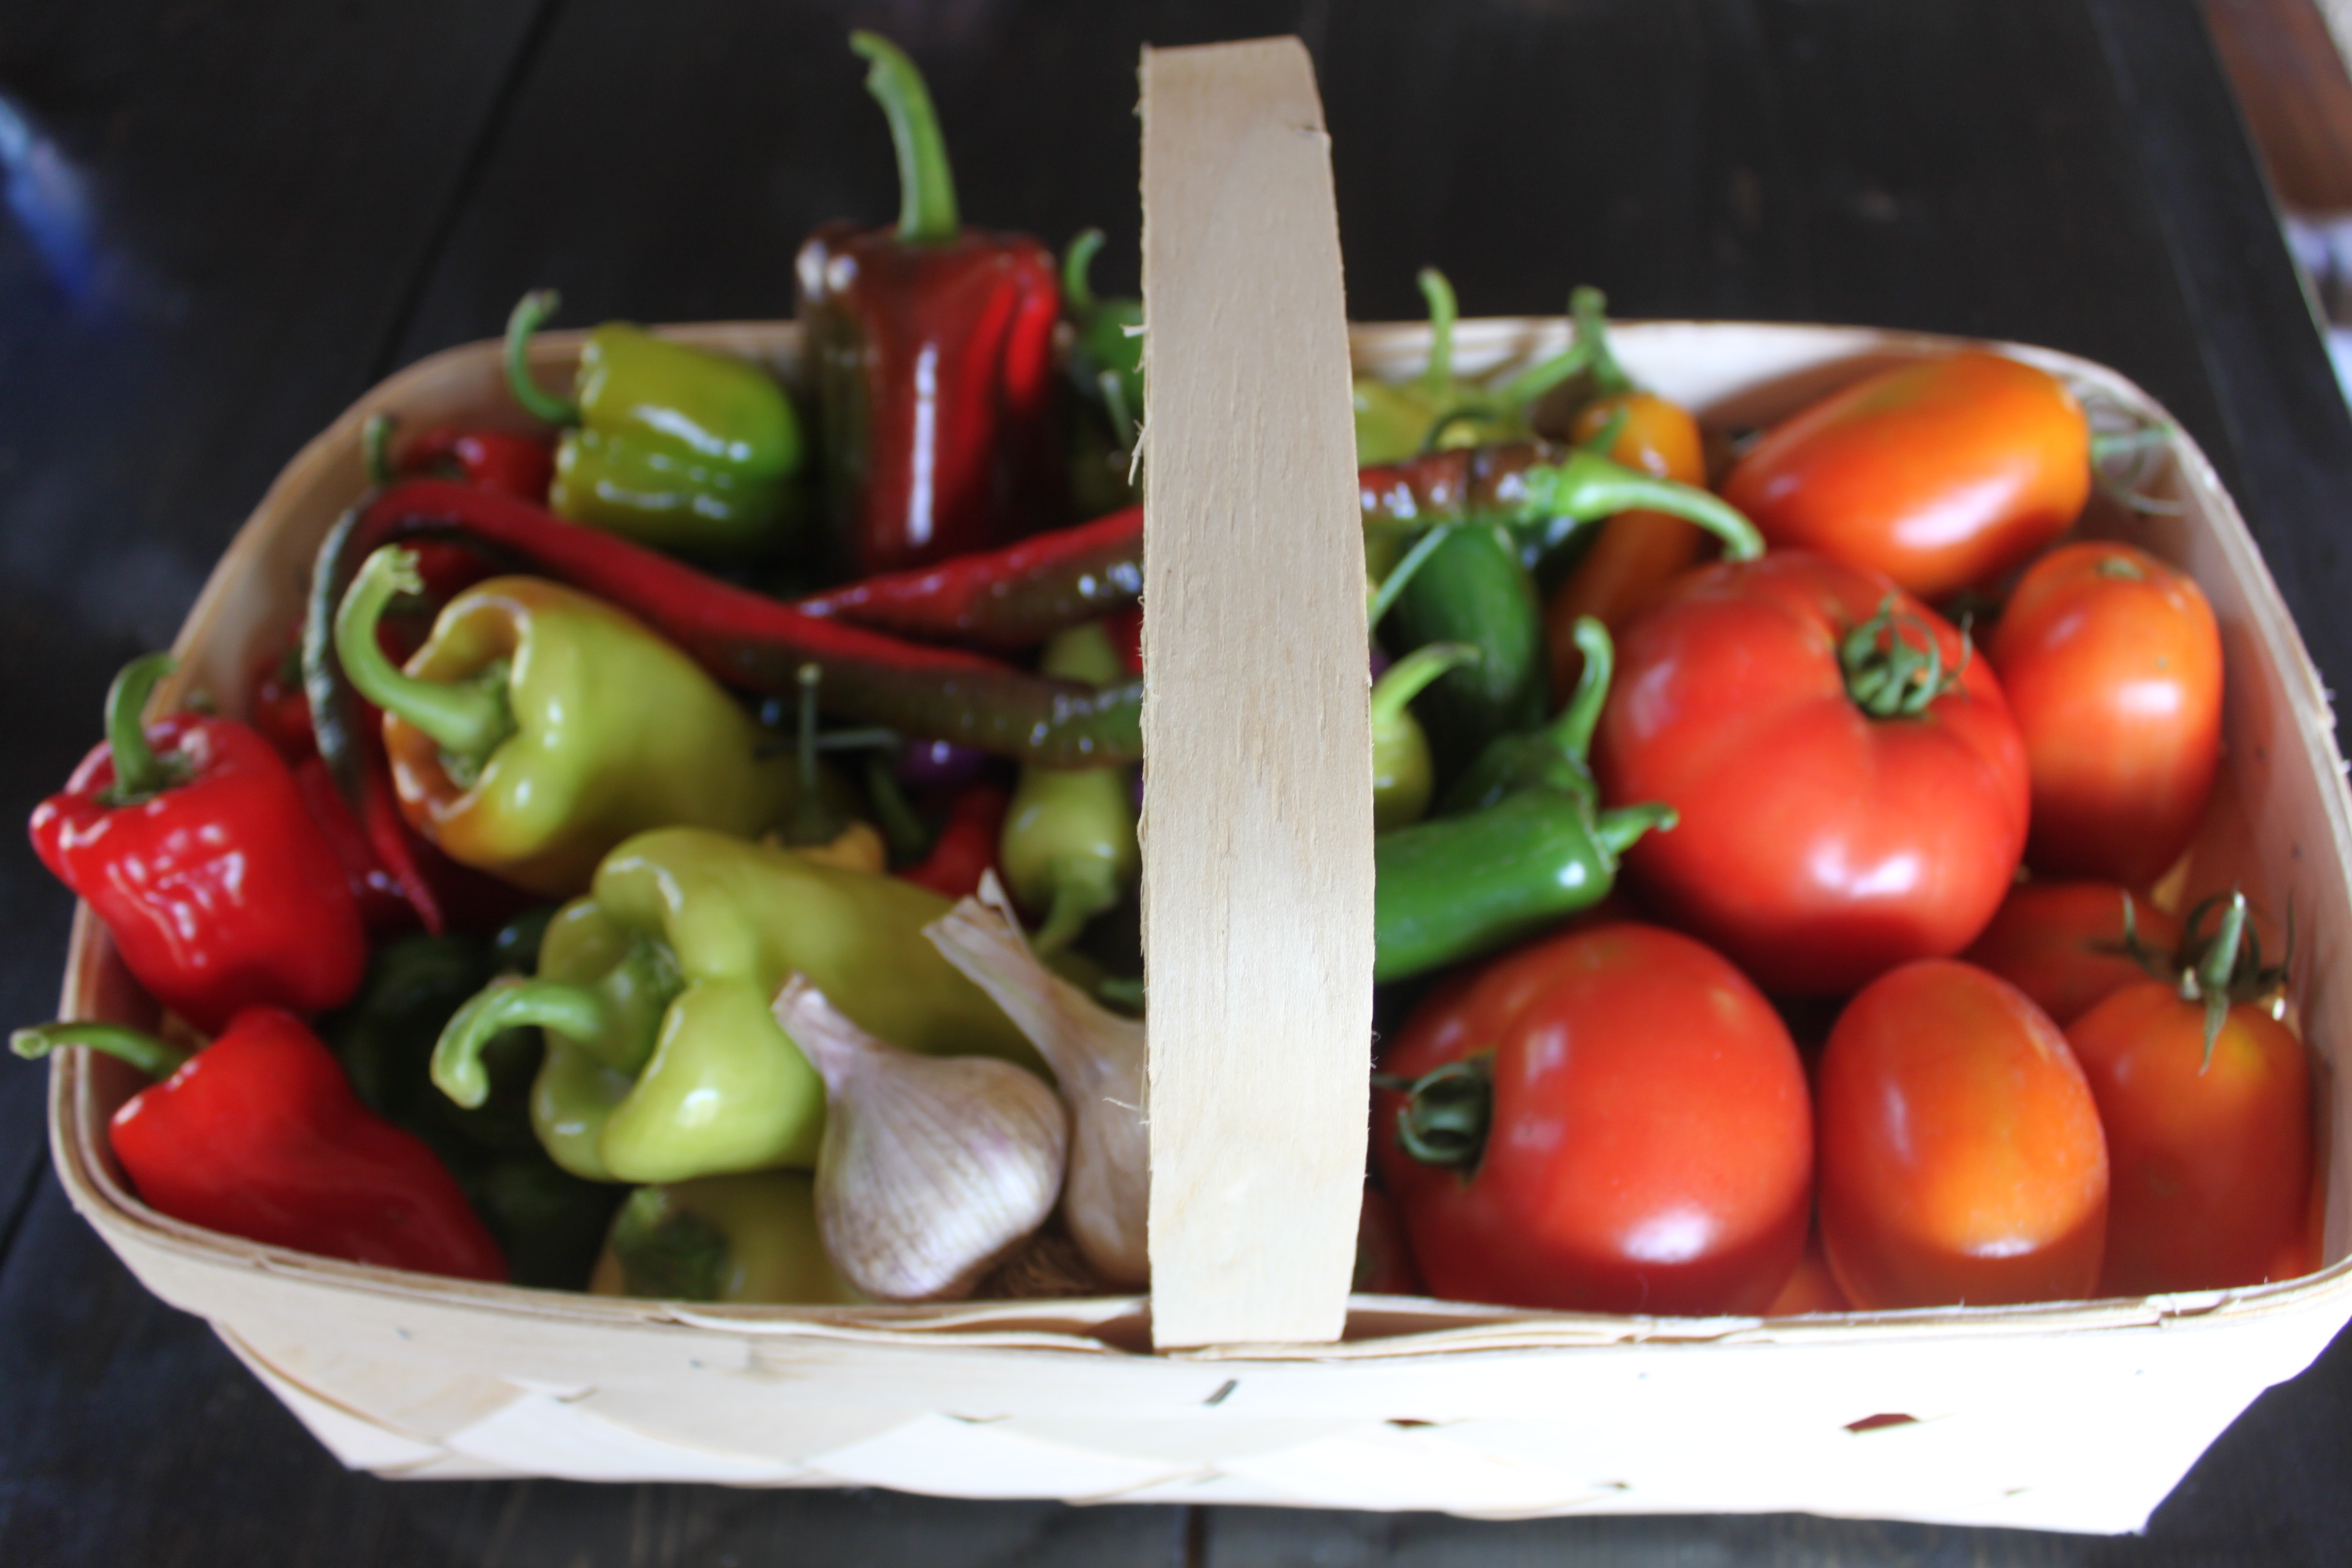
Banana Peppers ready to be picked and preserved
We love to eat banana and jalapeno rings on our sandwiches, pizzas, nachos and in various other dishes. We have always preserved our peppers this way, however we did change one minor detail this year. In the past we used pint jars – which seemed like a terrific idea because of the amount of produce you can pack into one jar. However, after we would open a jar, we would use only 1/4-1/2 of the contents, with the rest going to waste.  So this year, we decided the smart thing to do is to can all of our hot pepper rings in half-pint jars, hoping to stay within our theme of reducing waste in our home.
You can use this recipe with almost any pepper that you have. Don’t limit yourself to banana peppers.  You can use this same pickling brine liquid to preserve jalapenos, habenaros,  cajun belles, cayenne peppers, and more.  Just make sure you label each jar so you know what you are putting on that pizza!

Banana Pepper Ring Pickling Recipe

Slice peppers to your desired thickness, leaving the seeds intact.
*makes 6 half pint jars
Ingredients:
1 lb of hot peppers
3 cups of white vinegar
2 cups of water
3 teaspoons of pickling salt
3 cloves of garlic
Instructions:
Make sure to wear gloves when slicing the peppers to prevent burns and irritation
*Prepare canning jars (sterilize and keep warm) and prepare hot water bath.
1. Most important step –If you are working with hot peppers be sure to wear gloves before slicing them.  Believe me, a pound of hot peppers doesn’t seem like a lot, but your fingers will burn and ache for hours if you don’t wear gloves.
2. Wash and stem peppers.  Slice into 1/8-1/4 inch slices.  Set aside.
Pack rings in the jars and then add the hot liquid.
3. Place vinegar, water,and pickling salt in a medium sauce pan and place on medium heat.
4. Peel and smash the garlic cloves and place them in the vinegar/water mixture.
5. Heat to boiling.
6. Remove skins of garlic and cut each clove in half.
7. Fill each hot jars with 1/2 of a clove a garlic and then add the pepper slices, making sure to leave 1/4″ of headspace at the top of the jar.
The peppers float to the top of the jar when heated, but return to the bottom once cooled.
8. Ladle the hot liquid into the jars filling to cover the peppers, maintaining the 1/4″ of headspace. Use a plastic utensil to remove any air bubbles – you may need to add additional liquid.
9. Add warm lid and ring.  Process in hot water bath for 10 minutes for half pints or pint jars.  * Adjust for altitude as necessary.
10. Remove and let cool for 24 hours. Check to make sure the jar is sealed prior to storing.  If jars did not seal (the lid bounces up and down), place in refrigerator and use within 2 weeks.
Enjoy!
**If you would like to receive our Recipe Of The Week – be sure to sign up to follow the blog via email in the right hand column, “like” us on  the Facebook, or follow us on Twitter.
Mary and Jim

Friday, August 8, 2014

It's Canning Time!!!!!!!!!!!!!!

Our 10 Most Popular and Requested Canning Recipes

This time of the year, we seem to end up in the kitchen every day canning something from the garden.  The tomato harvest is at it’s peak, bringing in around a bushel a day – and the ripening peppers seem to beg us to take them home as we make our morning stroll down each row.
Tomatoes ripening on our back porch
We use our drying rack on our back deck to ripen the tomatoes completely before placing them in the holding bin of our refrigerator until they can be canned.
So with the sheer volume of veggies ripening, we make it a priority to can at least one thing every evening – and sometimes a double batch if the holding rack and refrigerator begin to overflow.
In honor of canning season – we thought we would share our 10 most popular  and viewed canning recipes of all time on the website.
Canning your own food is a great way to become more responsible for what you consume
For those who haven’t attempted canning yet – it is much easier than you think – and so worth the effort! However, all of the recipes below can be frozen for storage instead if you still want to preserve.
And last – even though its requested often – I still haven’t shared the family recipe for hot pepper mustard (even with Jim – although I seem him trying to take notes when I make it :) )   Maybe someday….

Most Popular and Requested Canning Recipes:

Strawberry Honey Jam - just 4 natural ingredients and oh so good!
Strawberry Honey Jam – just 4 natural ingredients and oh so good!
1. Strawberry Honey Jam – uses 4 natural ingredients.  This by far has been our most popular canning post over the last 2 years. With the massive amounts of sugar added to traditional jams, this is a great alternative to those who prefer more natural ingredients.
Relish - ready to be eaten!
Relish – ready to be eaten!
2. Sweet Pickle Relish – a standard condiment that can be used for so much more than just a topping on a hot dog or hamburger. Use in potato salad, deviled eggs, or whatever dish you like that needs that extra sweet tang.
Cowboy Candy - what a delicious and surprisingly sweet treat!
Cowboy Candy – what a delicious and surprisingly sweet treat!
3. Cowboy Candy – Candied Jalapenos – what a sweet treat, and what a terrific way to use all those jalapenos that come on at the end of the summer. This by far is my favorite addition to almost any sandwich!
4. Garlic Dill Pickle Recipe – who doesn’t love the crunch of a dill pickle! Use all those cucumbers to create your own version of the dill pickle. With a few hints, you can make your own crunchy dill pickles to enjoy throughout the year!
Apple butter from the crock pot - ready to be canned.
Apple butter from the crock pot – ready to be canned.
5.  Crockpot Apple Butter – No Sugar Added! – If you have every been to Amish country, the chances are that you have had a piece of fresh bread with a layer of apple butter.  Now you can make your own – without all the added white, refined sugar.  Plus, your house will smell wonderful at the day’s end!
Using seconds of the apple crop is an economical way to make your own applesauce
6. How to Make and Can the Perfect Applesauce – I think this one is so popular because almost every kid in America loves applesauce.  And what better feeling is there than knowing what is exactly it is made of.  Fresh apples are typically easy to find, and using ‘seconds’ is an economical way to preserve that fresh flavor.
Fresh picked in the morning - a bowl of pasta sauce waiting to be made!
Fresh picked in the morning – a bowl of pasta sauce waiting to be made!
7. Pasta Sauce (aka Spaghetti Sauce) – one of the staples in our canning pantry.  We make about 30 quarts of pasta sauce each summer to help with those last minute, or late night dinners after a long work day or a quick meal after attending a ball game.  We always make a few extra to give away to family and friends, as it is a huge hit!
Fresh from the garden - a large stockpot cooks down tomatoes, onion and green peppers for a batch of salsa.
Fresh from the garden – a large stockpot cooks down tomatoes, onion and green peppers for a batch of salsa.
8. Picante Salsa – this recipe is our scaled down version to allow for a smaller quantity, but can easily be made in larger batches. You can also check out our larger quantity recipe in this article: Picante Salsa – larger batches.
Tomato Juice - after being put through the strainer to remove the seeds and pulp
Tomato Juice – after being put through the strainer to remove the seeds and pulp
9. Summertime Salsa Recipe – This recipe is similar to the picante recipe, however, like traditional salsa, it contains larger diced tomatoes, onions, and peppers as compared to picante salsa. We sometimes combine this salsa with our canned picante sauce to make everyone in the house happy (can you really do that?).
10. V-8 Tomato Juice Recipe – A step up from the traditional tomato juice recipe – see how to make your own Tomato Juice here.  We prefer the spicer version of the “V-8″ tomato juice as a daily drink to get a jump start in the morning, or for a refreshing drink after a long afternoon at the farm.
So, there you have it, our top 10 most requested and researched recipes.  Don’t forget to check out our Must-Haves for Canning article to help get you started!   We will continue to post recipes every Friday, and of course, over the next several weeks, they will most likely be related to preserving the summer garden (aka: canning and freezing). You can look for how to can hot pepper rings, basic ketchup, and barbecue sauce, just to mention a few.
Happy Canning!
**If you would like to receive our Recipe Of The Week – be sure to sign up to follow the blog via email in the right hand column, “like” us on  the Facebook, or follow us on Twitter.
Mary and Jim

Thursday, August 7, 2014

Ugly potatoes?

  I found an article that explains what has happened to the row of potatoes that we have been using. We ended up harvesting the whole row because I knew that they had a problem in them.  Potatoes are really hard to do organically, we got a small disease in ours this year.. but they are perfectly safe for us to eat. Just please do not compost any of the peelings. throw them in the trash.. we don't want to spread the disease to any other gardens or soil in our area.  Take a few minute to read the article...I always learn new things every year...  and remember you can just peel the ugliness off and eat the potatoes..they are delicious!!


Potatoes – Are Yours Disfigured?

The potatoes have been beautiful as well as delicious this year. You can understand my surprise and disappoint when I harvested some the other day that were less than beautiful.  They had a common potato disease called potato scab.
Still OK to Eat
The good news is they’re ok to eat and still delicious. Just cut the unsightly part away from the skin and/or flesh and cook as you normally would.
Common potato scab occurs throughout the potato growing areas of the world.  It doesn’t affect yields and isn’t  harmful to us, but none of us want our potatoes to look like that.
Common Scab and Your Organic Garden
The severity of common scab is said to be significantly reduced in soils with ph levels of 5.2 and below.  But if you have an organic garden to which you consistently add organic material over the years— your soil will probably be about like mine with a ph of 6.5 to 6.7. Potatoes won’t find an acid soil in our gardens.
That’s what organic material turning into organic matter does to soil. (And I include pine tags, oak leaves and the like which are said to be acid.)
Interesting that 6.5 ph is almost the perfect ph to allow vegetable plants to take up the nutrients they need. And your yields will be much higher — even with potatoes. Acid soils are just not favorable to most vegetables.
I’ve grown potatoes in my organic garden for about 30 years and have had the scab disease in maybe 3 to 5 of those years.
Symptoms
There are no above ground symptoms so you won’t know you have it until you dig your potatoes.
The disease can appear in several forms pictured below:
The 3 potatoes at the top have common scab. The 2 potatoes at the bottom are perfect and were dug only inches away from the others.
How Do You Get It in Your Soil?
The pathogen that causes the disease can occur naturally in the soil.  But commonly it is introduced by seed potatoes that have the disease.  (Important reason to get certified free from disease seed potatoes.)
Things You Can Do to Cut Down on the Chances of Having It.
1. Seed potatoes that are not certified free from disease could have the pathogen that causes scab disease even though they show no visible signs. Plant only seed potatoes that are certified disease free.
2. Some varieties of potatoes although not totally immune to the disease are more resistant to common scab disease than others.  When you can, buy the resistant varieties.
3. Heavy mulching will help maintain soil moisture.  This is especially important during the first 2 to 6 weeks after the green leaves emerge from the soil.  Potatoes that have to bulk up without adequate moisture are more at risk to the pathogen that causes the disease. Scab can be more severe when tubers develop under warm, dry soil conditions.
4. Follow a crop rotation schedule.
  • Follow potatoes for at least 3 years by crops that are not susceptible to scab. (Many root crops like radishes, beets, turnips, and carrots can be infected as well as potatoes.)
  • Corn, alfalfa, rye or soy beans planted in soil after potatoes with scab are said to be especially able to “starve out” the infestation.
  • Rotation does not totally destroy the pathogen, but eventually reduces it.
5. Avoid using manure to fertilize potato beds.  Because it’s alkaline it can cause an increase in the microorganism that causes scab infection. (Use composted manure the fall prior to planting.)
6. Avoid red clover as a cover crop where you eventually plan to plant potatoes. It stimulates the pathogen. Never use red clover in beds where you’ve already had a problem with scab.
7. Keep in Mind:
  • This pathogen can survive passage through an animals digestive tract and be distributed when the manure is used.
  • Avoid digging the peels from the diseased potatoes back into your soil.
  • It would be wise to stay away from composting them as well, unless you know your compost gets hot enough to kill the pathogens.
Final Thoughts

Not everything in your garden is going to be perfect all the time. But if you follow the practical advice given above, over time you’ll find the looks of your potatoes greatly improved. In the meantime, cut off the part that’s disfigured and enjoy the rest.

Tuesday, August 5, 2014

Recipes using Swiss Chard and Eggplant

Jennifer Sumsion sent these to me:


Bulgur Wheat Salad With Tomato and Eggplant


Penne With Tomatoes, Eggplant, and Mozzarella


Fettuccine With Spinach, Ricotta, and Grilled Eggplant(you can sub Chard for spinach)


Eggplant Caviar


Tortellini With Eggplant and Peppers


Grilled Eggplant Provolone


Roasted Baby Eggplant


Ratatouille


Sauteed Swiss Chard (Don't Be Afraid!!!)


if you add our cherry tomato's halved and some hot pasta to this what a great dinner!


For those of you who might be interested....did you know that we do some seed saving (watermelon, zinnias, etc)

How To Save Seeds From The Vegetable Garden – The Basics!

Make sure to label your seeds before storing - they can all look the same later!
With the garden in “full summer swing” – now is the time to start thinking about saving some of those seeds from your favorite vegetable plants for next year’s garden.
 Growing your own vegetables from your own saved seeds is a rewarding experience
Growing your own vegetables from your own saved seeds is a rewarding experience
Saving seeds is not only an economical way to garden – it’s also a very rewarding process. There is something special about completing the entire growing cycle of a vegetable that ends up on your kitchen table: from tiny seed, to seedling, to mature plant with ripe produce – and back to seed again!
There are additional benefits to saving and growing your own seeds as well. Seeds grown, planted and harvested in the same soil often become better suited to the growing conditions with each passing year.
Garlic is a great example of this – each year our crop has become larger, tastier and more productive by saving the very seed stock that has become adapted to grow in our soil.
What Seeds Can Be Saved?
The first rule is to know what can and cannot be saved when it comes to seeds. Only open-pollinated plant varieties (often referred to as heirloom) can be saved successfully to bear the same crop year after year.
Heirloom tomatoes are an excellent choice for seed-saving.
Unfortunately, hybrid plants will not.  Hybrid seeds are a cross of two or more plants – and the seeds from those plants revert back to one of the originals, or a mutation of it when grown.  This often results with a plant with no fruit at all, or something with little taste or resemblance of the original fruit or vegetable.
So remember – NO to saving hybrid seeds – and YES to open-pollinated or heirloom varieties!
What Varieties Can Be Saved?
When it comes to what plants to save – there are certainly some plants that are easier to save seed from than others.
Peppers, Garlic and Tomatoes are excellent choices to save seeds from
Although you could conceivably save and grow almost everything in your garden – some crops, like carrots – have to grow for two years before they produce viable seed. Others, like heirloom cucumbers need to be separated by such a long distances to avoid cross-pollination (1/2 mile in some cases), that it is far easier and reliable to purchase them each year from a reputable seed company like The Sustainable Seed Company, Johnny’s or Baker Creek Seeds. A good rule of thumb is to save what is the easiest and most productive for your garden!
For us, we save our own tomato, pepper, peas, beans and popcorn seeds – and leave the others to the experts to “save” for us. Here are some of our favorites – and tips on how we save each of them:
Peppers
Saving pepper seeds is a big one for us! We grow about 16 varieties of green, red, hot and ornamental peppers in our garden and landscape – so saving seeds is a must.
One of the many varieties of ornamental peppers we save seed from - the Sangria
One of the many varieties of ornamental peppers we save seed from – the Sangria
The process for peppers is by far the easiest of all.  First, we select a few of the best looking and largest mature peppers (you will want to make sure to select peppers that have reached their final color and have even begun to dry a bit on the plant) from a few plants. Next, we simply open up and scrape out the seeds and lay them out on a paper plate for a week or so on the back porch to dry.  Finally, when they are dry – we put them in a zip lock bag with a folded paper towel to help absorb any remaining moisture – and we are all set!
One note on peppers – although not common – the seeds can be crossed from plant to plant if they are planted right beside each other. To help alleviate – we save the seeds that have been in our pots or planters that are away from the other varieties.
Tomatoes
Tomatoes are another great variety to save – and so worth the effort when it comes to keeping heirloom varieties from year to year.  Our favorites like Brandywine, Purple Cherokee and Black Krim are a taste explosion when it comes to true flavor!
For tomatoes - put pulp and all in a jar and let the seeds ferment  a few days
For tomatoes – put pulp and all in a jar and let the seeds ferment a few days
The tomato saving process is a bit different than that of other seeds. With tomato seeds – it is best to ferment the seeds when saving – this allows the seeds to germinate better in the spring.
Start by selecting a healthy, good-looking and ripe tomato from your best plant.  Cut the tomato in half and scoop out the entire inside (seeds and pulp) into a jar. Next, in an out-of-the-way place (we use our garage) – let the seeds sit for two to three days until the pulp begins to mold with that familiar green and white coloring.
Next, pour water into the jar and wash off the mold slowly – repeating the process a few time to get the seeds clean.  The good seeds will sink to the bottom – allowing you to skim off the pulp and bad seeds. After washing, lay the seeds out on a paper towel, paper plate or screen cloth and allow them to dry completely before storing.
Beans
Beans  - like these Royal Purple Burgandy - can be allowed to dry and then shucked for next seasons planting.
Beans – like these Royal Purple Burgandy – can be allowed to dry and then shucked for next seasons planting.
Beans are simple to grow and save.  Allow the pods you want to save to dry on the stalks and turn brown.  This usually takes the pods about 6 to 8 weeks past the time you would have picked them for eating. If the pods do not seem to be drying well on the stock –  you can also pick and store the mature beans in a cool dry place to finish drying. Once the pods have shriveled up and turned dry and brown – simply shell them and save the seed.
Peas
Much like beans, peas are very simple to grow and save seed from year to year.  The process is the same – allowing 6 to 8 weeks for the pods to dry before shelling and saving the seed.
Garlic
we choose the best looking bulbs from our harvest for next year's seed
we choose the best looking bulbs from our harvest for next year’s seed
Garlic is one of the best “seeds” to save – as home-grown stock tends to grow better as it gets accustomed to the soil with each passing year. Save back the biggest, most firm cloves that you pull out of the soil from this year’s harvest.  Store them in a cool dark place as you would with your normal garlic – and then a few days before you will be planting – pull the cloves apart – and use them as your new seed!  (see: How to grow, plant and store garlic)
Popcorn
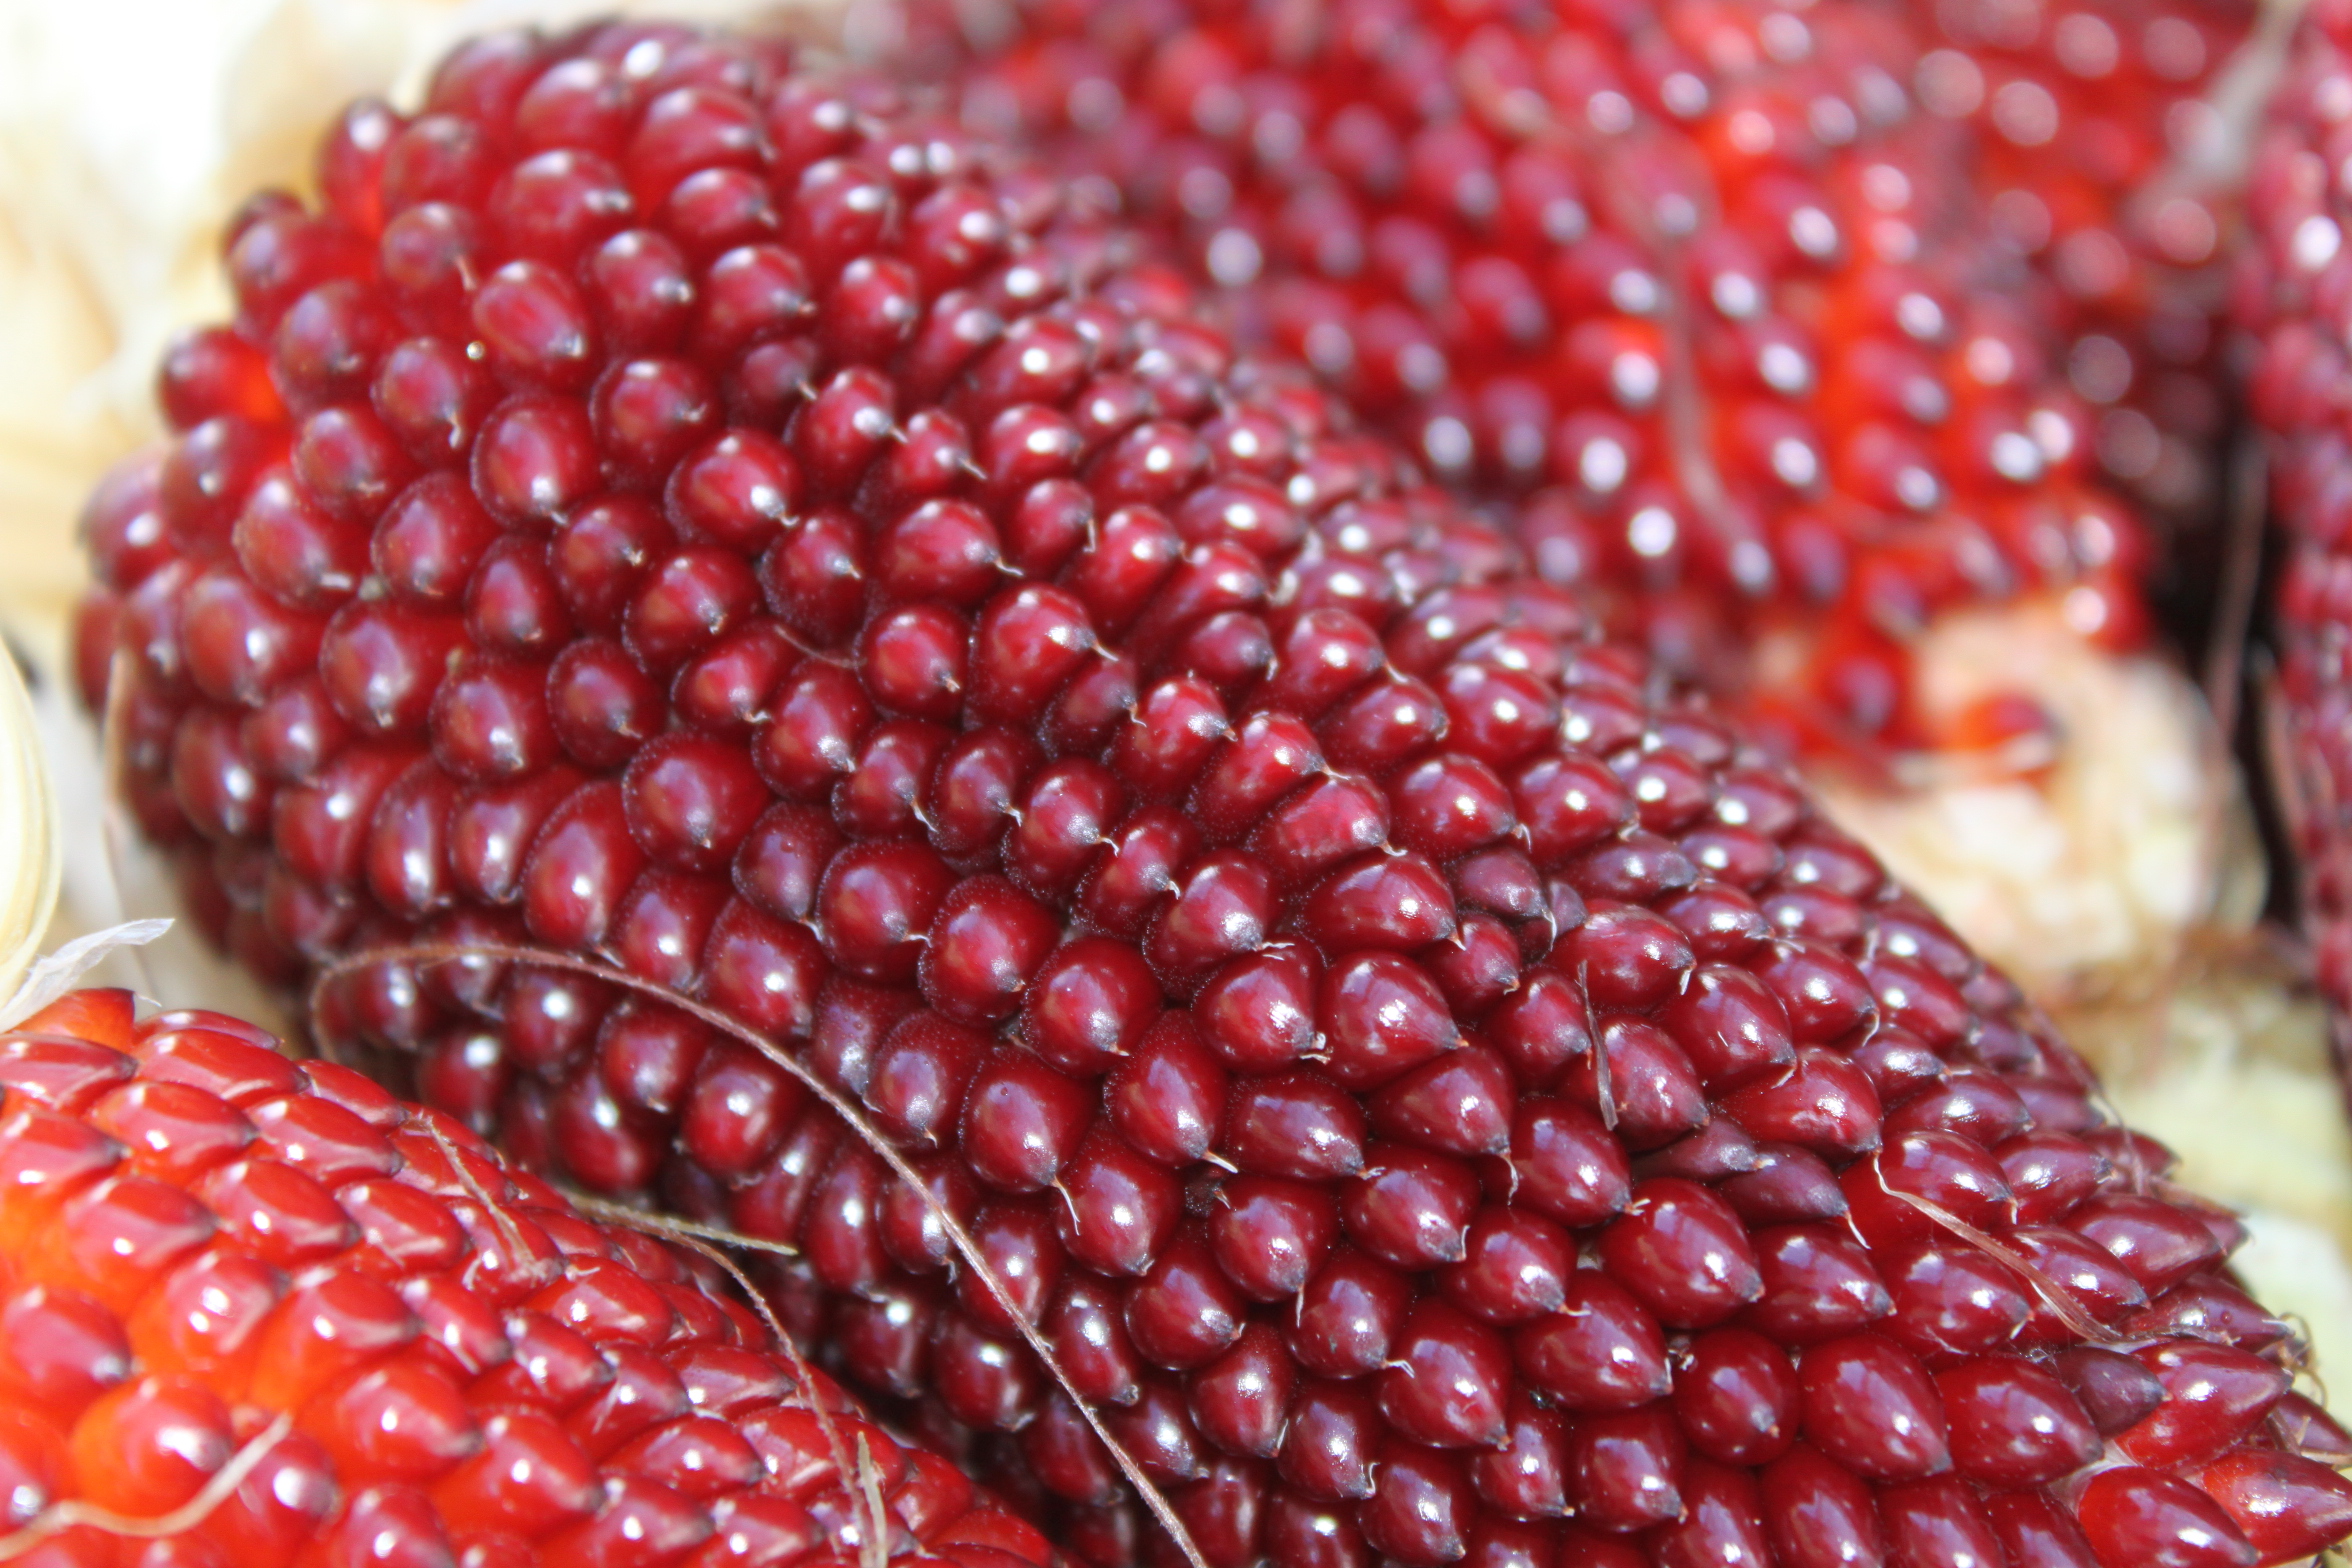
We grow everything from our own potatoes to popcorn now.  It's a great feeling to know where your  food came from!
We grow everything from our own potatoes to popcorn now. It’s a great feeling to know where your food came from!
Popcorn is another favorite for us to save.  Again, you need to be growing an heirloom variety if you plan on saving.
We grow two heirloom varieties –  Strawberry and Ladyfinger – and have had great luck in saving the seed from year to year. For popcorn – it’s as simple as letting the cobs dry on the stalks til mid fall – and then bringing them inside to hang and dry out in a cool dark place.  We select a few of the best ears to save back for seed – and then remove from the cob and store for spring planting.
Storing Your Seeds…
It is important to store your seeds in a cool, dark environment with low humidity.  Some people save their seeds in a refrigerator – but we have always had excellent luck with simply drying them out –and then placing in marked envelopes and then storing in a zip lock bag in our basement.
Make sure to label your seeds before storing - they can all look the same later!
Make sure to label your seeds before storing – they can all look the same later!
That marking part I mentioned – that is a big one. Trust me when I say they all look the same later – and when you fail to mark a certain variety of pepper seeds – you may not always be able to guess what they are the following year.  Can you tell I speak from experience? :) – Jim